Baby Chicks 101

Last year we decided to buy some baby chicks and venture into the world of chickens. It has been quite the fun adventure! However, when we first started and had NO clue I wish there had been a guide to help me along the way. I looked up many resources on pinterest and google, but none really included it all. So here we go! This is the most comprehensive guide I could put together! I I'm gonna go ahead and say it's HARD work the first 4 weeks! However, its so fun and you will have beautiful chickens a result. These are of course the things I learned and did. I'm sure there's lots of tricks out there. I will say though that all 17 of our girls survived and are very healthy and friendly! You'll need about $100 or less to to start and It's fun for sure. Stay tuned for a post later this week on all the how to's of a chicken coop and run!
1. )Before you get the chicks.
Before you purchase chicks you must have a brooder and food ready. I had NO idea what a brooder actually was, but it's not so hard once you know what to get.
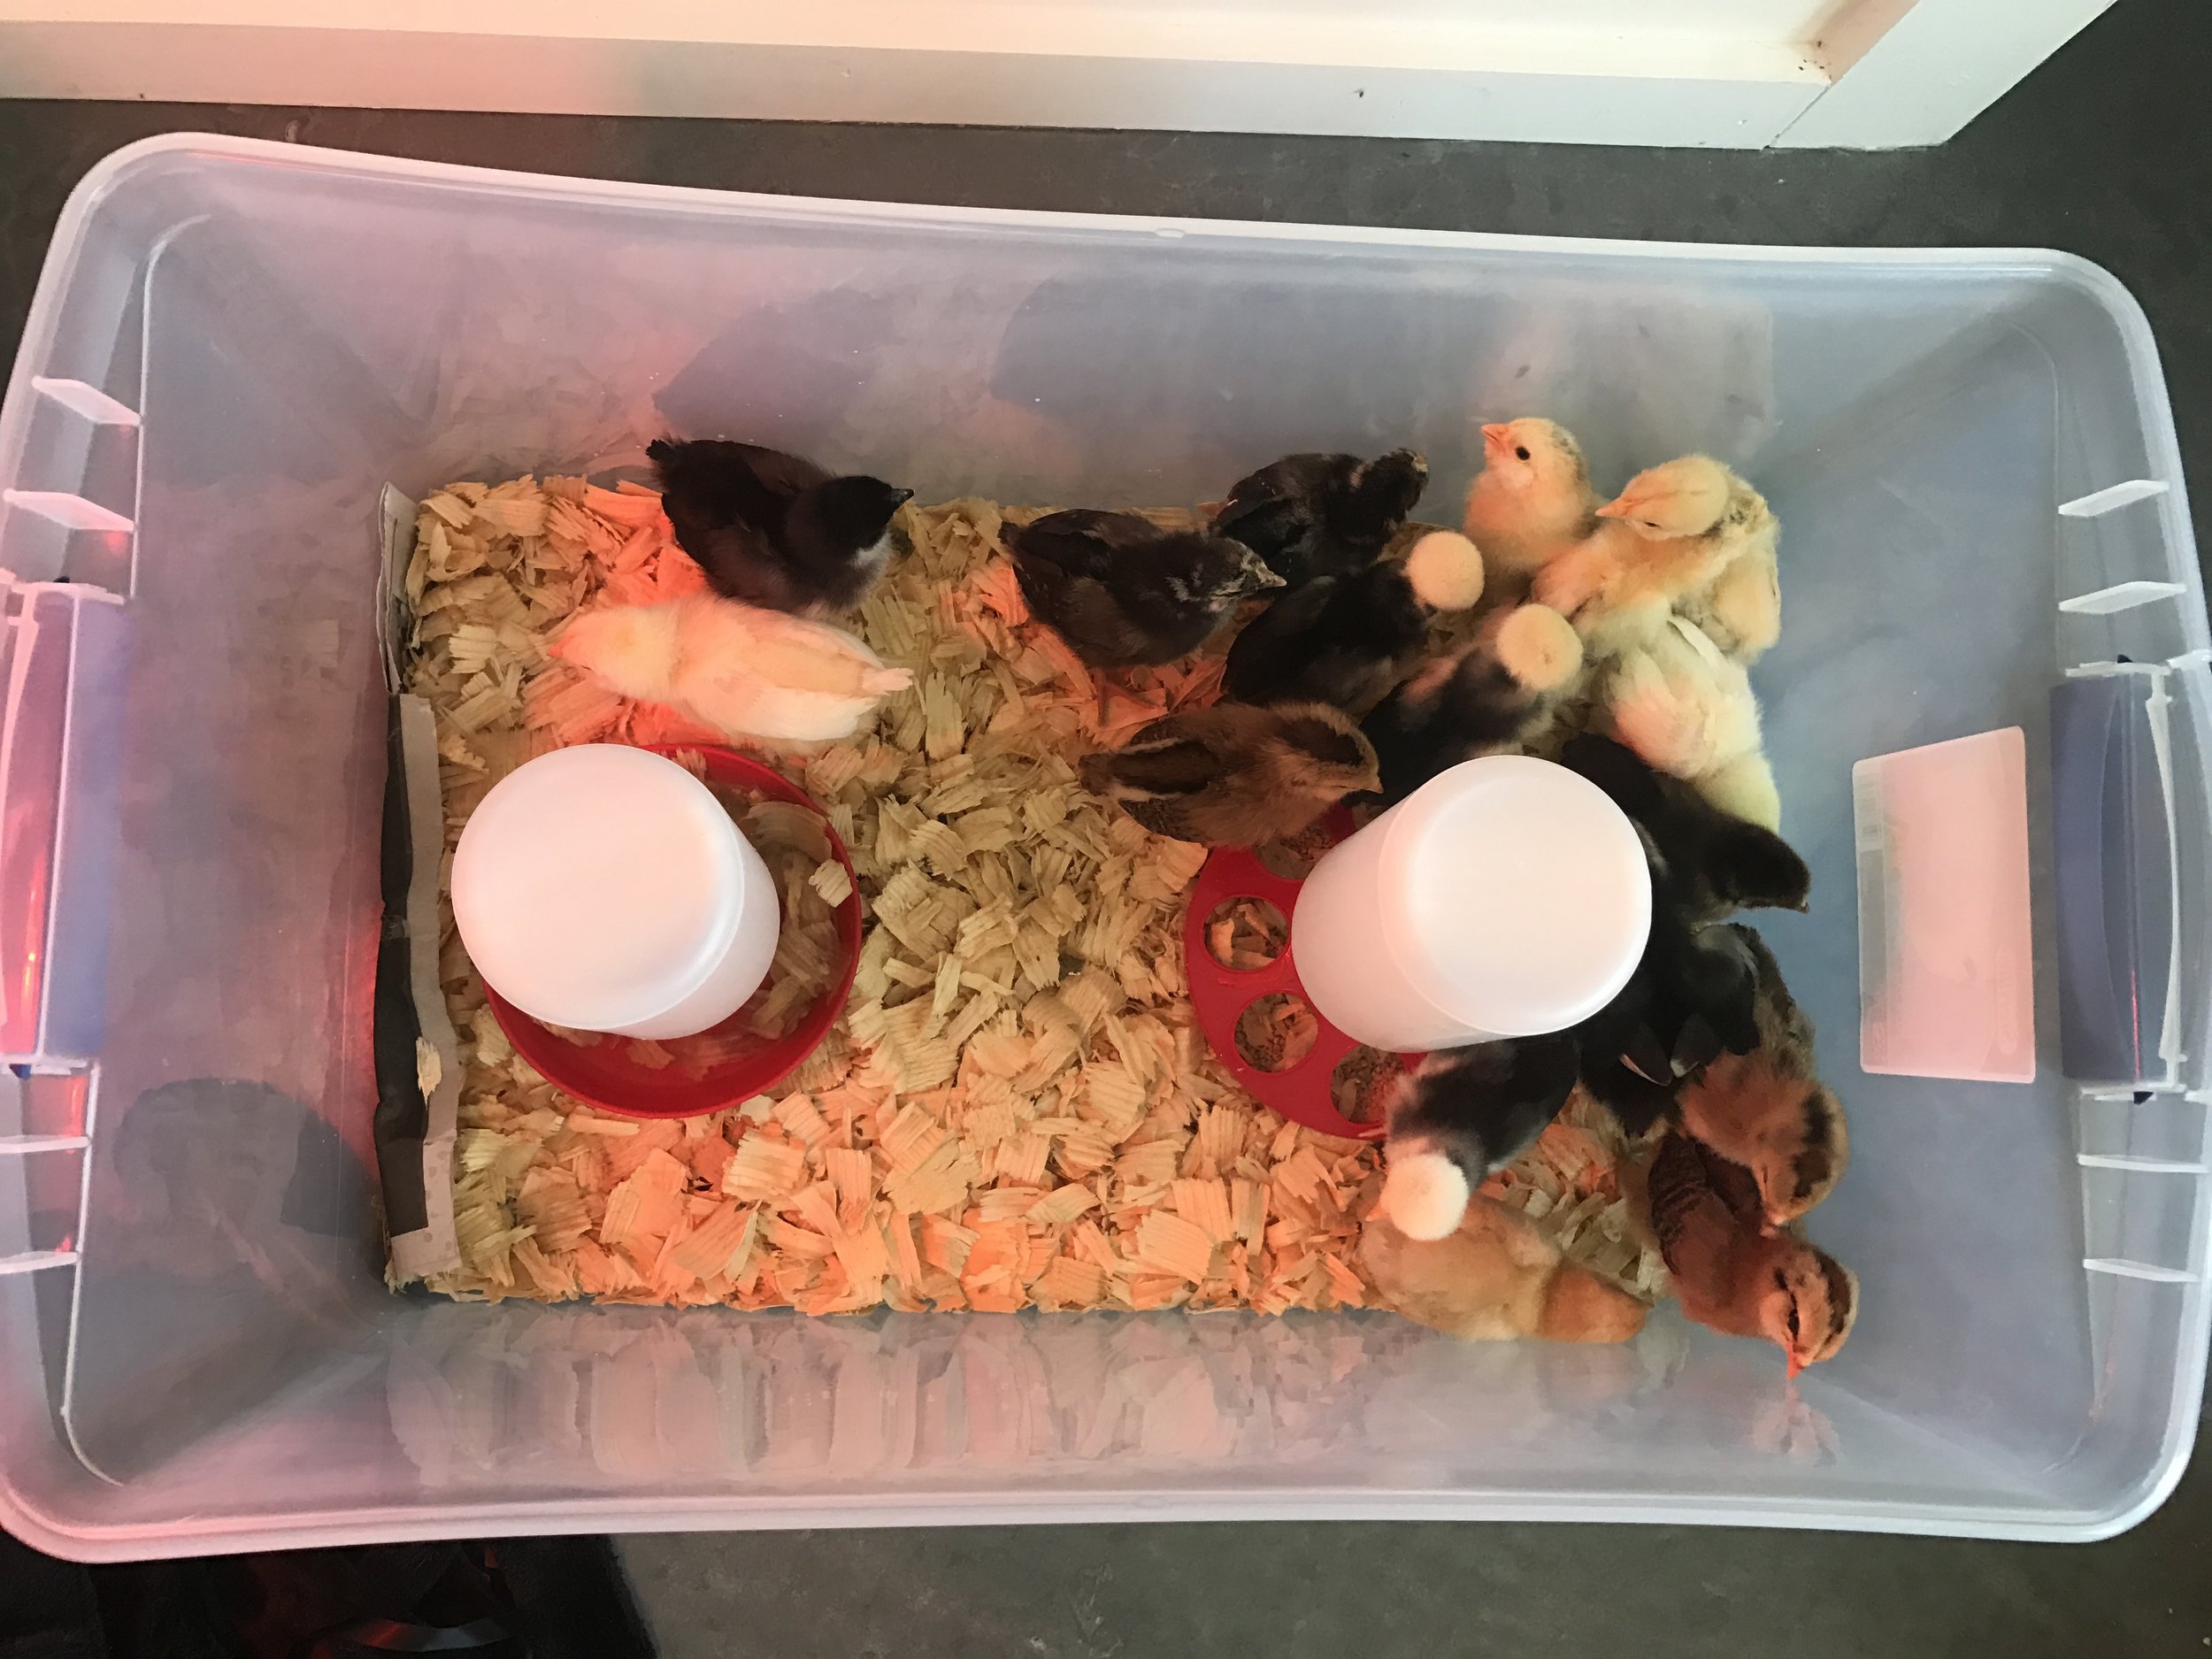
- Get a big plastic tub from Walmart - like the really big ones ( GET 2, I will explain later ) Some use just a regular box, but this will get wet, dirty, and be hard to clean. I liked the plastic tub the best. I wanted a clear one so they could see out and get light from the outside window into their brooder.T The one I got was a bit bigger than this because we got 17 chicken, so you decide which is best for you. Click Here
- Heat Lamp like this one from Tractor Supply Click Here
- Bulbs for the heat lamp. Click Here
- Food containers like these from Tractor Supply Click Here
-Water Container- Click Here and Here
- Fresh Bedding ( pine shavings work great) However, the first week or so you might want to do n.ewspaper with some paper towel on top. They try to eat the pine shavings at first. Click Here
- Chick starter Feed Click Here- we chose to do organic and non-gmo feed
- Chick Grit Click Here
-Chicken Coop: You will need a chicken coop. However, you won't need this till like week 4-5 or so. So either have it ready or start working on it and have it ready to transplant the baby chicks to when they are ready.

2.) Where to order from?
You can purchase chicks directly from Tractor Supply during their chick days!! Click Here for more information.
There are also many reputable hatcheries out there. We used one a friend recommended called Murray McMurray Hatchery. Click Here
The chicks will arrive by mail. Yes! The post office mail. They are shipped day after they are born in a tiny little box. We went ahead and ordered the box with chick started and whatever else they offered to go in the box to supplement them till they arrived. Be warned, I have heard many times not all the chickens survive being shipped. So consider this if opening the box around children, etc. Order maybe a couple more chicks than you anticipated in case something happens to one of them. I can say we ordered quite a few more " just in case" and all our girls survived and we are now thrilled to have all 17 of them.

3.) When the chicks arrive
When the little babies arrive they will be VERY thirsty.
- You must immediately take each on of them and dip their beaks into the water bowl so they will drink water. This is most important and can be fatal to the chicks if you don't.
- I added electrolytes and probiotics to their water for the first couple weeks to help their tummies acclimate and give them proper hydration. Here are the ones I used.
- Place the baby chicks in the brooder.
4.) Heat lamp
- Make sure your heat lamp is on to provide warmth. This whole topic confused me because I didn't know exactly how high to hang it etc. Here's some pointers. I hung the lamp on a ladder next to the brooder. That was my easiest way to clamp it to something and then raise it up and down.
-Keep the lamp on just one end of the brooder. This way if they are too hot, they can move to the opposite side and cool down. I placed their food and water on the right side and the heat lamp on the left.
- Learn from the chicks. If they are constantly on the warm side of the brooder, they are probably on the colder side and need the warmth.
- If they are hanging out on the opposite side of the light, they are probably too hot and it's time to raise the heat lamp.
- Every week for the first 5 weeks they will need this lamp. Each week just raise it higher ( by like 3-5 inches ) until the chicks have their true feathers in and they can regulate their body temperatures. You want the weather outside to be around 70 degrees and definitely not lower than 60 at night
5.) Brooder cleaning
- I cannot emphasize enough how important it is to keep the brooder clean.
-I changed out the pine shavings at least 3 times a week.
- Change their water out twice daily to ensure it is fresh without food or poop in it.
-The worst thing for their respiratory system is to have wet bedding. This produces an ammonia like smell which can damage their lungs. Be a neat freak for these first 4-5 weeks.
-Tip for cleaning the brooder which helped me a TON. Have 2 Brooders!! The chicks will all be in their dirty one. Simple get your second brooder filled with fresh pine shavings and have it ready. Then just move the chicks over to the clean one, and move their water food etc. Now you can easily empty the dirty brooder and really clean it. It's VERY hard, almost impossible to change out pine shavings etc with all the chicks in there. Get 2 plastic tubs, trust me, it will help you a TON.
This was the alternate tub I used. It was slightly smaller so I ended up putting them all back in the bigger one when done, but it gave me a place to put all 17 of them when cleaning the brooder. In heinseight I would have just had 2 brooders the same size and no need to move them again.
6.) A note on Pasty Butt
All this was the craziest thing! I was like what on earth is it?? It's a condition they might get the first 1-2 weeks. This will probably only happen with chicks that are shipped. With the stress of being shipped they kind of clog up and can't poop properly. Their little behinds will have crusted poop stuck to them. When this happens they can't excrete properly and it's a life threatening condition. ( google it, you'll see plenty of pics)
What to do? Clean their little bottoms. Just soak their bottoms in warm water and very gently rub it off and clean them. You can even rub a little olive oil on their bottoms to prevent things from sticking again. After about a week they will be developed enough where this is not a problem. I did this for about 2 of our 17 chicks. I don't even know if it was even truly bad enough, but I didn't want to take a chance so on a saturday night my husband and I washed tiny baby chicken butts ( insert laughter here)
BREAKDOWN BY WEEK OF WHAT TO DO
*Week 1- They are SO cute!! Just keep things clean and warm and enjoy their cute chirping sounds.
Heat: Ensure their heat is around 90 degrees. This means the heat lamp will be right about 8-12 inches above the brooder.
Brooder: You can have newspaper with lots of paper towels on top for this first week.
Activity- Don't handle them too much the first couple days after they arrive ( except for showing them where the water and food are) They will be very stressed and need to rest. Expect them to sleep a ton this first week. By day 3 you can start to pick them up, etc.
Food- Ensure they have probiotics and electrolytes in their water. Give plenty of chick feed and ensure their water is fresh.
Click Here for probiotic
Click Here for electrolyte

*Week 2- They are ready to be handled. Touch them as much as possible. This was hard for me because we had 17 of them! Giving each of them quality time was hard. Some of course got held more than others and I will say the ones that were held the most are the most friendly now. I would sing to them every night and have them sleep on my lap:)
Heat: Raise your heat lamp some so that it's around 85 degrees or so. This means up by 3-5"
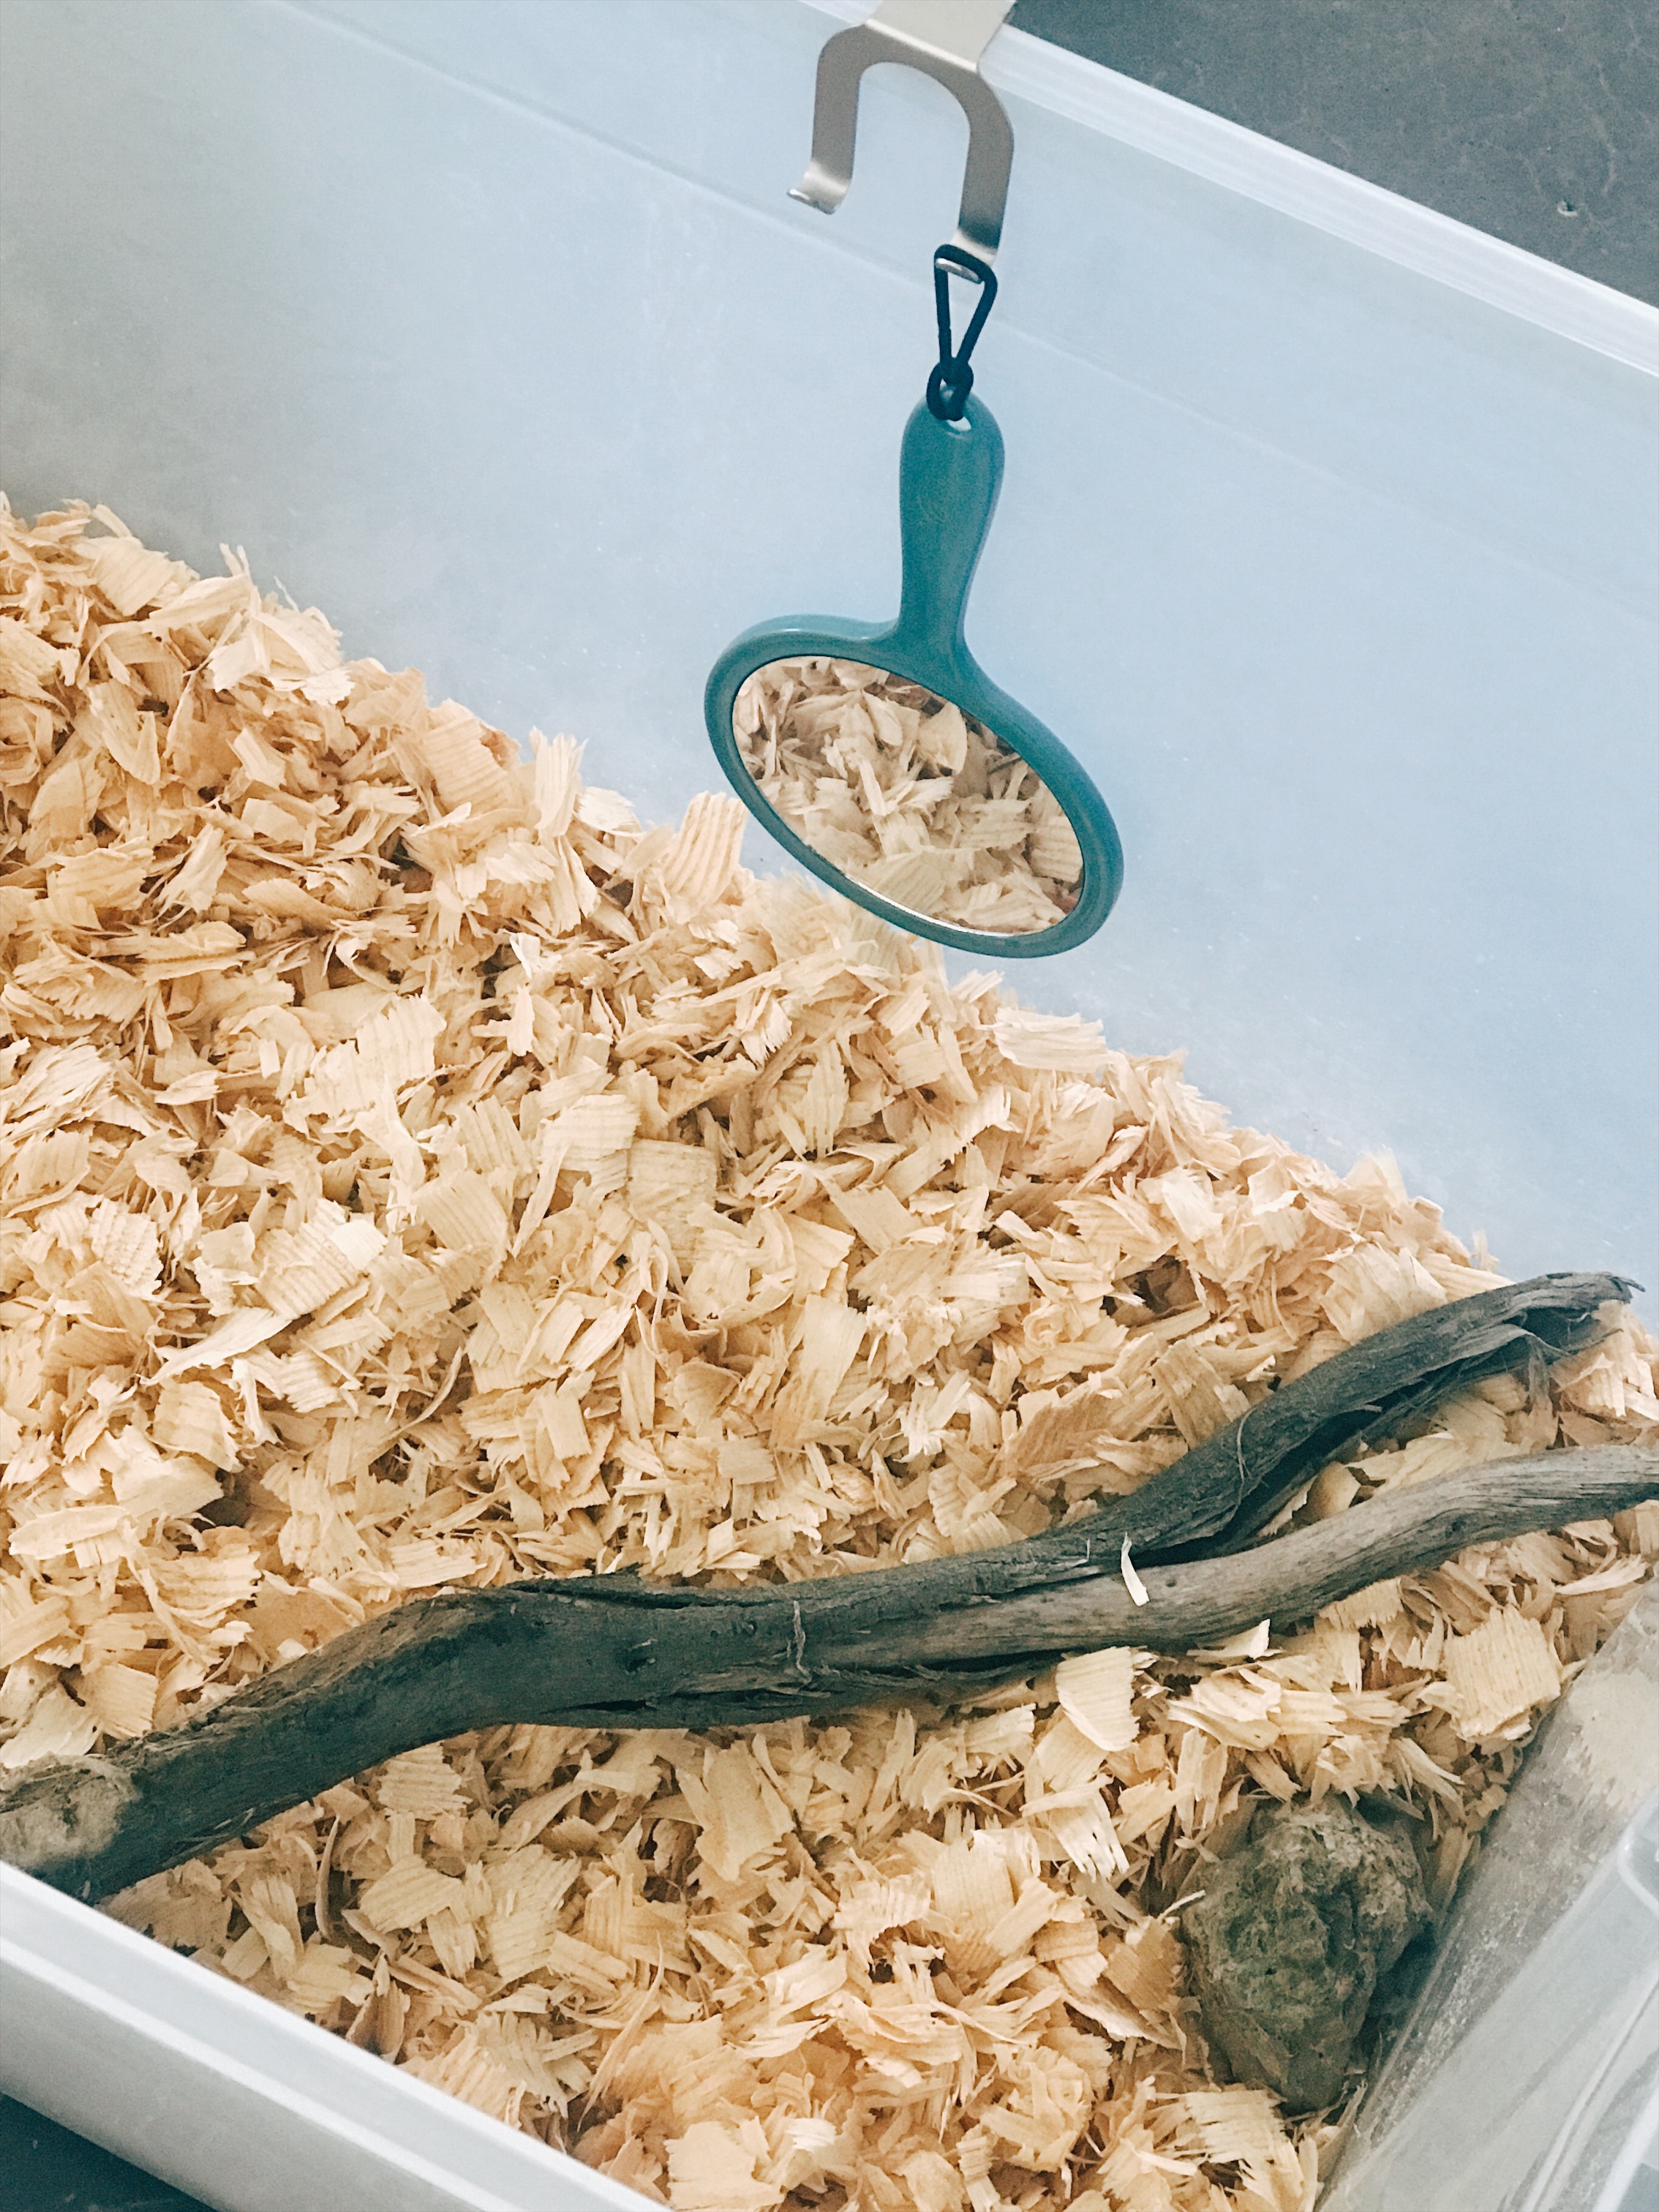
Brooder: Add pine shavings to their brooder. Should be about 2" deep. They will love running around and moving it around. I still did newspaper on the lowest layer, then pine shavings on top. Also, at week 2-3 you'll want to start covering the brooder because they are sneaky and will try to fly out. Just cut some chicken wire to sit on top, then put a 2x4 across to hold it down.
Activity: Give them a little perch to stand on, or a rock to climb on top of. I even put a mirror in their brooder so they could look at themselves. They are very curious and love entertainment. Another thing I did was put a feather duster in there. A few of them really loved going under it. It mimics them laying under their mother's wings and helps them feel safe.
Food:
- Give them chick grit. This can be either mixed into their food a bit, or I had a very tiny separate bowl and they would pick off of it. This is essential for their digestion, etc. Put feed on your hand so they will start learning how to eat out of your hand.
- Give lots and lots of fresh clean water. I probably changed their water out twice a day. No need for electrolytes or probiotics anymore.

*Week 3- Y'all they grow quick!! You'll see lots and lots of new feathers coming in!
Heat: Raise your heat lamp again so it's about 80 degrees. Raise by 3-5 more inches.
Brooder: Keep it clean by replacing your pine shavings 2-3 times a week. Clean water and food dishes with diluted vinegar to keep bacteria down, etc.
Activity: Keep them entertained. Make sure they have pieces of wood to start roosting on, little rocks to peck and move around, plus anything else you can think of for them to play with.
Food:
-You'll probably want to Raise the chicken water and feeder up higher. Place them up on a piece of wood or something that prevents them from being ground level. If they are not up higher there will be poop all in your water and feed and it's a hot mess.
- I started giving them lots of fresh treats around 3 weeks of age. Such as berries, and leafy green's etc. They absolutely LOVED this along with their regular chick starter food.


*Week 4- Time to see the outside world!! If the weather outside is around 70+ degree's they are ready.
Heat: Move lamp up to where it's about 75 degree's in their brooder area.
Brooder: For outside trips I made some sort of pen for them that had wood on the sides and things so they could not get out. Do chicken wire on top. I put their water and food in there and they were happy, happy running around in the grass and eating bugs, etc.
Activity: Make sure you are still holding them and touching them if you want them to be friendly. Especially at night. That is your bonding time. Grab them and stroke their little heads till they fall asleep on our lap. It is also the CUTEST thing ever.
Food- Once they are outdoors a bit, they won't need a ton of supplemental grit since they are finding it themselves outdoors. Ensure plenty of clean water and food is available at all times.

*Week 5- at the point they are getting HUGE!! So many new feathers are coming in and they are feisty, loud, and chaotic.
Heat: You should not need the heat lamp anymore as long as it's 70 degree's or higher inside and outside.
Brooder: At the point you should consider moving them to their outside coop. You can even do this at 4 1/2 weeks or so if the weather is nice outside.
- Move them to their outside home. You must keep them in that space for at least 5-7 days so they know where home is. I cannot stress this enough. They must learn that the coop is their new home. If they have not established that and you let them out, they might not come back. Some people suggest keeping them in their coop for 2 weeks before letting them out. This is up to you, but watch your chickens. I would say week 5 they should stay in their new outdoor coop and get acclimated.
Activity: If you let them out of their coop, only do so for3-4 hours at a time. Preferably towards the end of the day so they can get used to going back in their home at dark. You can use the time you take to clean the coop as their outdoor time.
Food: Start introducing adult grower feed into their diet. Mix it in with their chick starter. Continue to provide fresh foods like berries and herbs. One of the feeds we give ours is this. Click Here ( You'll see different ones at the store that are recommended for different ages and stages. I pretty much followed that and always bought the organic non-gmo version.


*Week 6-8 You'll be a little depressed that they are so big.
Heat: No more heat lamp since week 5
Brooder: The babies should now be in their outdoor coop.
Activity: Let them out each day, but do ensure they go back to their coop at night. Also, make sure to have roosting bars in their coop and encourage them to hop up on them at night. Make sure your run and coop areas are safe.
Food: They should be eating the adult feed and no more chick feed. Also give them lots of treats such as berries and oatmeal, heads of lettuce etc. They love it!
Hang their food and water feeders from chains and elevate of the ground at just the right height for them to eat and drink. This will prevent a lot of things spilling into their water and food.

*Weeks 8-12
Coop: Make sure to always keep the coop clean. We clean ours out once a week and replace with fresh pine shavings etc. DO NOT have chicken nesting boxes open. Keep them covered. I covered ours with some material. You don't want them getting in a habit of sleeping in their nesting boxes. You only want them for egg laying.
Activity: Daily let them out to free range or be in their run. They love activity so things to stand on and jump around, plus fun treats keep them entertained.
Food: Adjust their food and water stations to a height appropriate to their size.

*Week 12-16 weeks
Coop: Time to open up the nesting boxes! At this point all the chickens should be used to roosting at night and won't sleep in their boxes.
Activity & Food: All is the same, Just keep them happy with treats and great nutrition. Let them free range and explore. They will love it.

*Week 16-20
Coop: By week 16 place a golf ball or fake egg in a few of their nesting boxes. This will prompt them to know where to lay their eggs.
Activity: You'll know they are mature enough to lay eggs once their waddles truly come in. The little red things on the side of their mouth or tops other head. They will take on a distinctly brighter color and become more prominent. This will tell you they are ready. Some of our girls started laying at around 16 weeks while others took until about 22 weeks. Just depends.
We personally do not keep a light in the coop to promote egg laying. In winter there are less daylight hours which means less eggs. We are okay with that. I prefer to let them be healthy and have rest instead of prompting them to lay all the time.
Food: Switch the girls to a laying formula for food. Just like this one! Click Here

Our first eggs! You can see the golf ball in the background
I really hope this guide helped you!! Please share it with others! I know I sure needed something like this when I started!! Please comment any questions and I will be happy to answer them:) Happy chick growing!!
