The joy of canning and Grandma's Chili Sauce with Ball® Canning
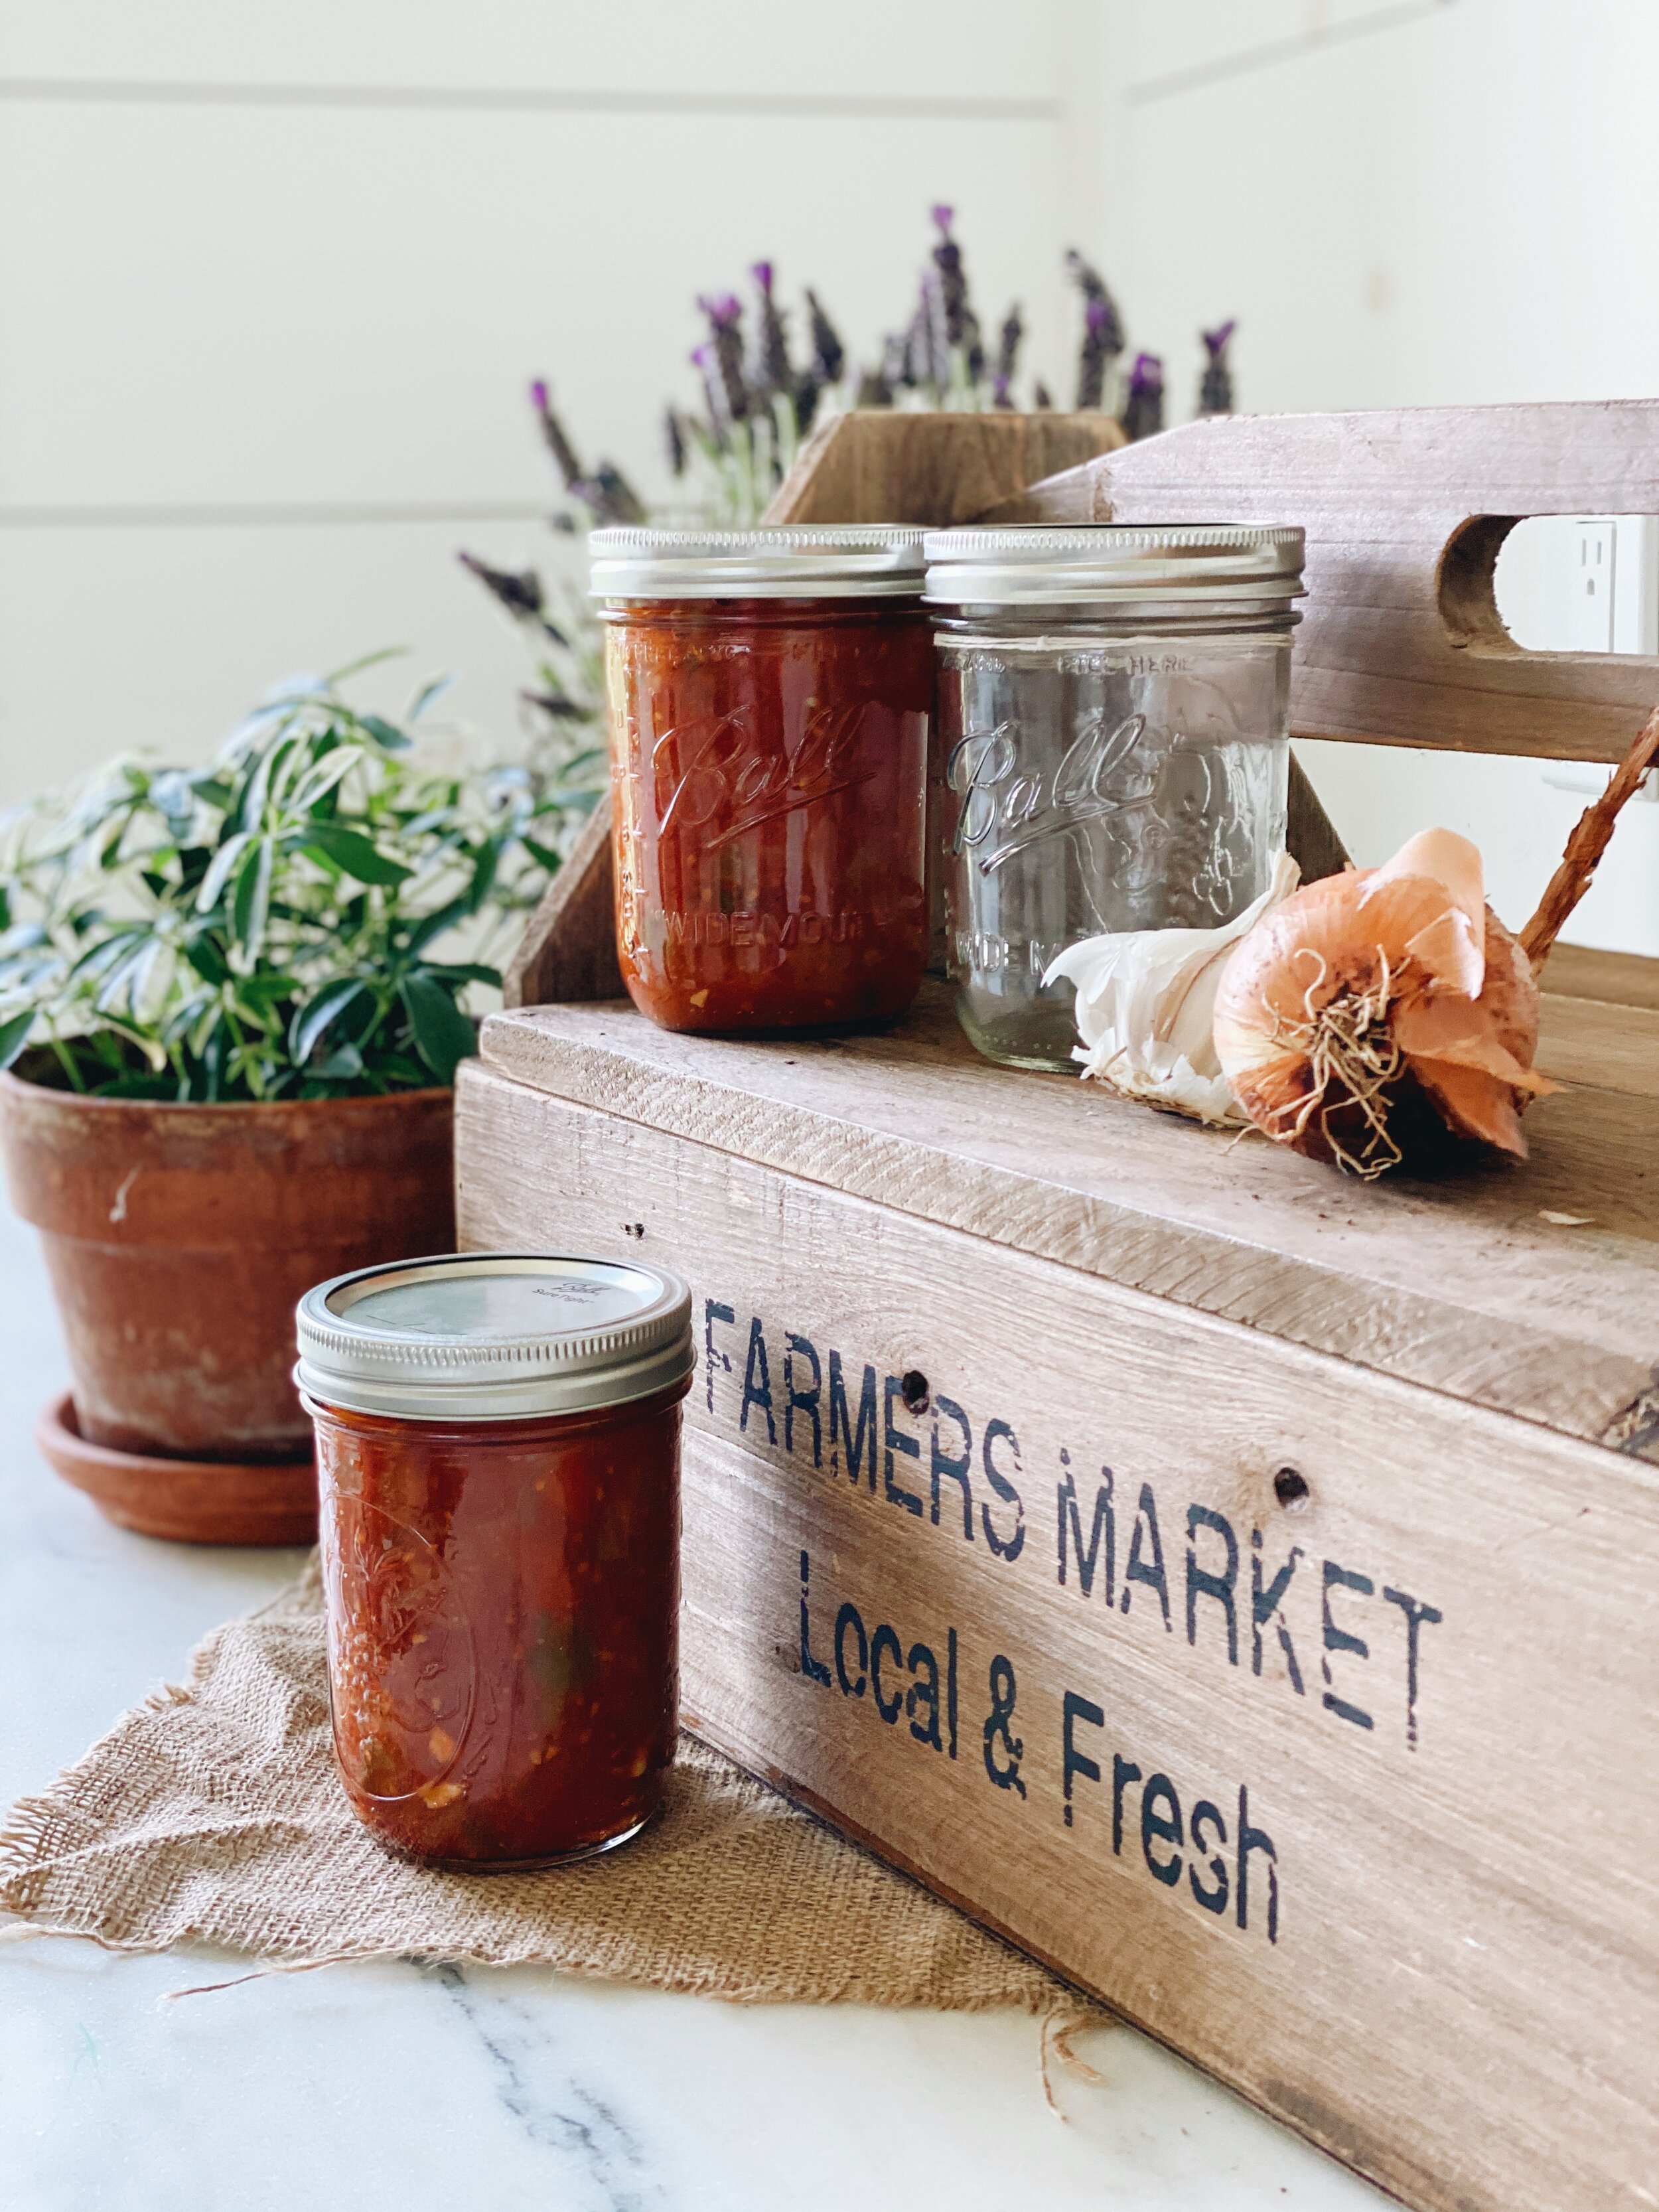
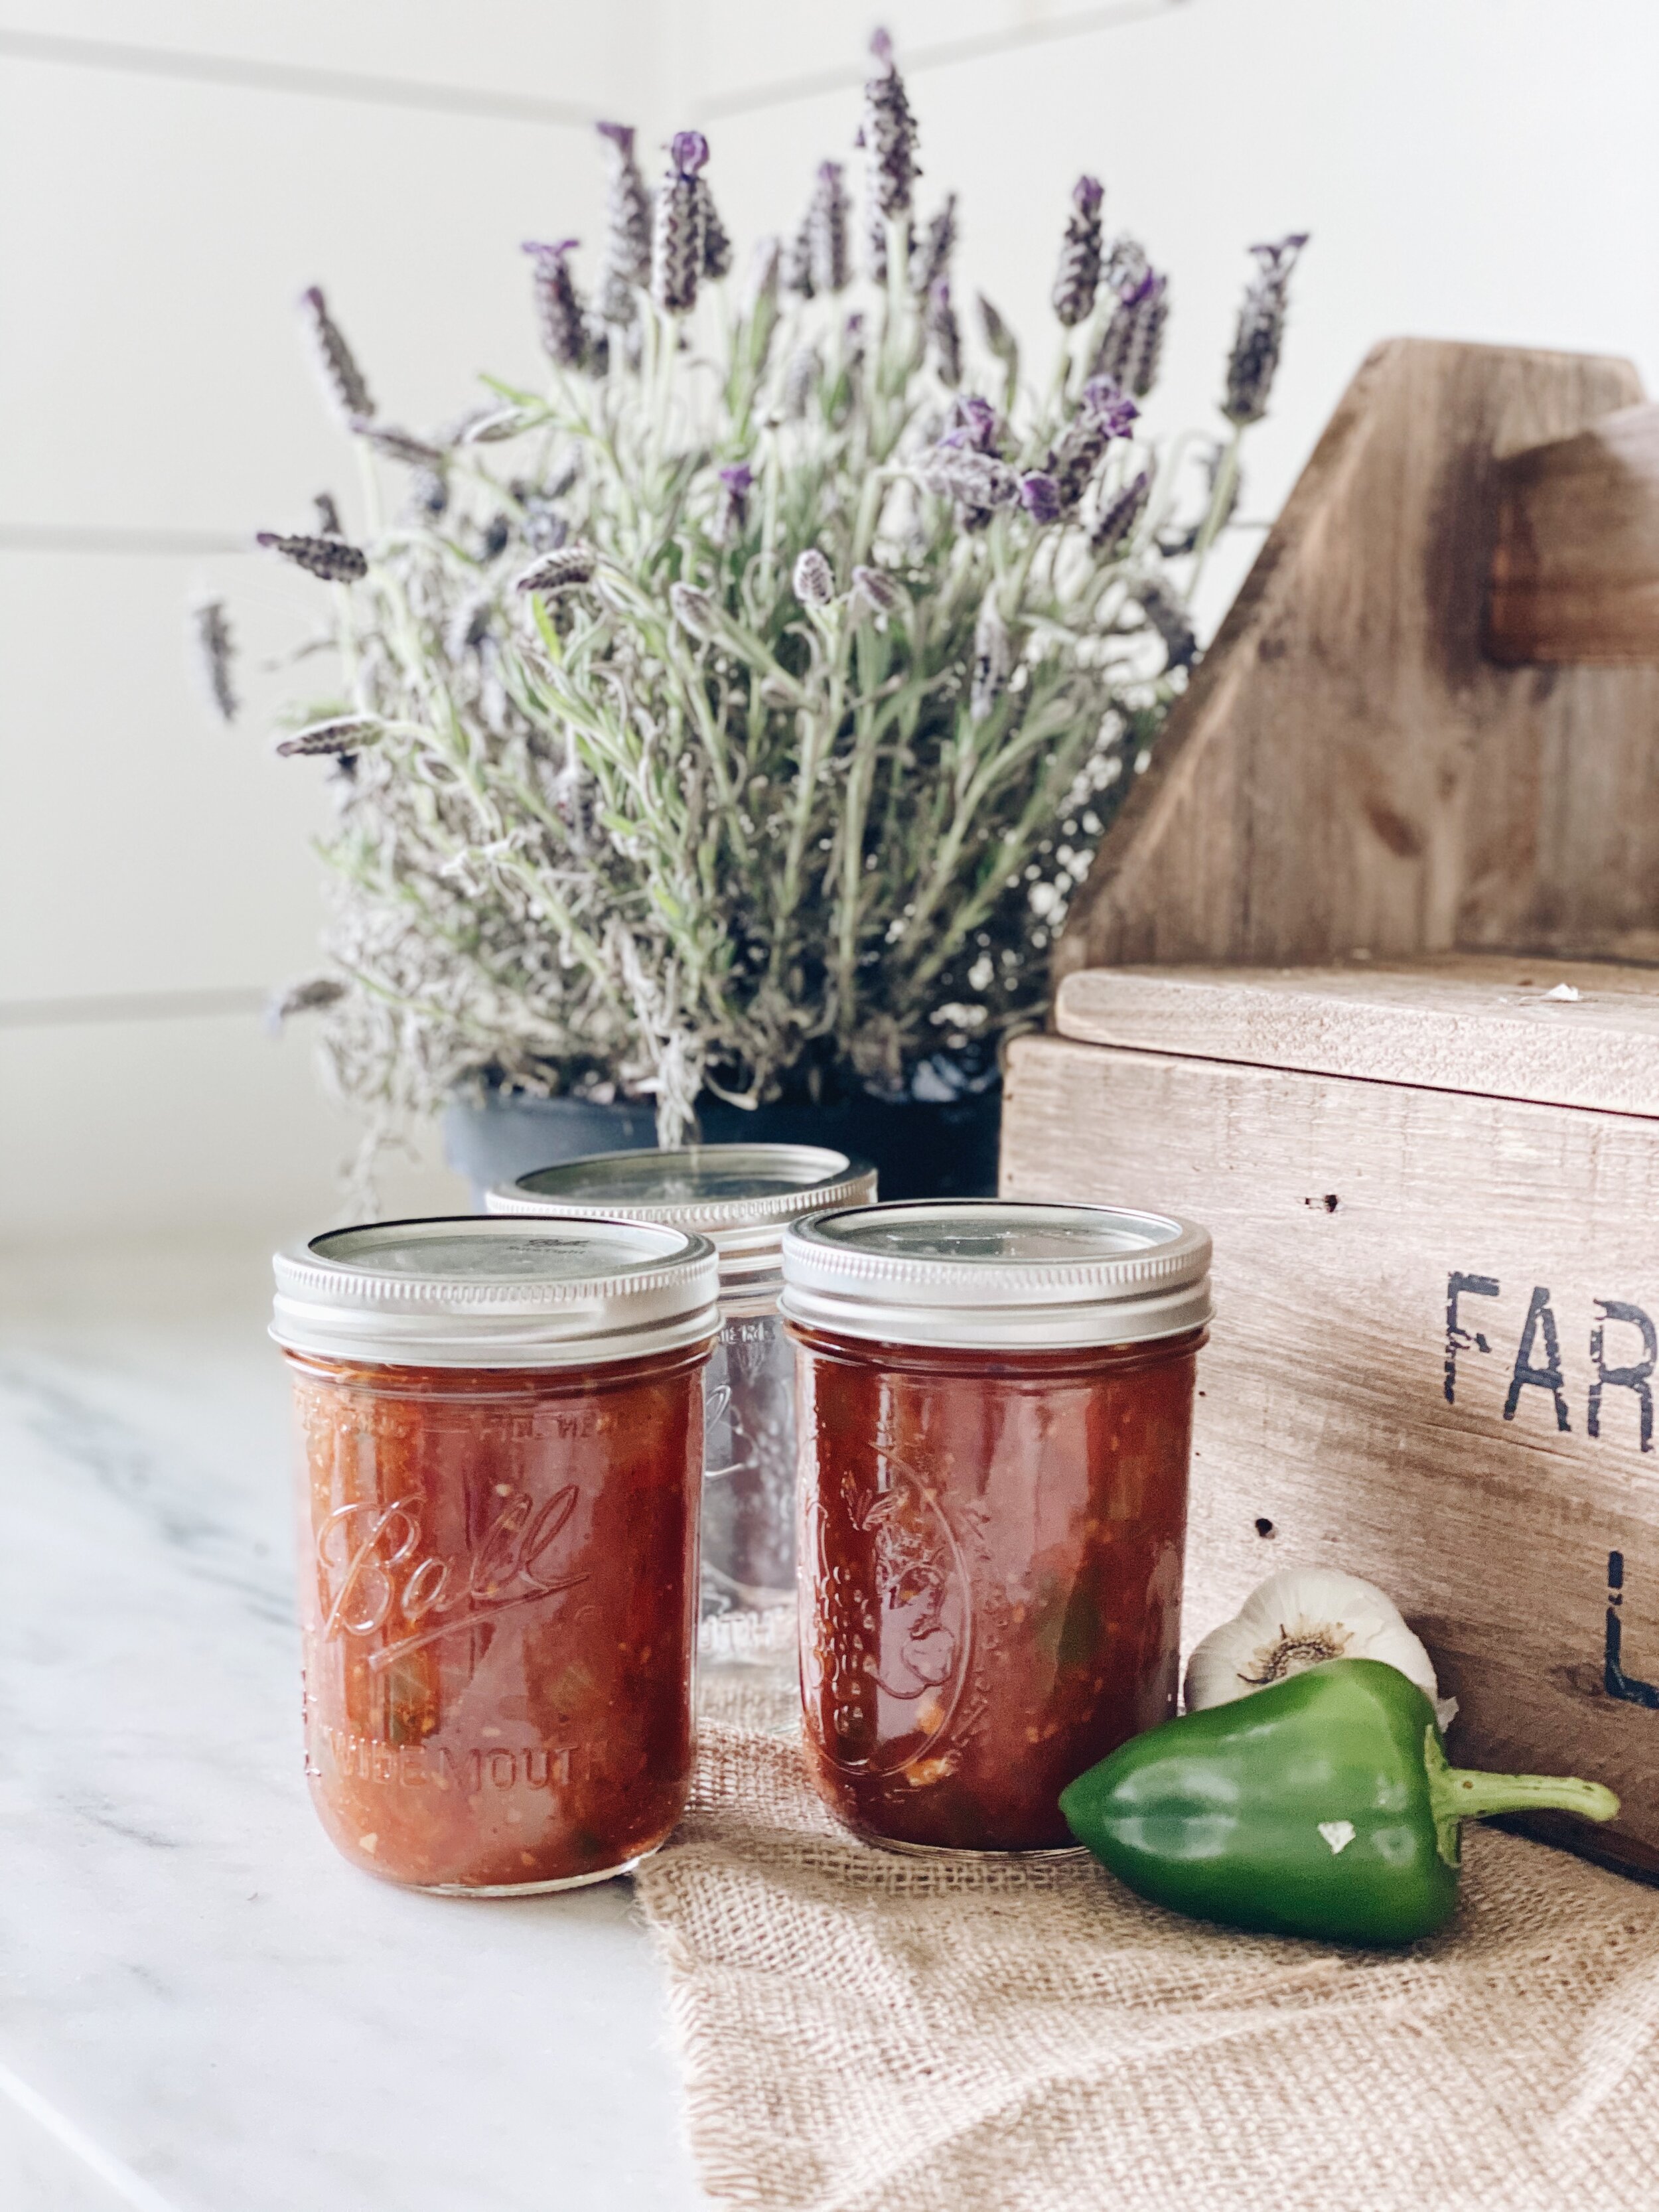
A delicious traditional chili sauce just like grandma makes! The perfect topping for any recipe and a great way to preserve all your garden fresh tomatoes. Read on for the recipe and a step-by-step on how to can it.
This post is sponsored by Ball®Fresh Preserving
As a small child I remember going to Aunt Marty’s home in West Virginia and seeing all her canned goods lined up on a shelf. Green beans, corn, tomatoes, applesauce. The list could go on. I was obsessed and thought it was the coolest thing. Years later I have a homestead and canning has become a big part of it. Never as a little girl did I think I would be up till late harvesting and preserving, but the joy it brings is priceless.
A few years ago when Aunt Marty came to visit she gave me a 101 on canning and we canned tomatoes together. It was a proud moment where I felt like I was a real grown up, with my own garden, and now canning food. She left me her notes and instructions which are written on a Ball®Canning blue book page from many years ago.
I learn every time I do it. It is an art which I’m afraid many young people don’t practice anymore. It has been such a joy and honor to be a Ball® Ambassador and to show you the joy of canning and hopefully inspire you to do the same!
Now i’m her 80’s Aunt Marty continues to can and preserve the food they grow in their garden. She is a true canning rockstar and my example.

We grew lots of varieties of tomatoes this year but my favorite for canning and sauces are the Roma variety!

Have you ever canned before? Are you new to it?? Let’s walk through the steps together! It does not have to be hard! Let’s make this your year to can!
RESCOURCES
There are lots of resources out there that can help you with canning! Below I’ve linked to some!
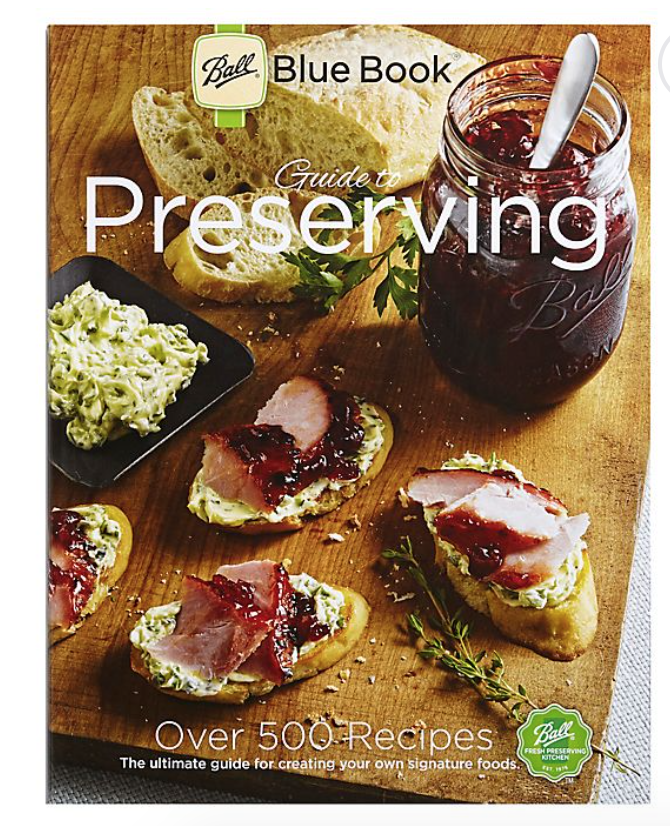
Ball® Blue Book® Guide to Preserving 37th-Edition- CLICK HERE
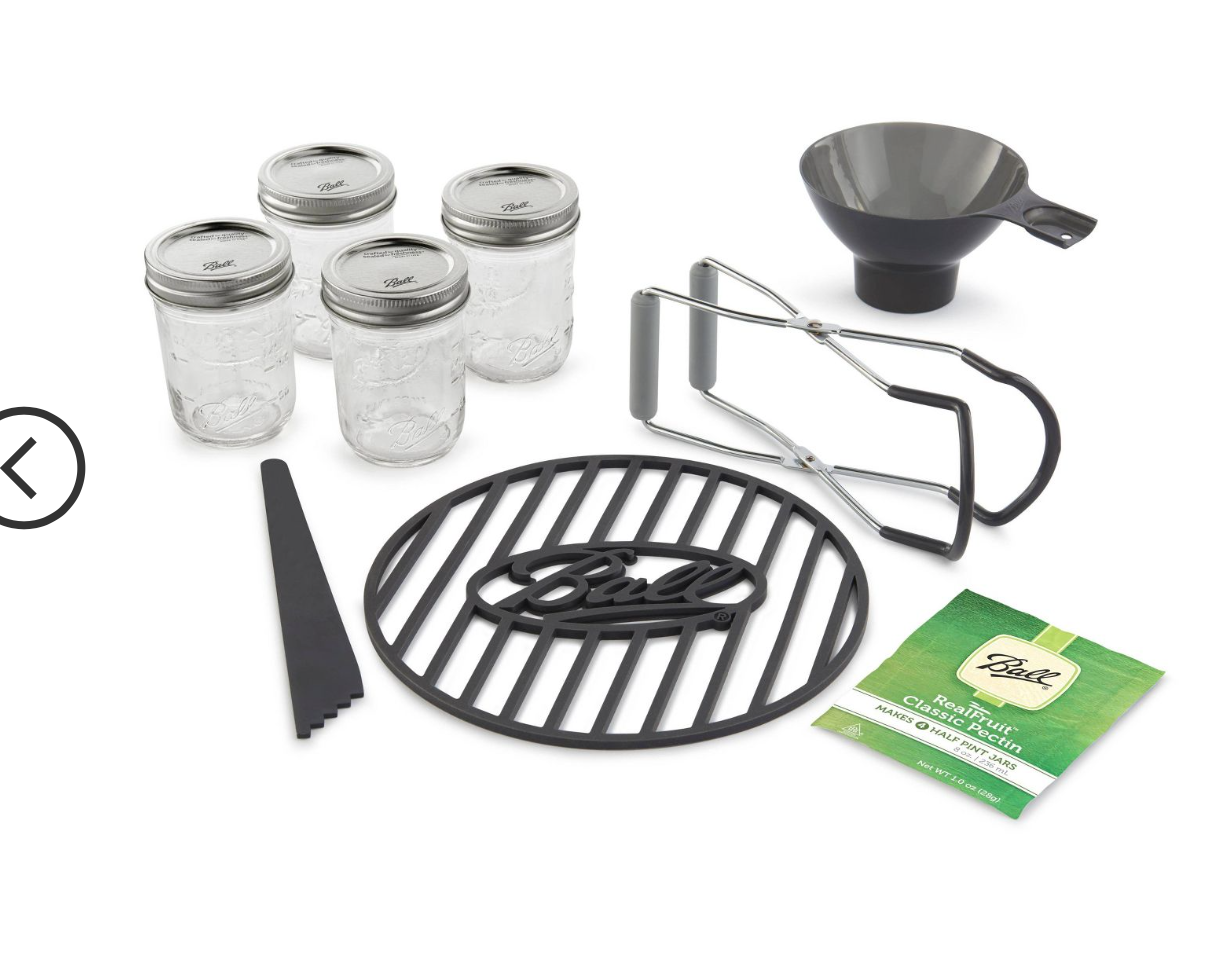
Ball® Preserving starter kit- CLICK HERE
Always use an approved and tested recipe!
CANNING TIP:
Print out your recipe! It’s easier to keep track of what you need without having to look at your phone or laptop over and over.
Place the recipe in a clear plastic cover and voila! You now have a way to check off the steps and ingredients. Use a dry erase marker and this will help you mark off once you’ve completed a step. You’ll be amazed at how much easier it is to follow the steps and when you’re done simply wipe it down and it’s ready for next time!


Sweet Ava helped me this time and I loved every minute of it. She actually put all the chopped tomatoes into the pot and ate a few along the way. Love these precious moments with my girl and I hope she loves canning as much as I do.


GRANDMA’S CHILI SAUCE RECIPE
INGREDIENTS
16 cups chopped cored peeled tomatoes (about 16 medium)
6 onions, chopped
6 green bell peppers, seeded and chopped
2 red bell peppers, seeded and chopped
2 cups white vinegar
1 cup lightly packed brown sugar
1 clove garlic, finely chopped
1 Tbsp. freshly grated or drained bottled horseradish, optional
1 Tbsp. celery salt
1 Tbsp. mustard seeds
1 Tbsp. salt
1 tsp. ground allspice
1 tsp. ground cinnamon
1 tsp. ground mace or nutmeg
1/4 tsp. ground cloves
7 Ball® (16 oz) pint glass preserving jars with lids and bands
Optional: Ball® freshTECH Electric Water Bath Canner + Multicooker
DIRECTIONS
Combine tomatoes, onions, green and red peppers, vinegar, brown sugar, garlic, horseradish, if using, celery salt, mustard seeds and salt in a large stainless steel saucepan. Bring to a boil over high heat, stirring frequently.
Reduce heat and boil gently, stirring occasionally, for 1-1/2 hours, until sauce begins to thicken. Add allspice, mace, cinnamon and cloves. Continue to boil gently, stirring occasionally, until thickened and sauce begins to mound on a spoon, about 30 minutes.
Prepare boiling water canner. Heat jars in simmering water until ready for use. Do not boil. Wash lids in warm soapy water and set bands aside.
Ladle the hot chili sauce into hot jars, leaving 1/2 inch headspace. Remove air bubbles and adjust headspace, if necessary, by adding hot sauce. Wipe rim. Center lid on jar. Apply band until fit is fingertip tight.
Process jars in a boiling water canner for 20 minutes, adjusting for altitude. Remove jars and cool. Check lids for seal after 24 hours. Lid should not flex up and down when center is pressed.
STEP BY STEP
These same steps apply to any canning recipe! Follow them every time and it will become second nature after a few times! 10 steps and you’re all done!
STEP 1
BEFORE YOU TO ANYTHING ELSE WASH YOUR JARS, LIDS, AND BANDS


STEP 2
Warm your jars slowly and keep them warm until ready to use. DO NOT BOIL
Remove 1 warm jar from canner and pour out excess water before filling with the recipe.

STEP 3 & 4
Pour what you are canning into the jars and then measure for the appropriate headspace. This is the amount of space from the top of the jar down to the actual food. Most recipes ask for a 1/2”. Be sure you have the proper tool so you can measure.

STEPS 5 & 6
Use the same tool you measured headspace with to go around the jar and ensure there are no air bubbles trapped along the sides of the jar between the food and glass.
Next wipe rim and threads of the jar to ensure there is no food. You want a good seal and food can get in the way of a perfect seal.

STEP 7 & 8
Place band and ring on to fingertip tight. You do not need to tighten super hard. Then gently lift jar into the warm water. Do not start to process until all the jars are ready.
It is always best to do one jar at a time and not assembly line style. This prevents the food from getting cool and the possibility of contamination prior to canning.

STEP 9
Bring water to a boil and then lower the jars into the canner. Ensure that the water covers the jars by about 1-2 inches.
Process the jars for the amount of time the recipe says ( for this recipe it’s 20 min.) Always do a gentle controlled boil.

STEP 10
Remove jars and set upright onto a towel. ( DO NOT SKIP THIS STEP! ) It’s very important to not place hot jars on a cold counter as this may cause breakage.
Leave jars undisturbed for 12-24 hours.

EVERY BITE! And always share and gift to someone too! It’s always more fun when you share!


PRINT FOR YOUR RECIPE BOOK

SHOP THIS POST
PIN TO PINTEREST

I hope this post has helped you understand more about canning and given you the confidence to do it yourself! Take a look at my previous canning posts over this summer for more delicious recipes you can preserve and eat all year long!
CLICK HERE to see the recipes on the Ball Fresh Preserving site
Low Sugar Strawberry Freezer Jam
Cowboy Candy Jalapeño
Stay tuned for fall canning recipes coming soon! Always go to Ball Fresh Preserving to find more recipes and tips on canning!
Much love friends,
Annette