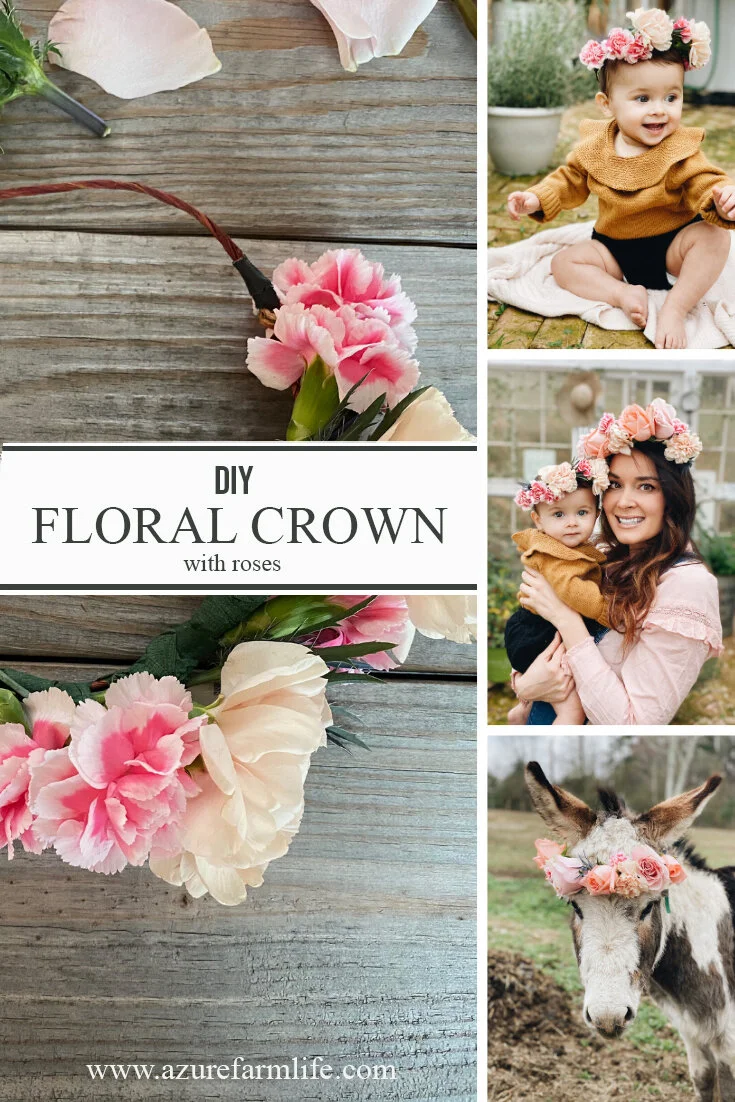
DIY Floral Wreath Crown
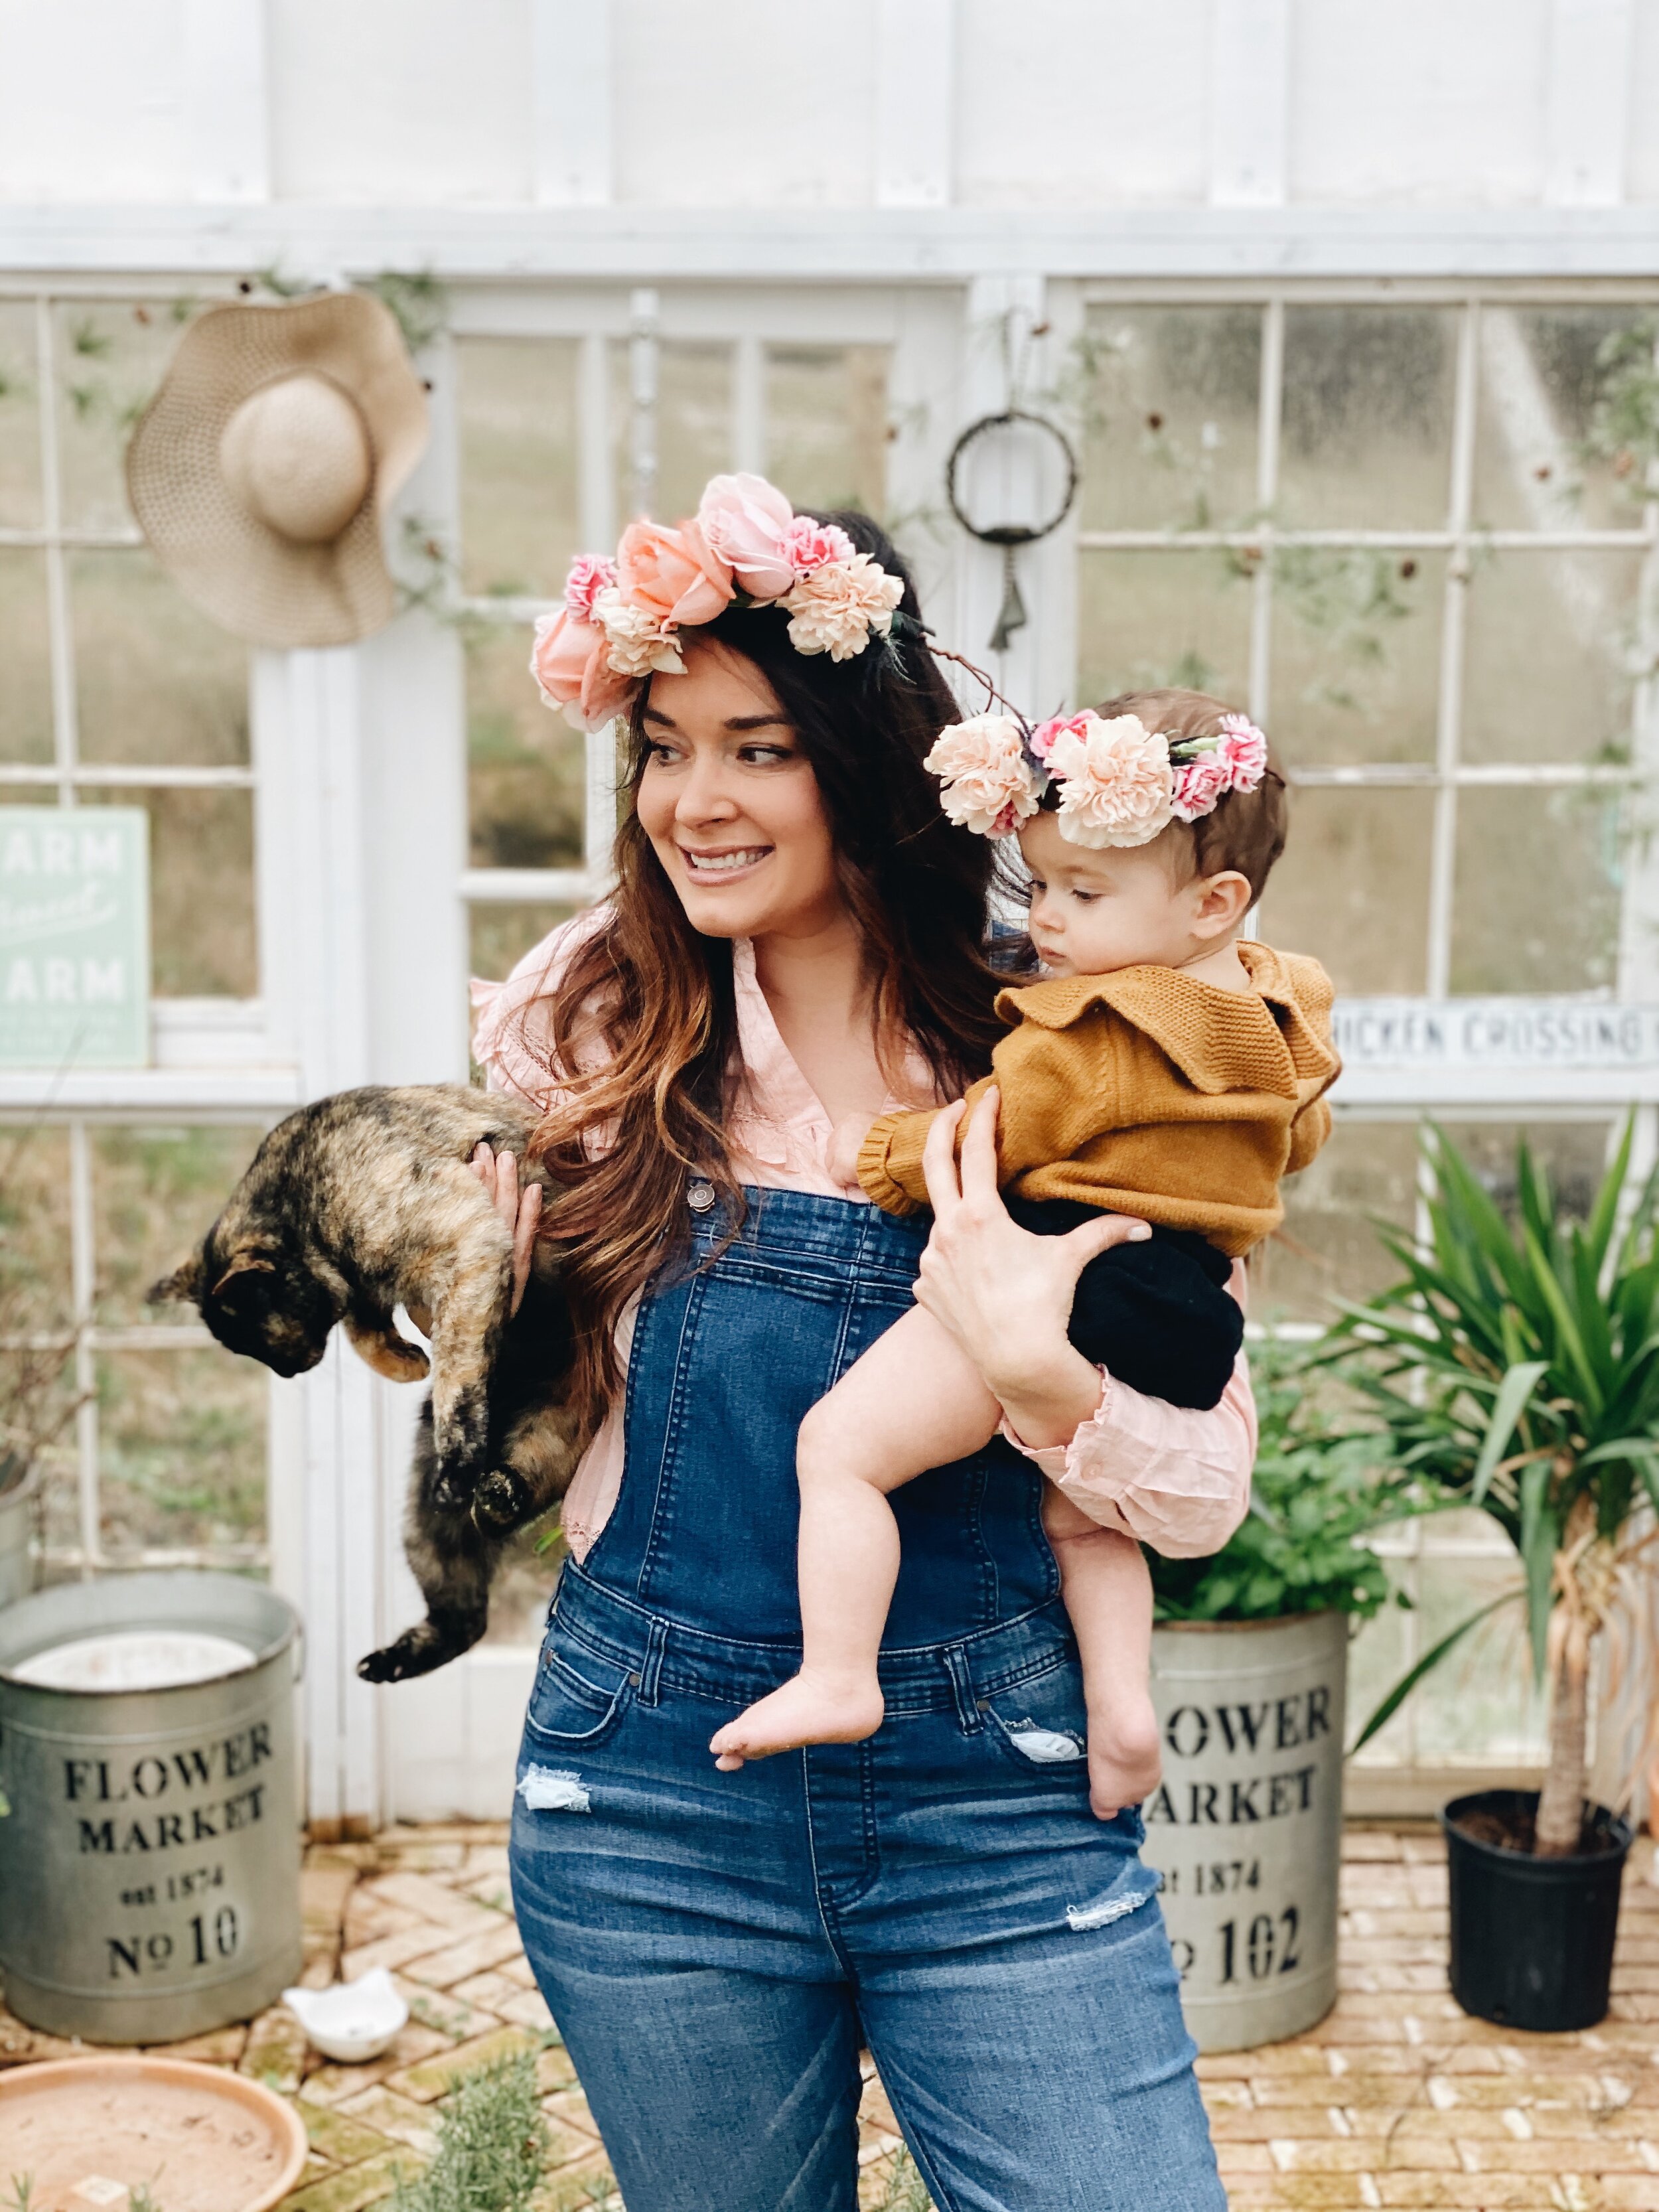
A DIY that is sure to be super fun to make and very beautiful to wear! Flower crows are great for farm chores, an event, and even the donkeys can wear them! Win Win!

Well I have discovered my newest Obsession! Flower crowns! I made one back in the summer with Zinnias ( SEE HERE) but the stems were soft and playable, while those of roses were not. So This is what I came up with and I believe it worked great!


MATERIALS NEEDED:
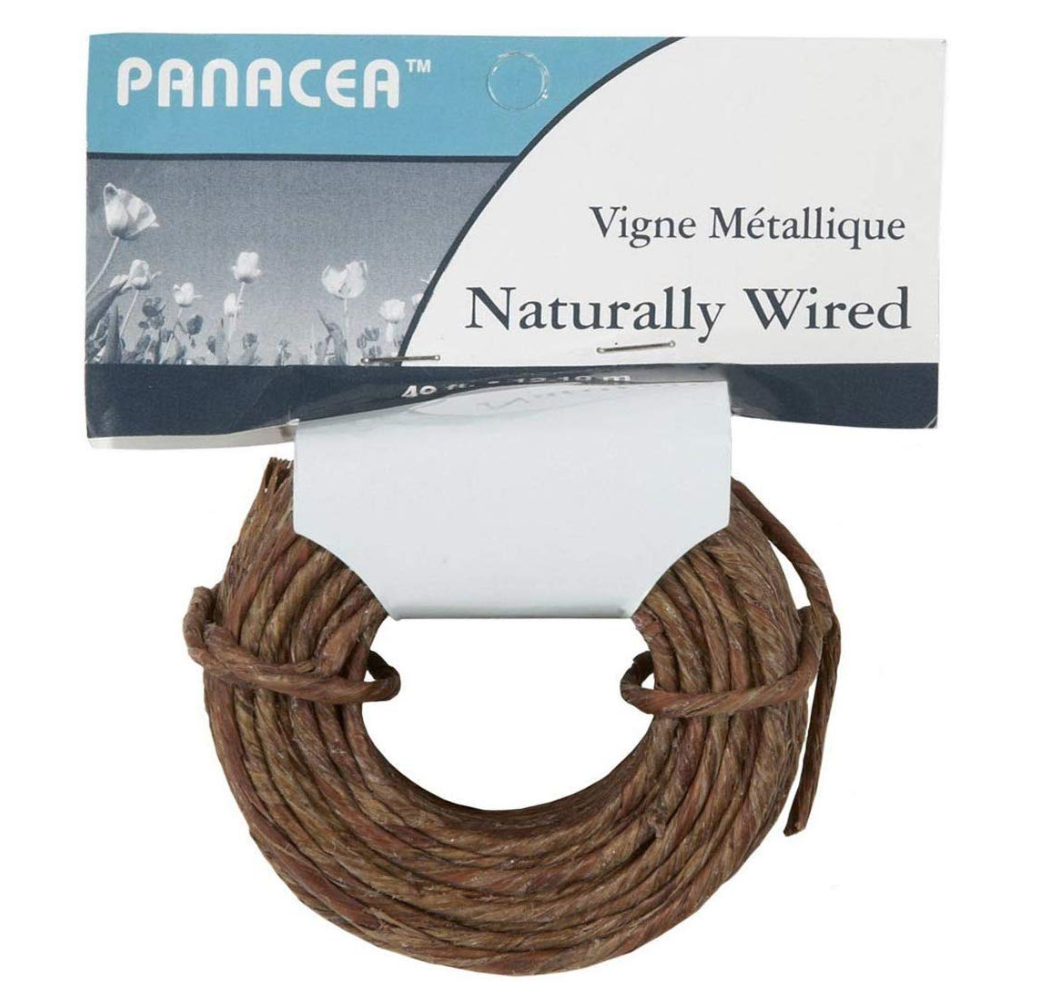
1.) Covered, naturally wrapped wire. This is great because it is very strong and flexible and blends in well with the florals.

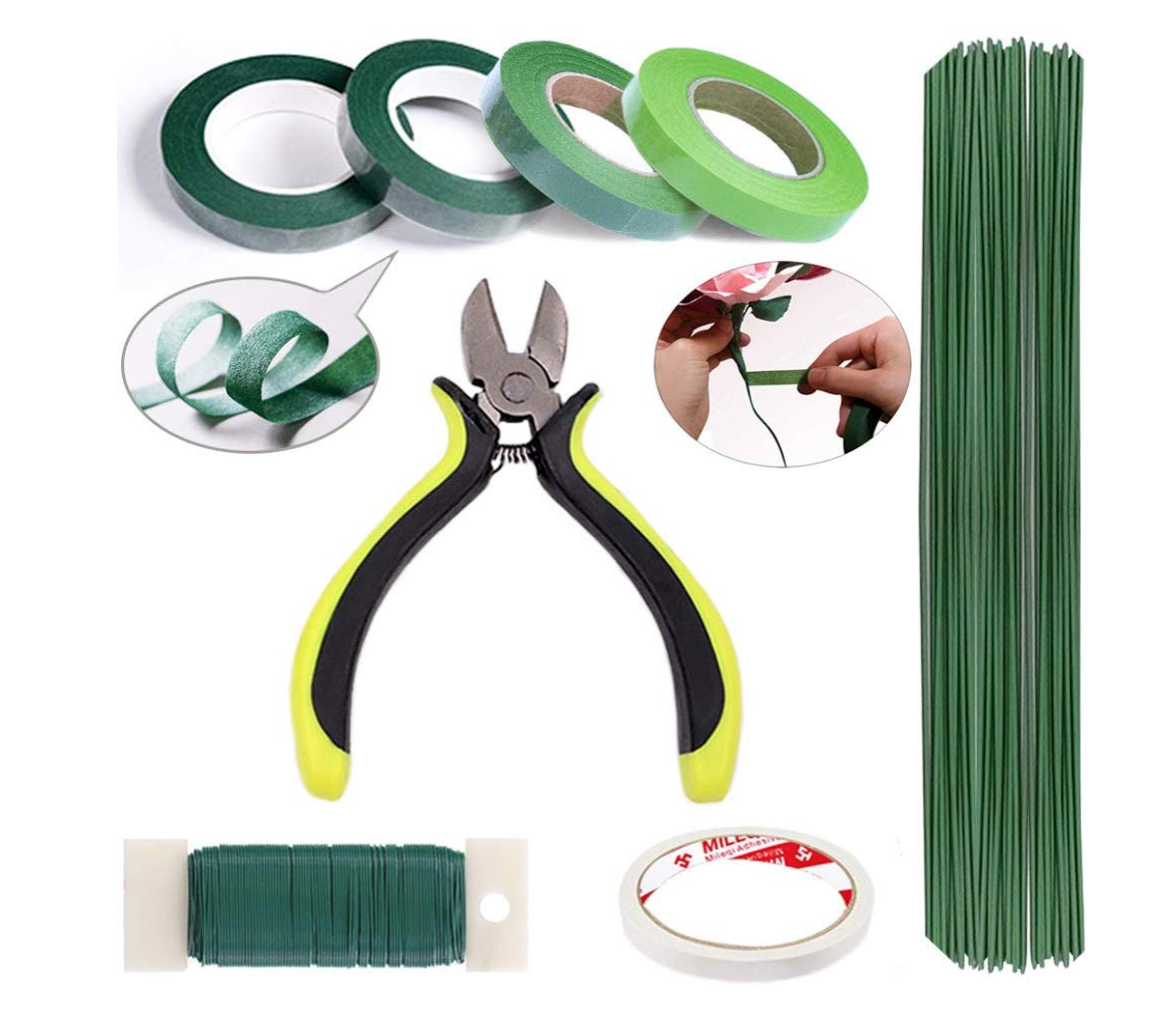
2.) Some sort of floral arrangement kit. I got this one off AMAZON and it works great! You want some of the green floral tape and the wire cutter so you can cut through the wire rope and even the florals themselves. This one was only $12 for all this stuff.

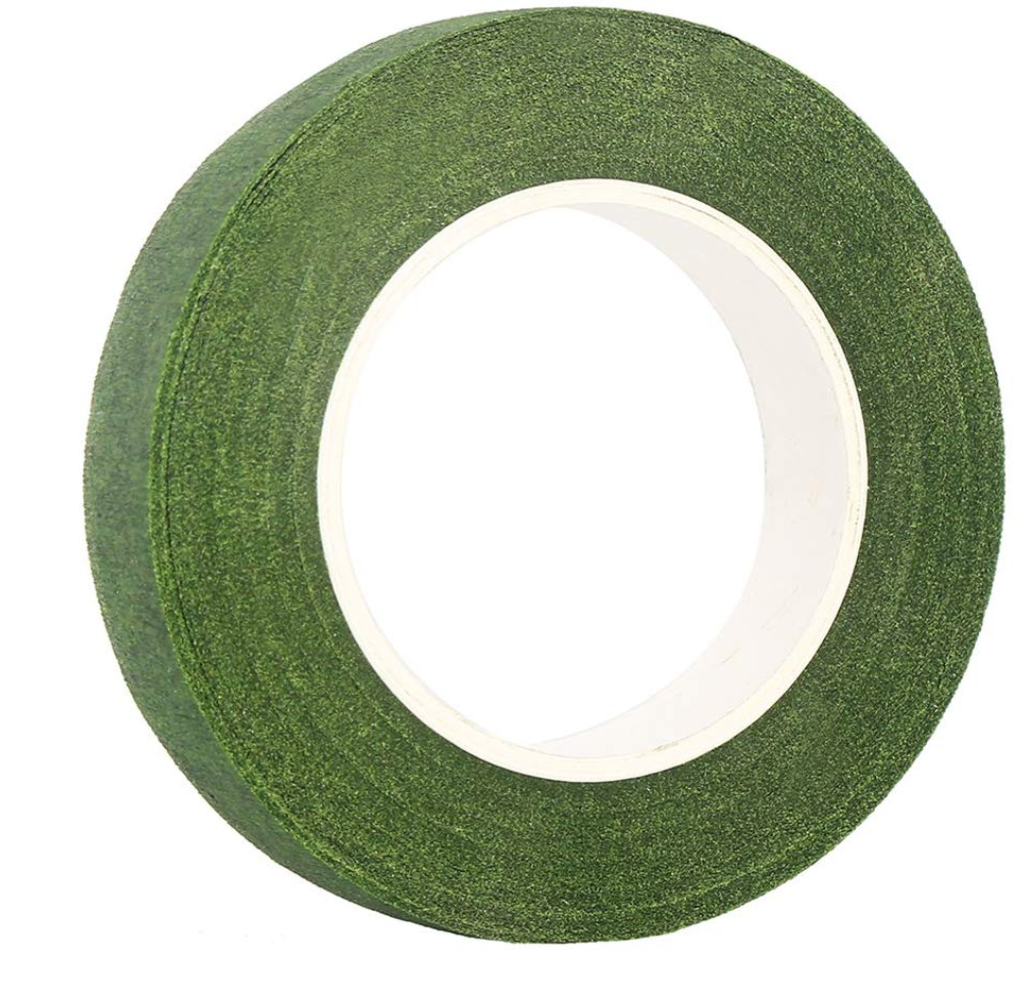
3.) If you just want to get the tape here is a link for that!
4.) Flowers!! I used 2 shades of pale pink roses, some carnations and even some really fun blue flowers I found. i think anything that can withstand being bent and twisted will be just fine. I loved making it super full so make sure you have enough florals to go around.
HOW TO ASSEMBLE
I made an IGTV video that I think will be the most helpful way to know how, but I will do my best to explain in written form
1.) Measure out the size of the circle you’ll want the crown to be. Cut your rope a bit longer, have the ends go just past each other and twist together to close the circle. I added a tiny piece of duck tape to secure it. You can use regular tape.
2.) Cut your first flower and leave a stem of about 2 inches on it.
3.) Lay the flower so the flower bud is all that is hanging of the rope. Have the stem lay alongside the rope towards whichever direction you prefer.
4.) Get out your flower tape and loop it around the base of the flower head and tope well and tight. Do about 3 loops then add another flower. DO NOT cut your flower tape and start over with each flower. The one continuous tape and loop help keep it together very securely. When you do this you are completely covering the flower stems.
5.) Alternate between the big flowers adding smaller ones in between to vary the look and texture of your crown.
6.) If you’re just doing a 1/2 crown then stop at the sides, but if you’re doing a full one then just go all the way around. When you have finished, put the flower tape and loop it a few more times. Trim off any excess and finish with a little tape or duck tape.
7.) Tada! All done! It will keep in the refrigerator for a couple of days! Enjoy!
Did you make this? Tag me on instagram so I can see!!


PIN FOR LATER
Shop this post! By you clicking these links and purchasing through them you really help support my blog and Azure Farm. Thank you so much!