Garden Wind Chime Tutorial

Hey Friends! I got inspired this week to make a fun little wind chime for the garden! I wanted it to be quick and easy and off course whimsical and unique. So voila! I think it turned out so cute and I only wish Ava had been big enough to do one with me! I think this would be the perfect summer project for kids to work on! IT IS SO EASY TO MAKE!!

MATERIALS NEEDED :
1.) Spray paint - I used a chalk paint because I wanted a mat finish. You could do any color, or even have them be hand painted with stamped patterns etc. The possibilities are endless! I painted mine white.
2.) Terra Cotta Pots- I used the smallest ones Wal-Mart had. You can also do it with larger pots. Purchase the ones I got HERE
3.) Wood Beads- I bought mine at Wal-Mart in the craft section. They came in varied sizes and perfect to choose a variety from ! CLICK HERE
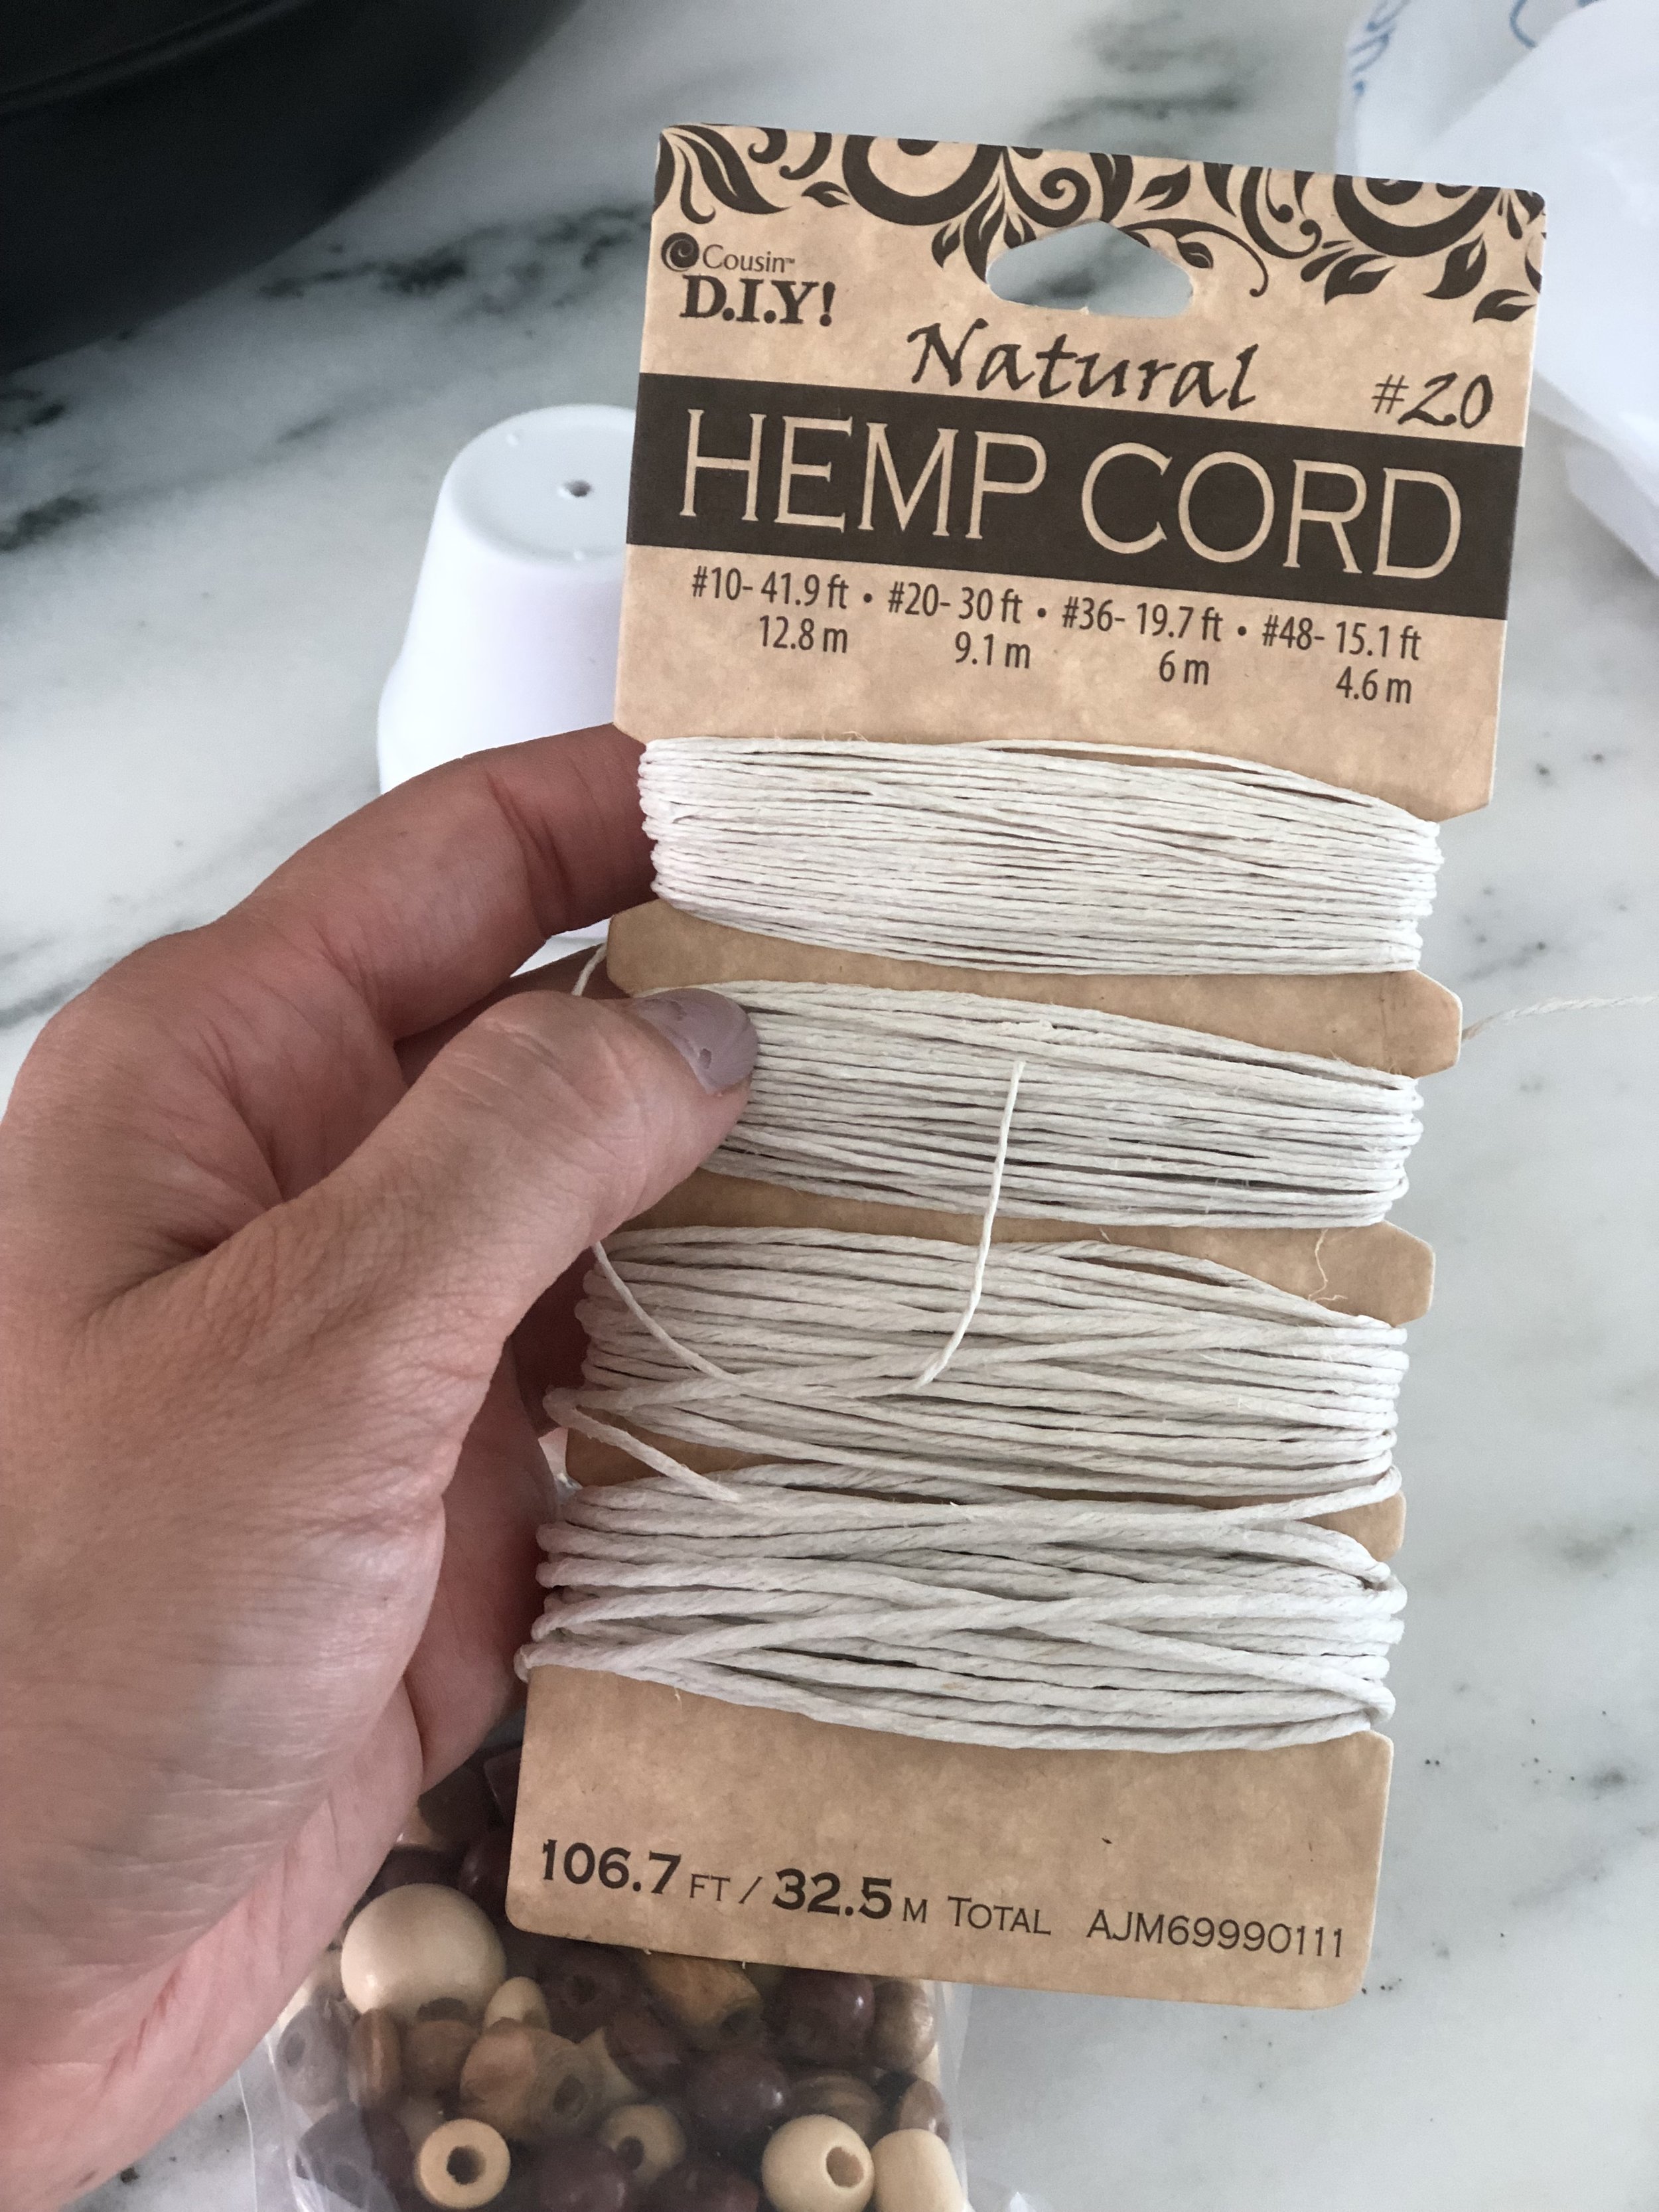
4.) Hemp Cord- You can also use rope if your pots are bigger! I used the help rope that was of the right diameter to go through the hole on the bottom of the pot. CLICK HERE
5.) Fancy Beads. Then you need a mixed media bead strand such as this. CLICK HERE. Choose the color you prefer or love the most. These are the ones you find in the make-your-own jewelry section. They come in one strand. I got one with pink hues.


HOW TO:
Friends this is the easy part I think! And you can’t mess it up!
1.) Make a loop with your rope ( for hanging) and tie an extra knot at the bottom. This will be the top of your wind chime.
2.) Next begin sliding beads on! You can do WHATEVER you want! I’d say 2 big ones and then a few smaller. Then tie knot.
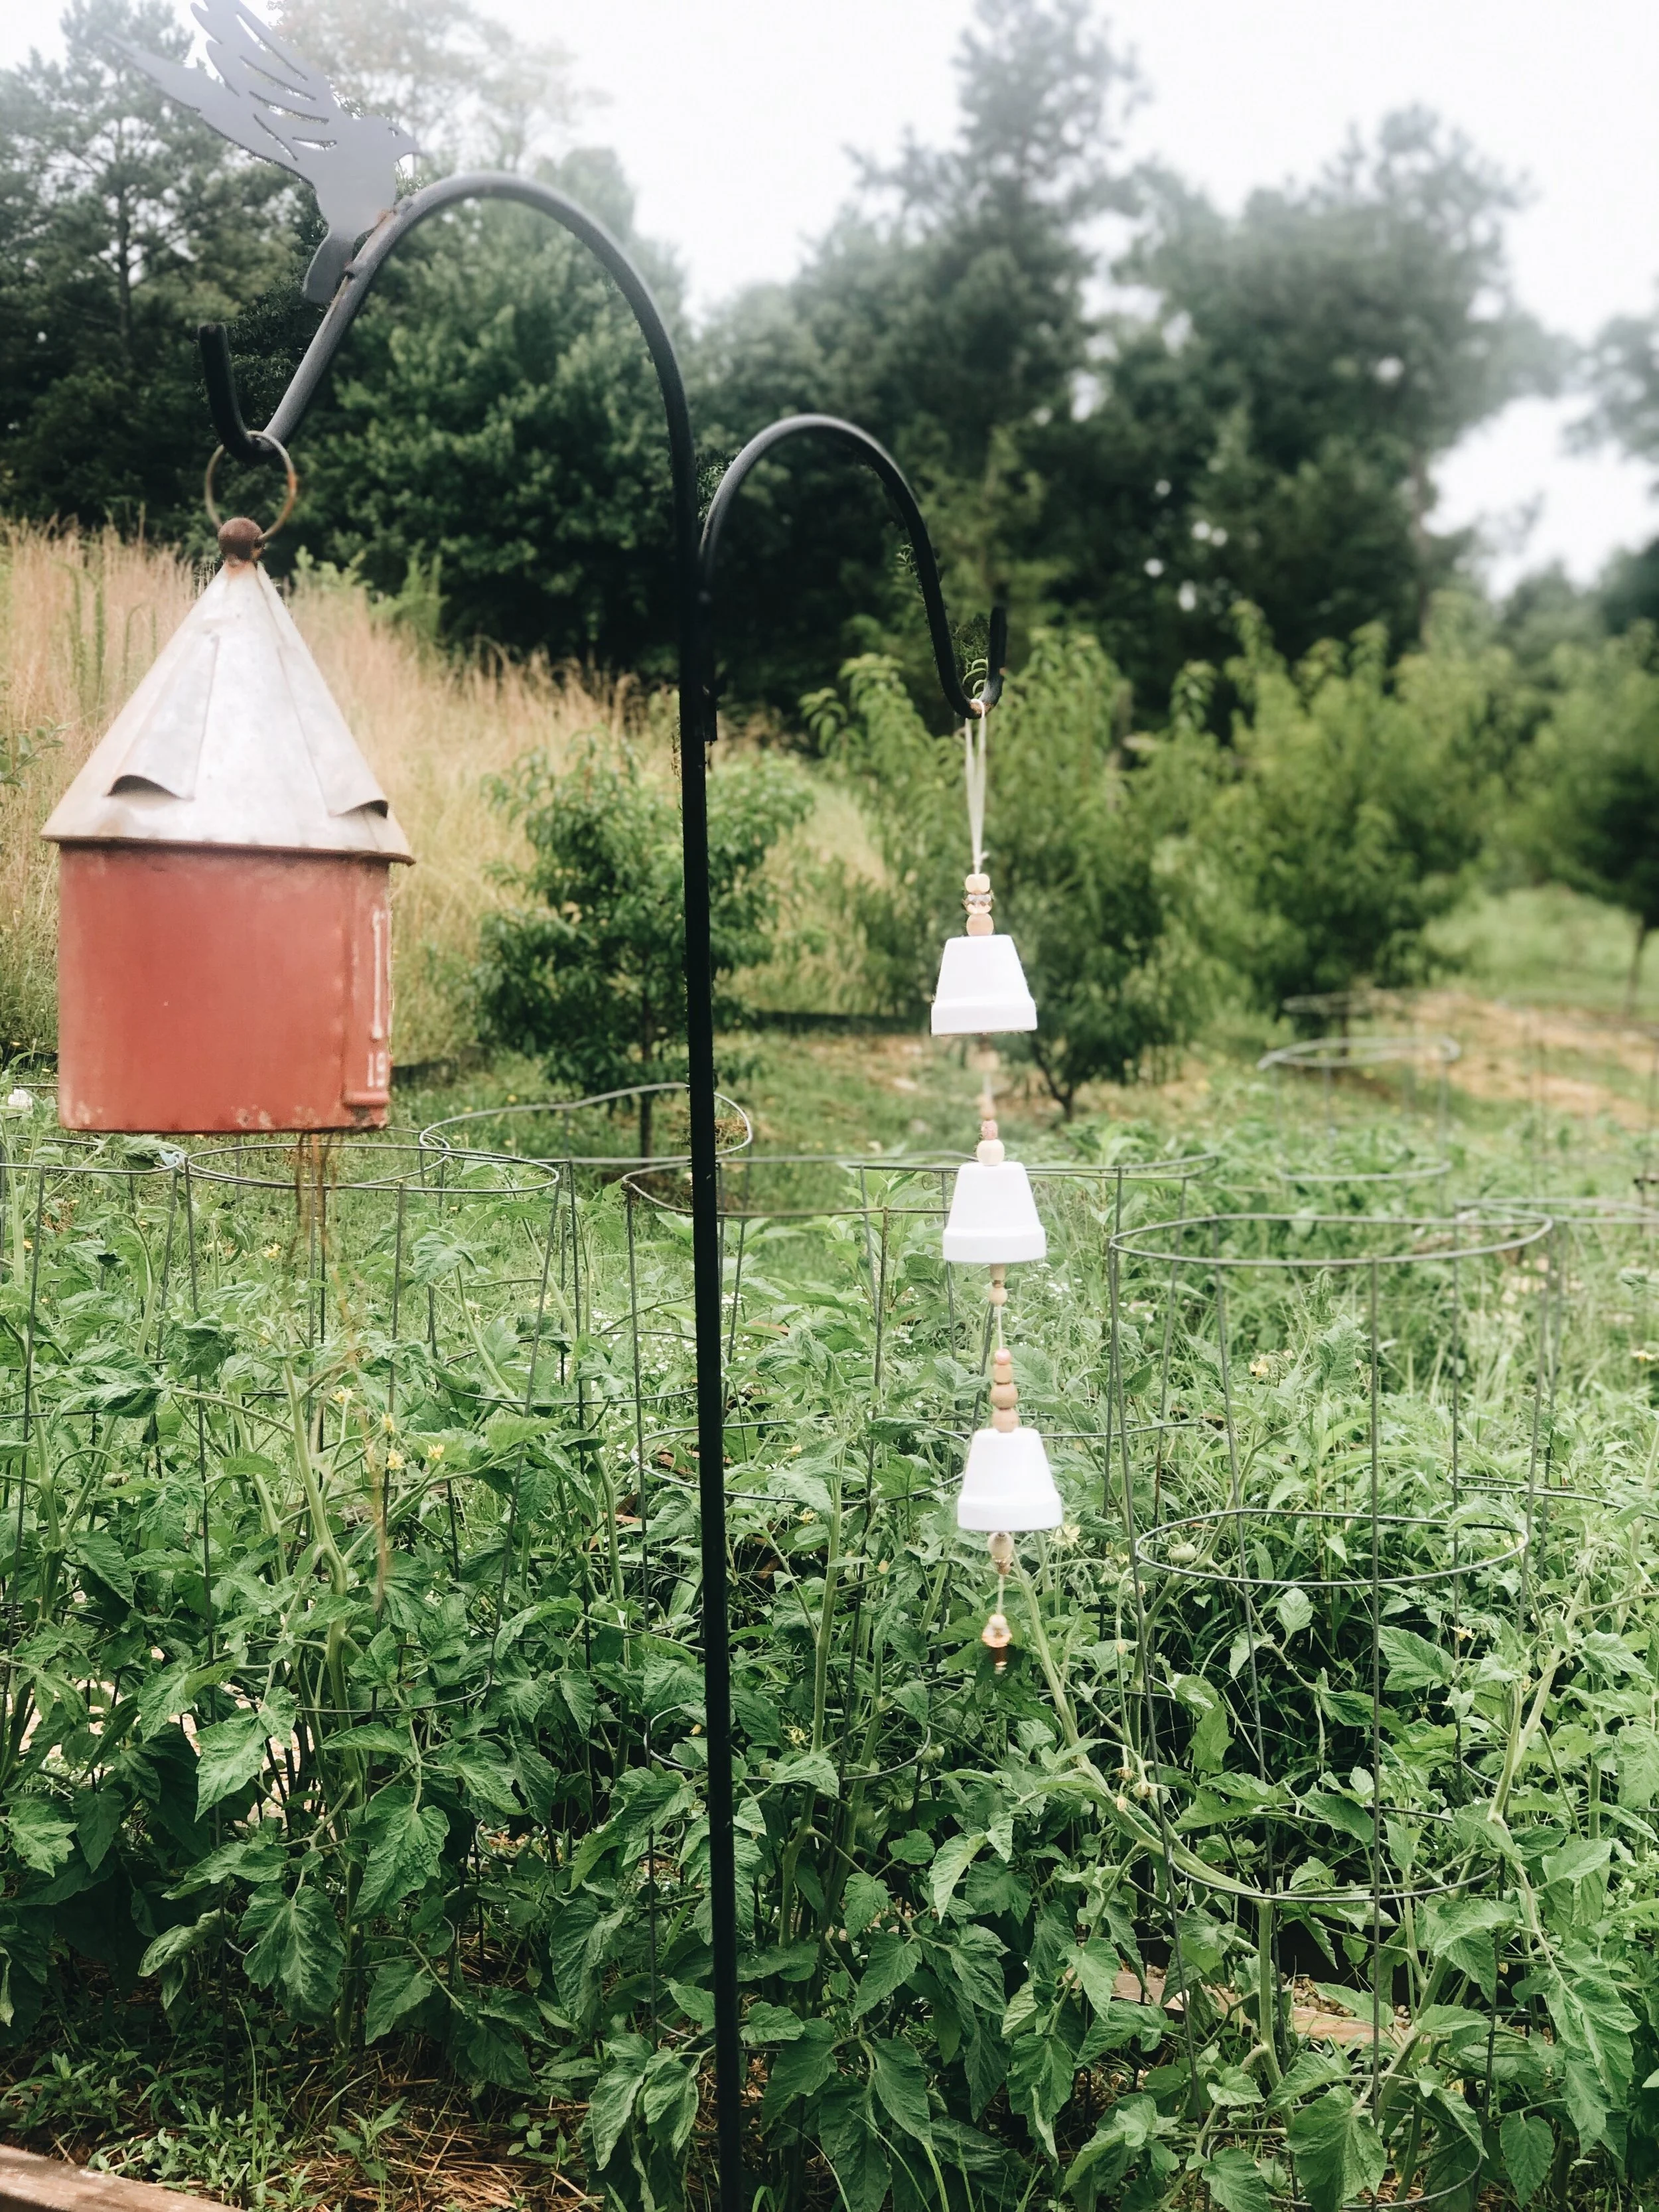
3.) Slide your first pot on! Then tie a knot close to the top of the pot so it doesn’t fall down. Then slide some beads in! Make sure they are actually inside the pot a bit as this is what will chime when it moves around. Have about 2-3 beads stick out of the bottom.
4.) Tie a knot then add a few more beads a little ways down. Then add another pot and repeat.
YOU CAN ADD as many pots as you’d like! I only added 3, but you can do more!!
5.) To finish add a few more beads to dangle off the end. Tie a double knot, cut the cord, and VOILA!! You’ve done it!
Tips:
Vary the sizes of wood pieces and intermix in some sparkly pieces. This will add dimension and whimsy to your piece! This was so easy to make and the perfect summer DIY
Enjoy Friends! Let me know if you make one!!
xoxo: Annette