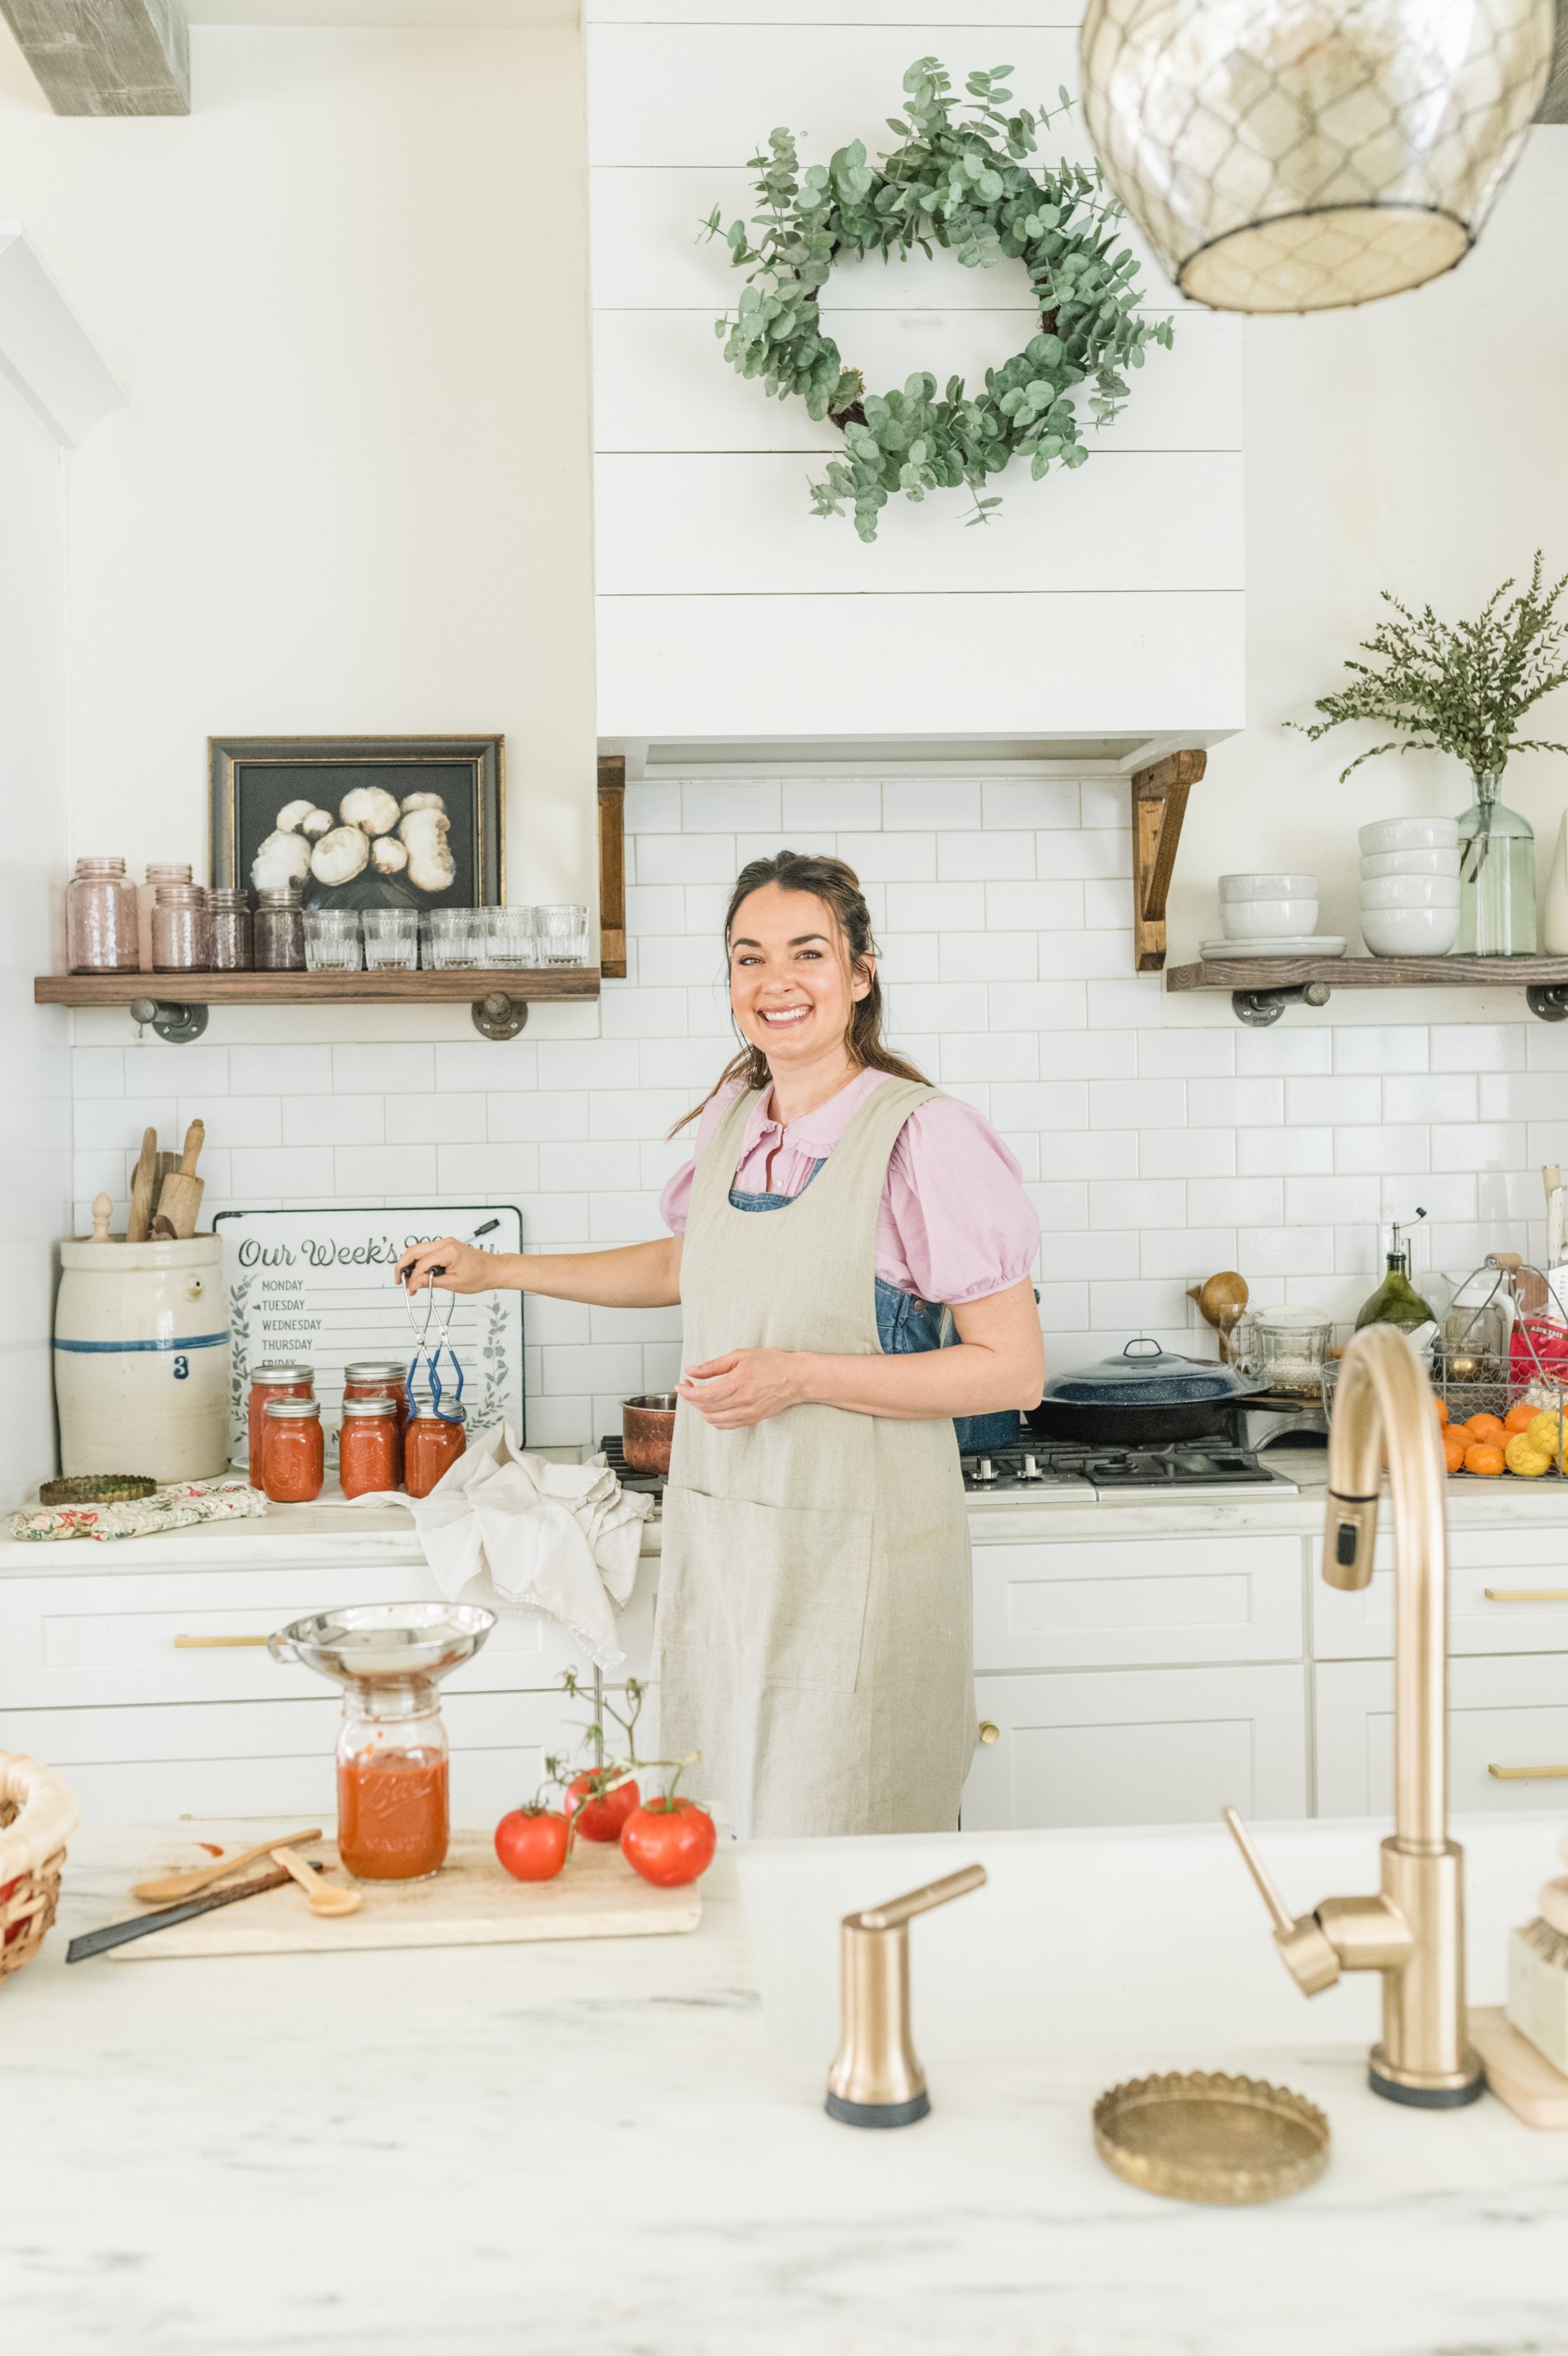
Your Canning Fears, Problems, And Concerns Addressed With Easy Solutions!
Canning food is a magical process and experience that even novice cooks can quickly master by following a few basic principles. When following an approved recipe down to the T, not much should go wrong, and you'll end up with deliciously preserved food.
But even the most experienced canner or attention-to-detailed person can sometimes come across canning problems or have questions and concerns.
And, let's face it, sometimes the odds are just not in our favor, and our best attempts get derailed by a small error we have no control over.
I have canned food for about 8 years now, and still, sometimes, I have to pause and turn to my Ball® blue book for assistance.
Do not despair, friend! When it comes to canning, there is a solution for most fears, problems, and concerns. Let's explore some of the most common ones below with solutions!
Click on the applicable concern or problem and jump right to it!
Adjusting recipe batch or jar sizes
It is crucial to always follow the recipe to get a safe and desirable result in canning. But what if you want to adjust the recipe and make a larger or smaller batch? Or if you wish to use smaller or larger jars?
The truth is, when recipes are scaled, there's more room for errors in calculations and an increased risk of an end product that will not be safe or desirable.
For example, with jams and jellies where pectin is used, you may end up with syrup when doubling up. It is also a considerable risk for recipes needing added acidity, like tomato sauce, as you may not get the amounts and pH levels correct.
So for sizing up (your batch or jar), it is best to just make one recipe at a time, following the exact ingredient quantities, headspace, jar size, and processing time. The only exception to this rule is if the recipe provides a tested option for a larger jar size.
For sizing down, things are a bit more flexible. You can always decrease the jar size but not increase it. If you decrease the jar size, use the same quantity of ingredients and processing time you would have for the larger jar.
READ MORE: How to can food in 10 easy steps - with a delicious beginner’s recipe!
Adjusting processing times for altitude
Know your altitude for canning! Barometric pressure is reduced at high altitudes, which can affect the temperature at which water boils.
When water boils, it looks the same at different altitudes but doesn't boil at the same temperature. The temperature is different because the atmospheric pressure is lower at a higher altitude. And the lighter the atmospheric pressure, the lower the boiling point of water. It, therefore, is less effective at destroying microorganisms with every increase in altitude.
This means you must adjust your processing times depending on your altitude. Colorado, for example, has a higher altitude and needs to have its times adjusted.
Steam also expands more at higher altitudes, so you should allow extra room for it inside canning jars by increasing the headspace by ⅛ inch for every 1000 ft/305 m above the sea-level zone. Don't exceed 1¾ inches for quarts, 1 inch for pints, and ¾ inch for ½-pints.

Botulism And Other Bacteria
In reference to the Ball® Blue Book, botulism is readily destroyed by boiling; however, its toxin-producing spores cannot be destroyed at 212°F through water bath canning.
Furthermore, botulism-causing bacterium thrives on low-acid foods in the absence of air within a moist environment - exactly the conditions inside a sealed jar of canned vegetables, meats, or other types of low-acid foods.
Due to bacterial spores and their toxins, low-acid foods must be processed at 240°F. This high temperature can only be reached using a pressure canner, since the steam it creates can achieve temperatures hotter than boiling water.
Ways to reduce bacteria:
Use clean equipment that has been thoroughly cleaned before use, and work on a clean work surface.
Use clean, safe drinking water to wash and cook your produce.
Wash your produce very well to get rid of soil and microorganisms.
Always follow proper processing practices and according to the indicated times.
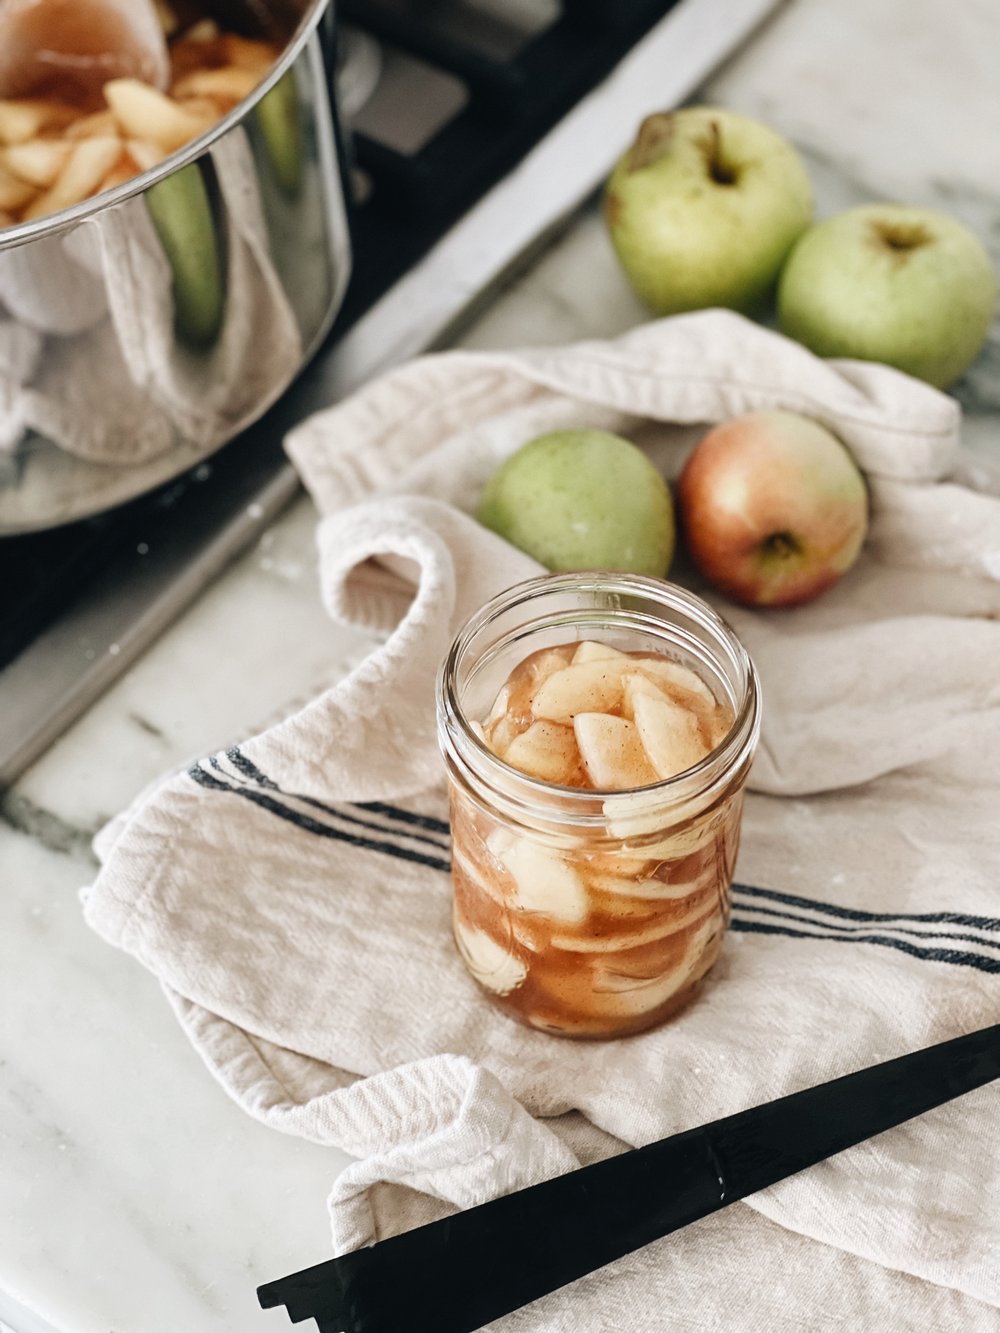
Canning without added sugar
If you want to omit or reduce added sugar in recipes for health reasons, it is totally safe to do so!
Sugar is added to recipes to create a desirable end product. It improves flavor, helps stabilize color, and retains the shape of the fruit. Sugar can also be a thickener in jellies and jams, binding free water.
So, as you can see, sugar is added to recipes to create a desirable end product. It is not added as a preservative and has no safety purposes.
All that will happen if you omit or reduce sugar is that the end result may not be as sweet, balanced in flavor, have the desired consistency, and may lose its color over time.
Alternatives for sugar in canning recipes:
Non-caloric sweeteners such as Splenda or stevia. Liquid stevia works better for purity of taste, ease of use, and quality results.
Ascorbic acid can also be used to retain the color when no sugar is used. Use ¼ to ½ teaspoon crystalline ascorbic acid per quart of fruit.
Use 'no sugar needed pectins' for jams and jellies to help get a firmer set.
READ MORE: Raspberry chocolate jam

Canning jar not sealing or loses its seal
There are a few reasons for jars not sealing correctly or losing their seal:
The biggest reason is not following a proven, tested recipe and using a personalized recipe that has not been tested. Your recipe (or the one you are following) and the processing could have been incorrect.
Another reason could be that you used water bath canning instead of pressure canning. Water bath canning is for high-acid foods, and pressure canning is for low-acid foods.
Tampering with the lids and bands after processing. You need to leave them untouched for 12-24 hours.
Leaving incorrect headspace when filling up the jars before processing.
Tilting and turning jars upside down after processing.
Hairline cracks in the jars or slightly dented bands that you did not notice.
Re-using lids (a big no-no!).
What to do with jars that didn't seal
When your jars don't seal after processing, you have a couple of choices depending on what you are canning:
Enjoy the food that very same day. Make a delicious lunch or dinner!
Store it in the refrigerator and use it within a couple of days.
Place the jar in the freezer (if it is a freezer-safe jar) and enjoy it at a later stage.
Reprocess the unsealed jar – here's how:
Check the jar rim for any chips, cracks, or dents which may have caused the inability to seal. Replace the jar if necessary and use a new lid.
Adjust the headspace again.
Follow the canning recipe again and reprocess the jar in the water bath canner.
READ MORE: How to can tomato sauce

Flat-Sour
Flat sour is a term used for canned goods with a sour taste and smell, and flat because no gas is produced that bulges or blows the lid off.
This is caused by some heat-loving microorganisms that survive the canning process. The microorganisms are harmless as far as food safety is concerned but cause the food to ferment, producing a sour taste and smell.
How to avoid flat sour?
Don't leave the jars in the canner for too long after processing - Take them out after 5 minutes. Also, don't stack the warm jars close to each other after taking them out, and don't place a towel over them.
Glass jars breaking
Ball® jars are tampered to withstand very high temperatures and will not break easily if used and processed correctly.
Follow these tips to ensure your jars don't break:
You should always warm up the jars before adding food and processing.
Don't put cold in hot or hot in cold.
When removing the jars after processing, ALWAYS place them on a towel or wood cutting board and never directly onto a cold surface or countertop.
Jar tipped over while canning
It is essential that jars remain upright in the canner throughout the heat processing time. But, if your jars tilted or tipped for any reason, the only thing you can do is to wait until after processing and 12-24 hours of cooling off to see if they have sealed or not.
If the lid is sealed (an adequately sealed jar lid will not spring up when you press down in the center), the contents should be fine and safe to store.
However, food particles could have passed between the sealing compound and the rim of the jar, preventing the formation of a secure seal.
One way to prevent your jars from tipping over, especially if you only have a few in a big canner, is to place empty glass jars

Loss of liquid during canning
Significant pressure builds up inside jars while they are being heat-processed. Improper packing, headspace allowance, and processing can lead to liquid loss or siphoning that can lead to seal failure. Siphoning is also more prone to happen when you are processing jars with larger volumes.
Liquid loss is more prevalent in pressure canning but occasionally happens in water bath canning.
If your jar is safely sealed, a little liquid loss is not a safety concern but will only shorten the shelf life. However, if more than half of the liquid in the jars has been lost, the food may not be adequately processed and need to be discarded.
A few tips to prevent siphoning or liquid loss:
Follow headspace guidelines precisely and pack whole foods such as tomatoes, peaches, and pickles firmly into jars (but not overly tight). When heated, food expands and can "boil over" if too tightly packed, causing siphoning.
Always follow the proper heating and cooling procedures to prevent siphoning in a boiling-water canner. When the processing time has been completed, turn the heat off, remove the canner lid, wait 5 minutes, then remove the jars.
When removing jars, lift them straight up, without tilting, and cool them upright, undisturbed, for 24 hours.
Pressure canner exploding
Modern pressure canners are very safe these days and hard to "explode."
Pressure canners come with several fail-safe mechanisms, such as multiple valves, dual pressure regulators, and spring-loaded locks.
Tips for using your pressure canner safely:
It helps to know your altitude and adjust processing times as needed.
Ensure you are venting your lid as specified in the manufacturer's guide.
Inspect all parts before using them to ensure all are clean and properly working.
It's always best to follow your pressure canner's instruction guide and the exact recipe steps.
Note! A pressure canner and a pressure cooker are not the same thing. But your pressure cooker can maybe act as a pressure canner, too, you’ll have to check.
A pressure canner can maintain a certain pressure for 30 minutes to an hour, while a pressure cooker is prone to more fluctuations in its pressure. These fluctuations can be unsafe, as sustained pressure is necessary to kill all microorganisms in low-acid foods.
My Advice
Start with simple water bath canning recipes first, not with pressure canning. There are so many things you can water bath can and learn before you venture into something else.
Fears, problems, and concerns should not keep you from this wonderful preserving method that has been practiced for ages. Canning is fun, easy, and so fulfilling once you get the hang of it.
The secret is to always use tested and approved recipes and follow all the steps and ingredients!
Still unsure about this whole canning thing and process?
Do you still have canning fears and questions?
Want to learn all there is to know about how to can food safely and become a canning expert?
Then you might want to get my CANNING COURSE in partnership with Ball® home canning!
Whether you are a total newbie (we have all been there!) or would like to improve your canning skills, this canning course is IT!
After this course, canning will feel like a breeze, and you will be an expert canner, making delicious canning recipes for many years to come.
You will learn everything you need to know about how to can food effectively and safely at home, overcoming any fears or doubts you may have.
THE COURSE INCLUDES:
*A total of 25 informative, interactive videos taking you from start to finish,
covering everything there is to know about canning.
*The do's and don'ts of canning.
*Your most common canning questions answered and fears addressed.
*The best practices and tips for perfect canning.
*Five of my favorite delicious canning recipes that are great for beginners.
*An e-book with over 30 pages of information and recipes to guide you through the course.
The course is included in our HOMEGROWN membership platform.
By signing up, you'll have access to the canning course plus our gardening course,
how to raise chickens course, and many more!
For a small fee of $5.99/month or $49 for the year, you have years of experience, trial and error, and knowledge right at your fingertips.
