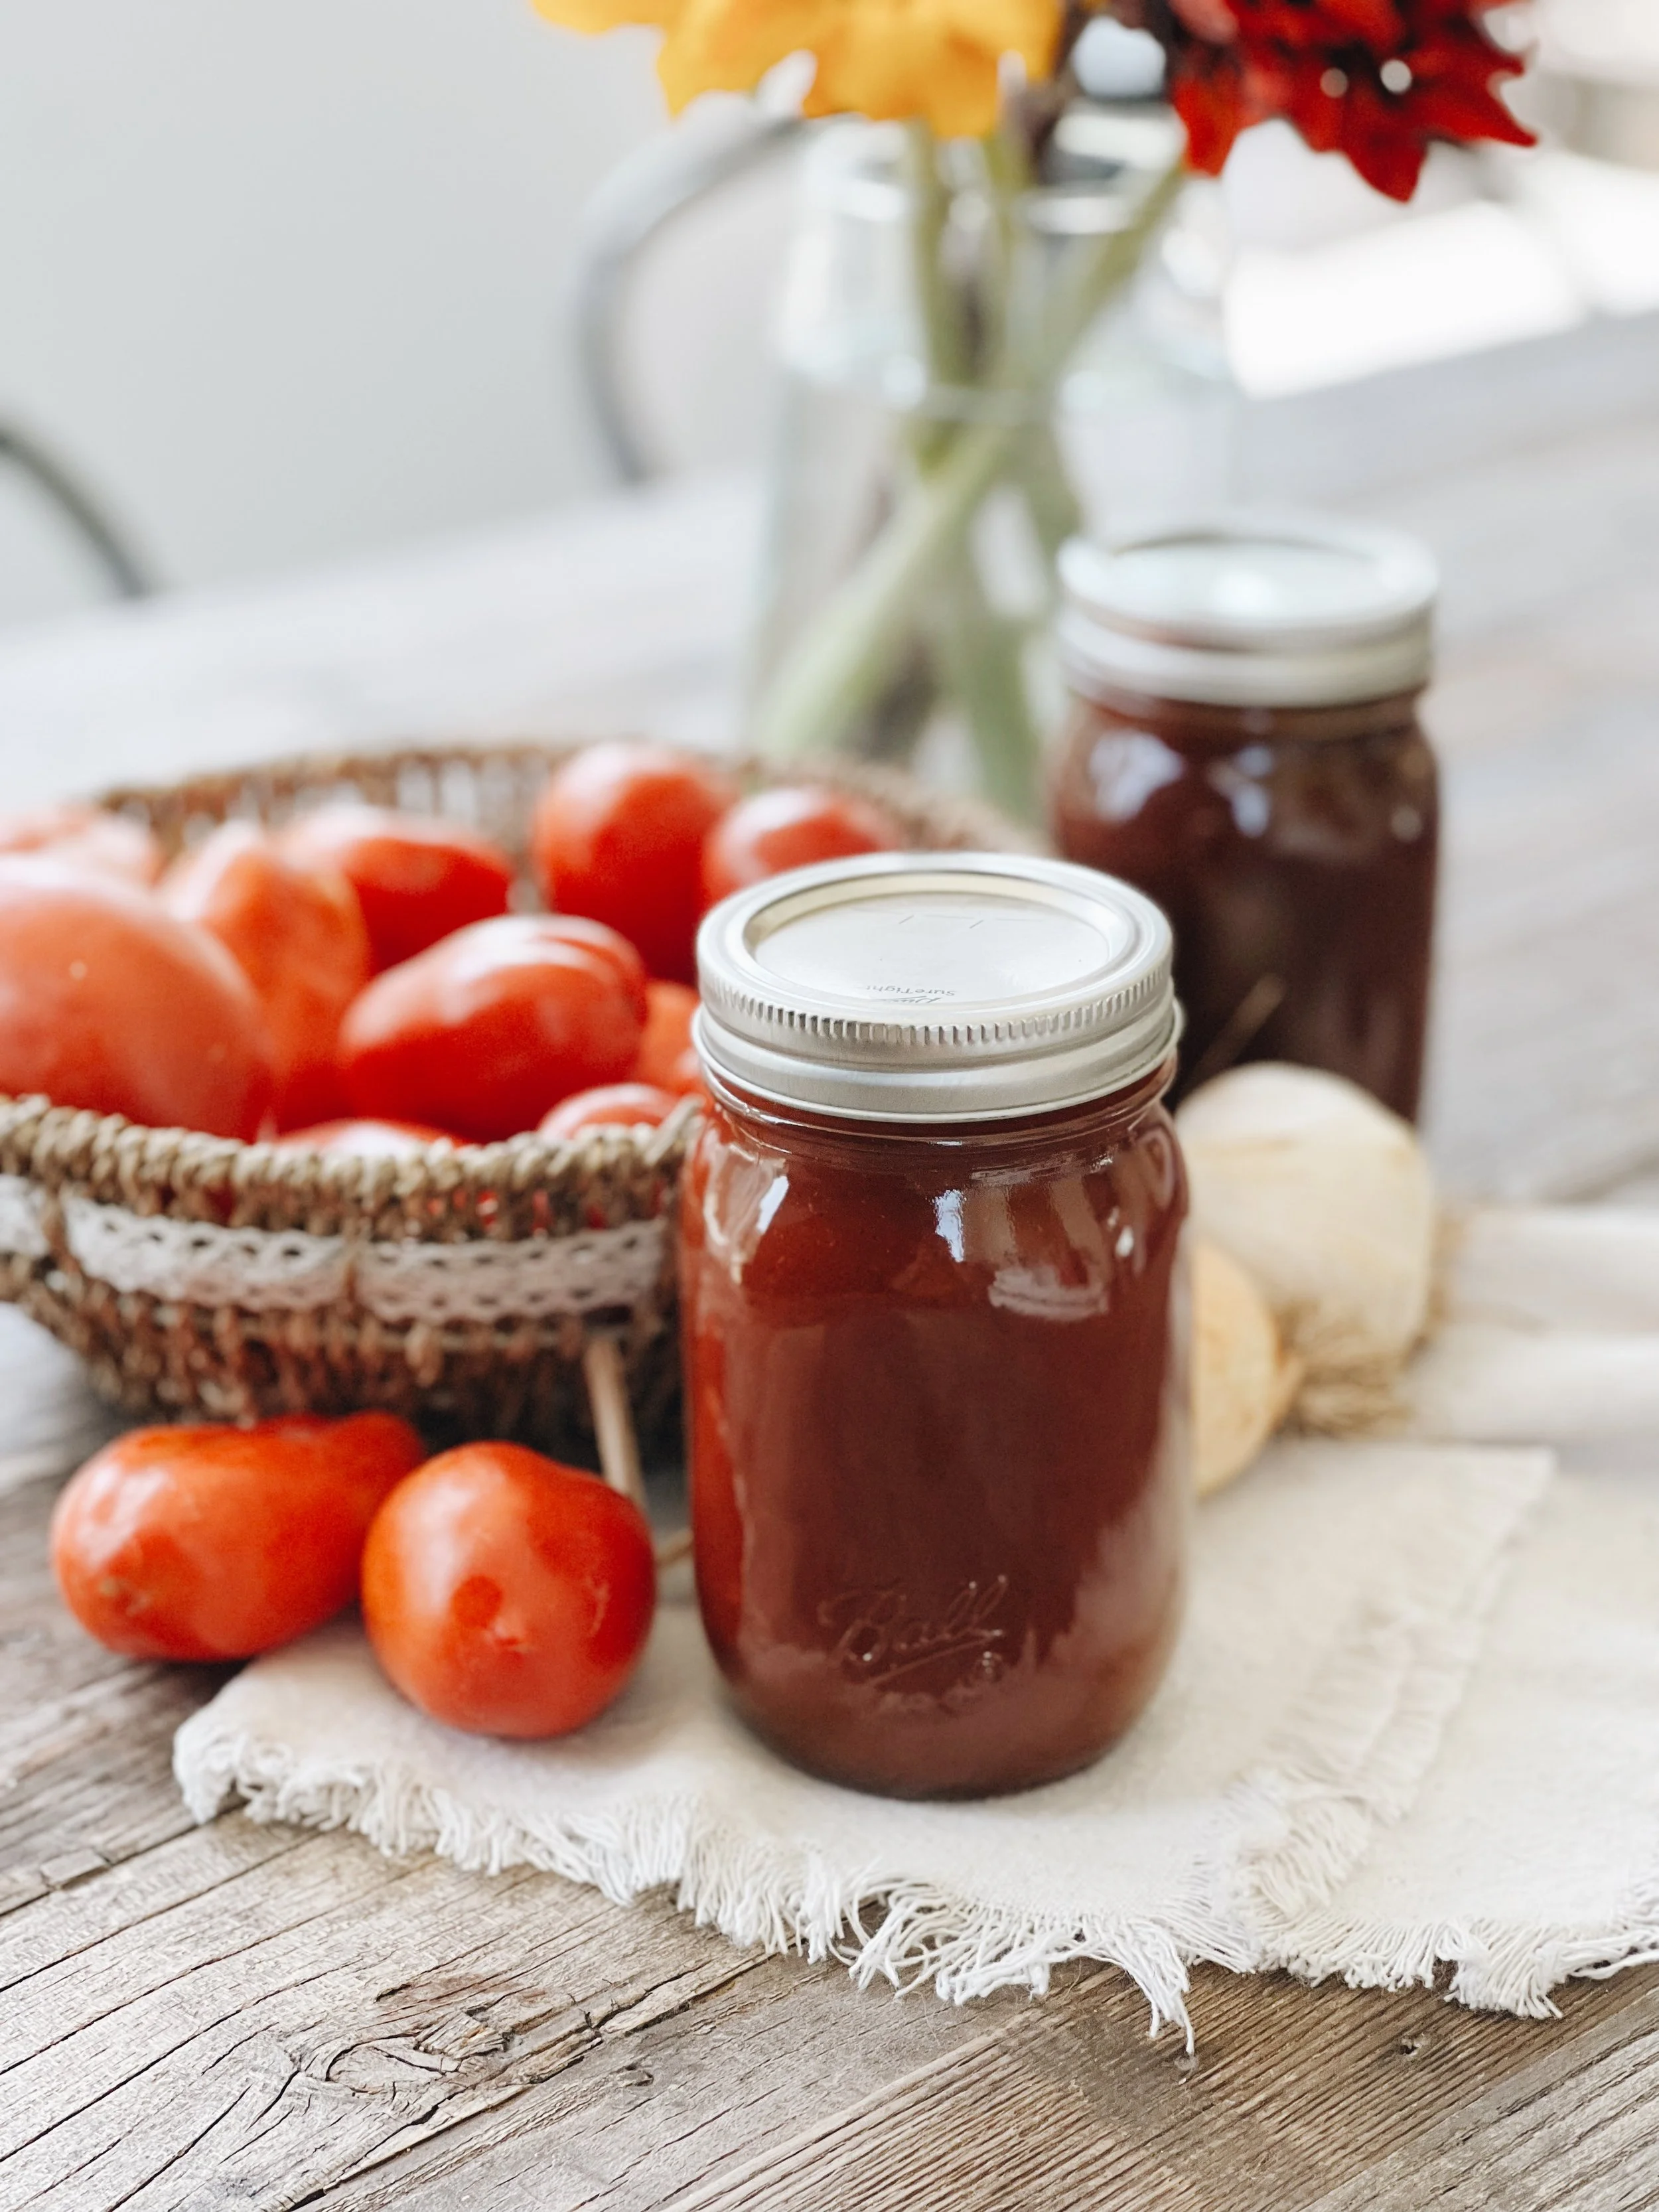
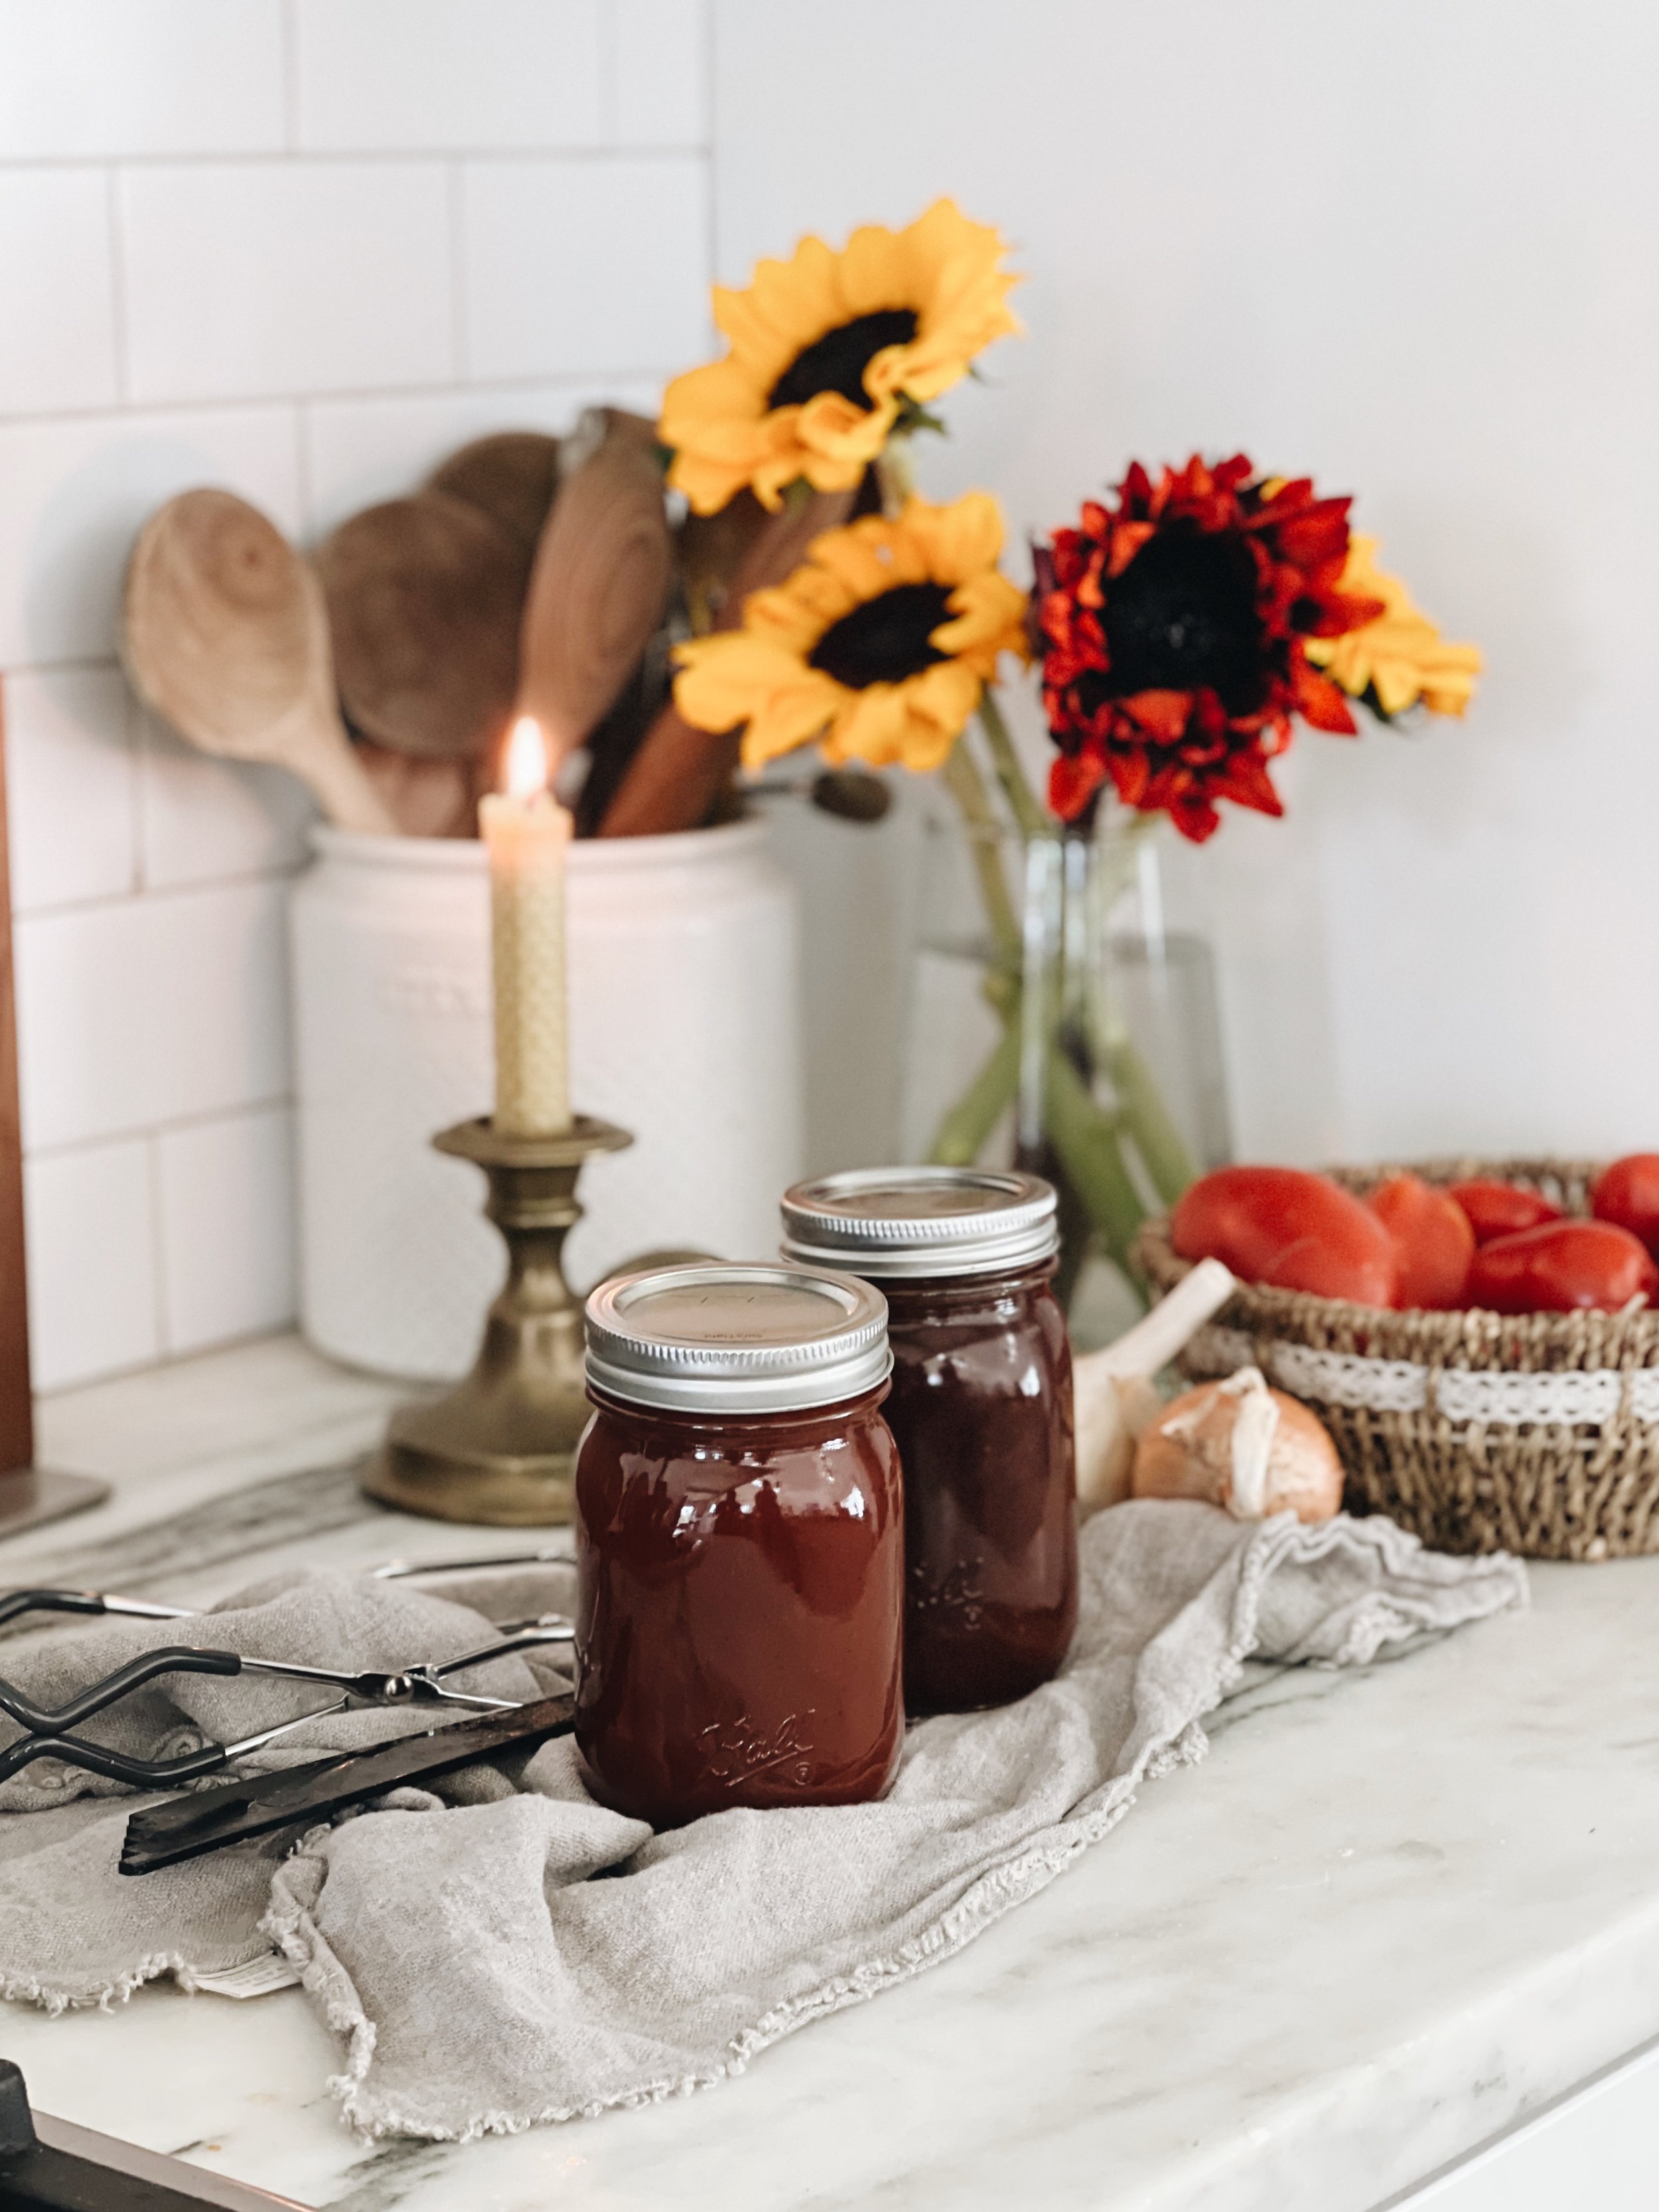
A delicious barbecue sauce recipe perfect for summer gatherings
The most delicious barbecue sauce everyone will want! Made from homegrown tomatoes , brown sugar, and lots of spice, it’s the perfect recipe for summer gatherings!
Keep reading to see how to make it, plus tips or canning and preparing tomatoes for the recipe. Summer is all about using our garden fresh produce and this Ball® Home Canning recipe does not disappoint.
This post is sponsored by the makers of Ball® home canning products

I love canning and preserving and it has truly become such a special part of living the country lifestyle. I’m not going to lie though, this recipe takes a while to make. It’s not as simple as the rest, but it truly brings a sense of satisfaction to know I made this delicious sauce! Not only did I make it, but I used fresh ingredients from our garden. If you have never canned below are a few helpful links!
This POST explains exactly what water bath canning is and when to use it.
HERE is an easy step-by-step printable you can download to quickly refer to when needed.
10 Steps for Water Bath Canning
Canning food products may seem like a difficult task left for the experts, but I assure you it's easier than it sounds! Anyone can make these delicious pickled foods, jams, and so much more in the comfort of their home. You only need some basic tools and follow a few simple steps. I have been using Ball® Home Canning products years and would definitely recommend them for all your canning needs!
HERE is an easy step-by-step printable you can download to quickly refer to when needed.
You will need:
Water bath pot or a deep stock/ pasta pot. It should be deep enough to have 2 - 3 inches of space above the jars to leave room for the boiling water.
Padding at the bottom to minimize rattling and possible shatter of your jars, and to allow for even heat circulation. A wire rack or trivet will do the trick.
Glass jars, lids, bands, and your contents ready to go into them.
I also recommend a jar lifter to avoid getting burned.
Home canning funnel, bubble remover, and headspace tool.
You can get the amazing Ball® 9 Piece Preserving Starter Kit for Canning HERE
Step 1
Wash and rinse all your glass jars to ensure it's free from dust and any particles.
Step 2
The Ball® home canning jars should be pre-heated before filling and processing. This will prevent your jars from cracking due to sudden thermal shock. A temperature of 180 degrees F should be sufficient to accomplish this.
Step 3
Prepare your recipe and put the food into the jars. Remember to leave the recommended headspace according to the approved recipe between the lip of the container and the surface of the food or brine. This will ensure there’s room for any possible expansion during boiling.
Get my favorite Ball® tool for measuring headspace HERE
Step 4
Remove any air bubbles with the bubble remover or a rubber spatula by scraping between the jar and the food to relieve trapped air. Repeat this two to three times.
Step 5
Wipe the rim and threats of the jar using a damp cloth to remove any food residue. Place the lid and screw the band on until it is fingertip-tight.
Step 6
Using your jar lifter, place the jars upright into the water, onto the padding. Your jars should be covered by 1-2 inches of water, if not covered, add more water. Repeat steps 3-6 for each jar one at a time before jumping into the processing time! Close the pot's lid when boiling has started, and don't open again.
Step 7
The processing time of a recipe only starts when the water has reached boiling point. Start your timer and boil for the required time according to the recipe.
Step 8
When the processing time is completed, turn off your burner, open the pot's lid, and wait for 5 minutes before taking your jars out. This helps for a better vacuum seal.
Step 9
Carefully remove the jars with the jar remover. Keep them upright all the time and place your jars on a towel or a wire rack to prevent cracking due to temperature differences. Let your jars sit undisturbed for 12 to 24 hours to cool down. Don't tamper with the lid or try to tighten the band, as this may interfere with the sealing process.
Step 10
Inspect your lids, it should not flex up and down when the center is pressed. Wipe down your jars and lids and store them in a cool, dry, and dark place for up to 18 months.
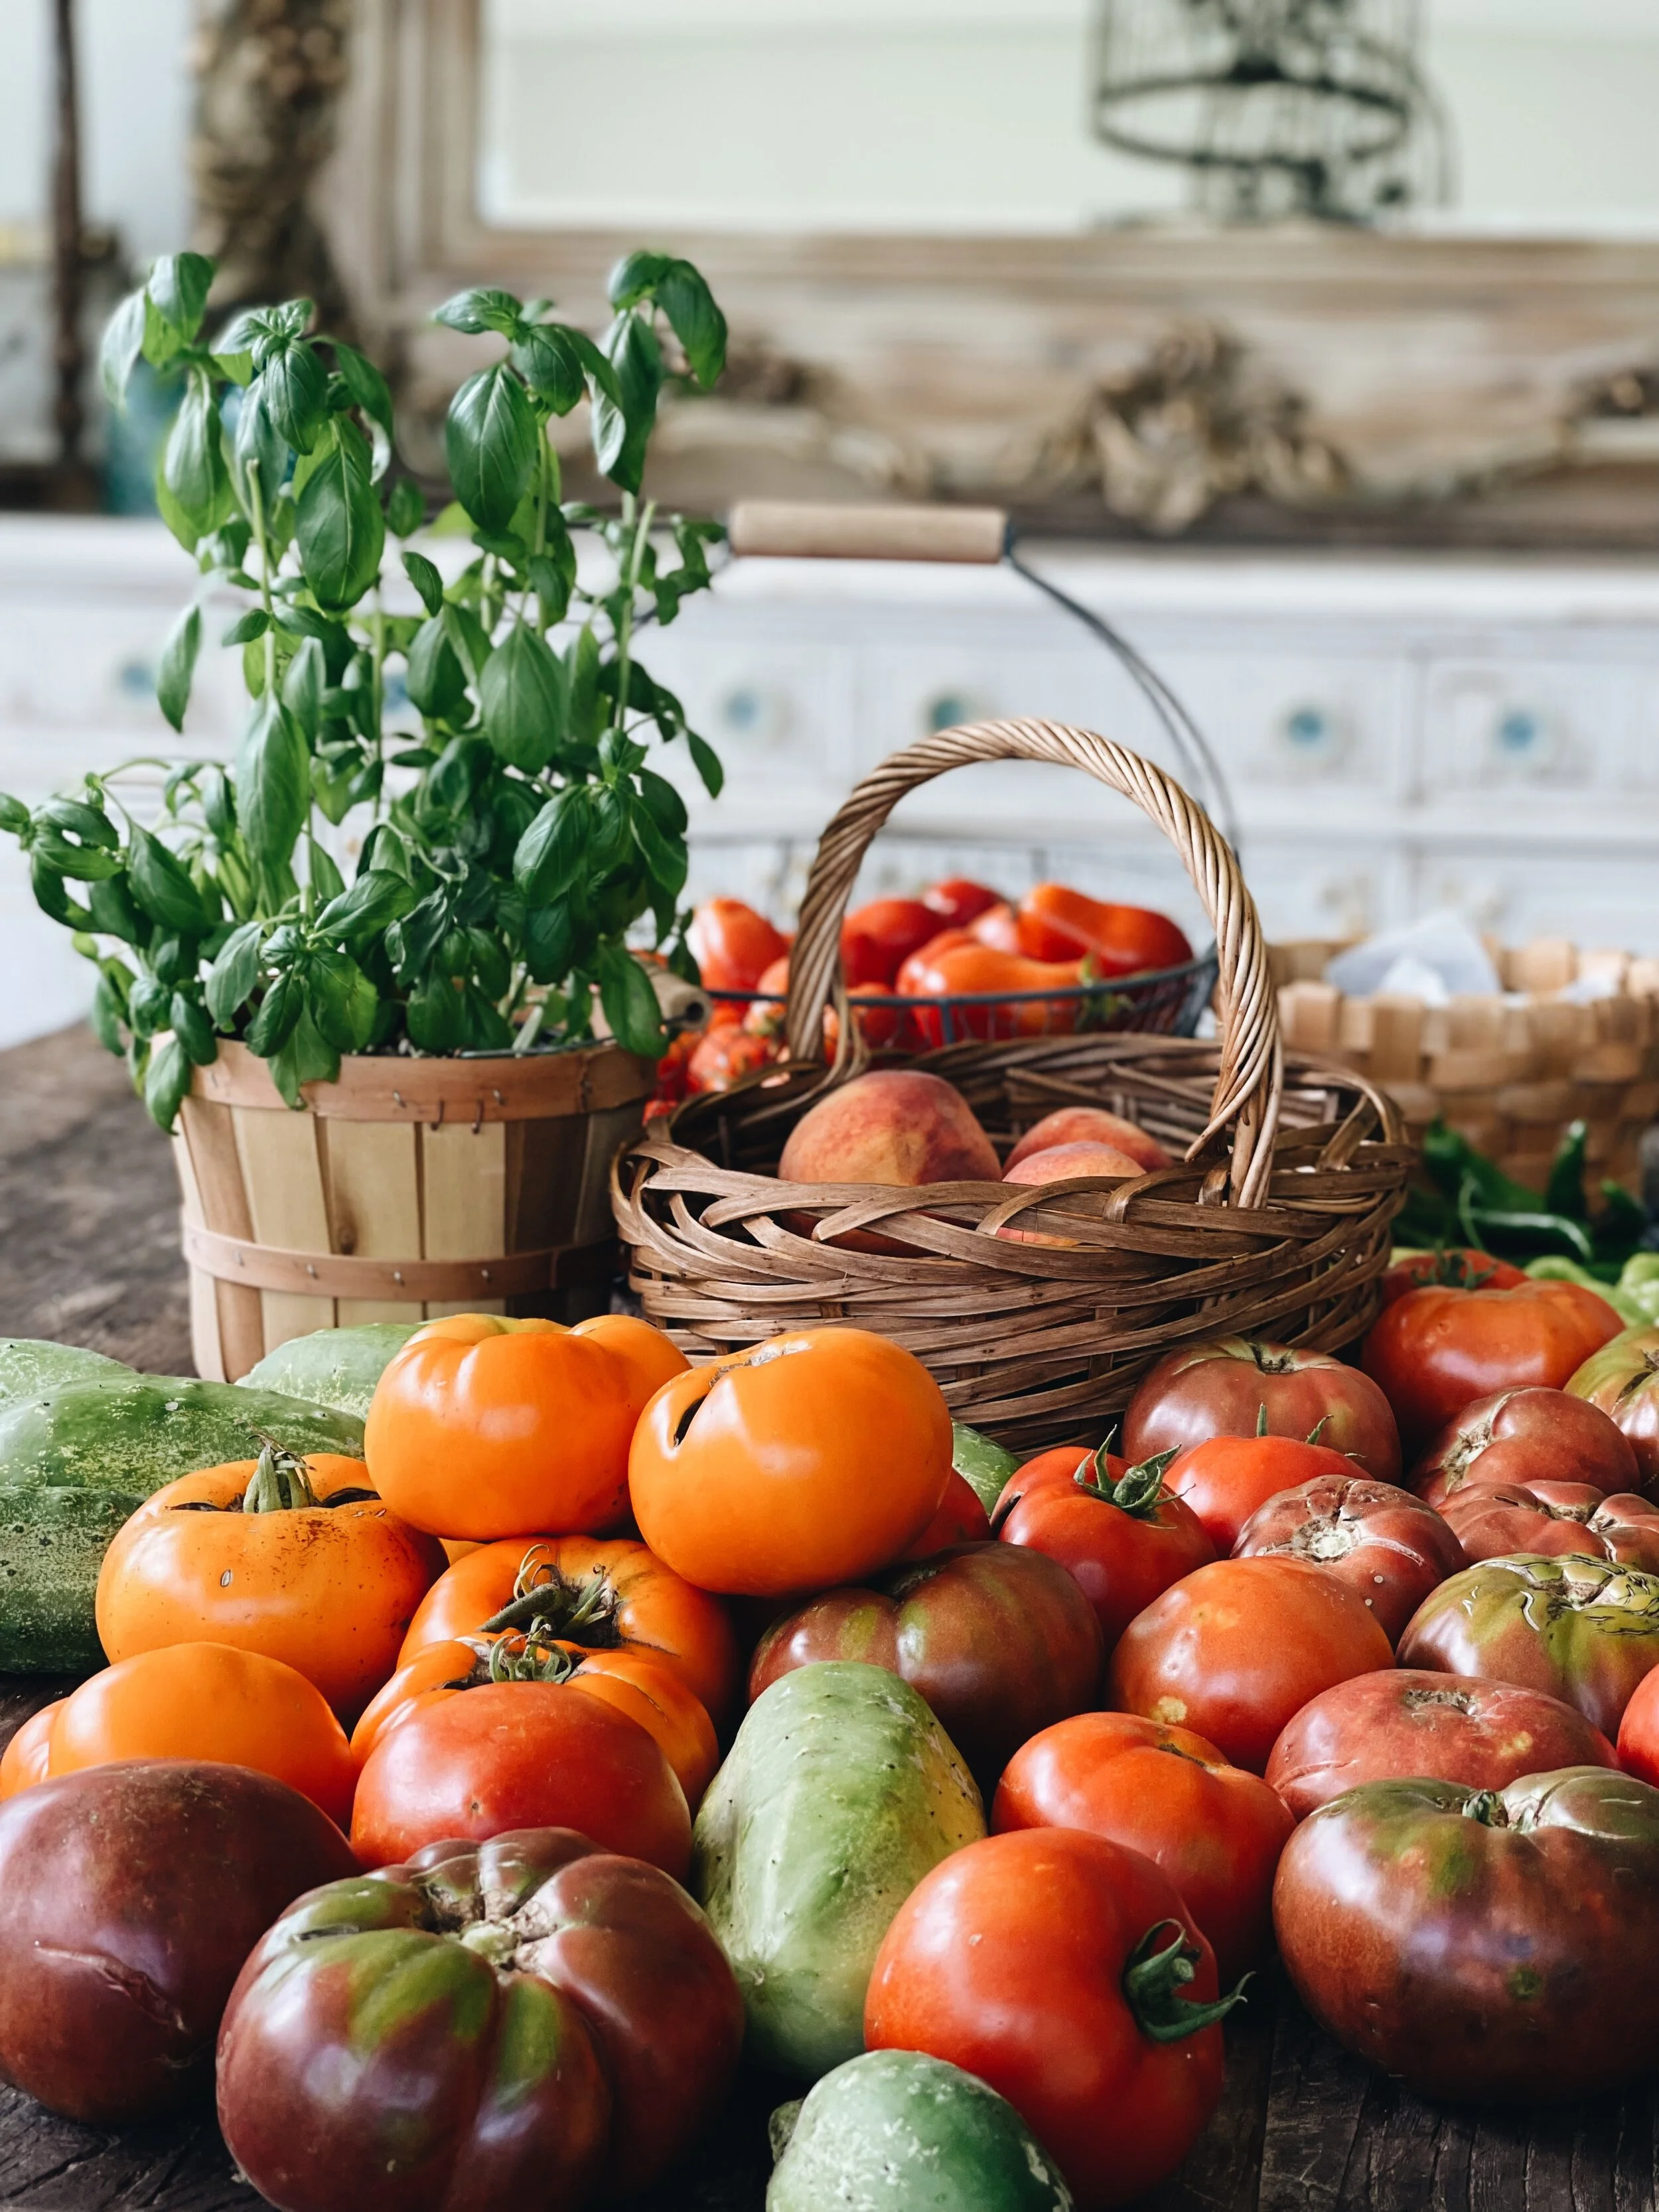
Pictured here: Some of our garden fresh harvest!
HOMEMADE BARBECUE SAUCE
INGREDIENTS
20 cups chopped cored peeled tomatoes (about 21 medium)
2 cups finely chopped onions (about 3 to 4 medium)
3 garlic cloves, finely chopped
1 Tbsp hot pepper flakes
1 Tbsp celery seeds
1-1/2 cups lightly packed brown sugar
1 cup white vinegar
1/3 cup lemon juice
2 Tbsp salt
1-1/2 Tbsp ground mace or nutmeg
1 Tbsp dry mustard
1 tsp ground ginger
1 tsp ground cinnamon

DIRECTIONS
Combine tomatoes, onions, garlic, hot pepper flakes and celery seeds in a large stainless steel saucepan. Bring to a boil over high heat, stirring constantly. Reduce heat, cover and boil gently until vegetables are soft, about 30 minutes.
Transfer mixture, working in batches, to a food mill to extract liquid and pulp. This can also be done using a sieve placed over a bowl, press with the back of a spoon to extract all the liquid and pulp. Discard solids.


Return liquid and pulp to saucepan. Add brown sugar, vinegar, lemon juice, salt, mace, mustard, ginger and cinnamon. Return to a boil over medium-high heat, stirring occasionally. Reduce heat and boil gently, stirring frequently, until mixture is thickened to the consistency of a thin commercial barbecue sauce, about 30-45 minutes.
Prepare boiling water canner. Heat jars in simmering water until ready for use. Do not boil. Wash lids in warm soapy water and set bands aside.
Ladle hot sauce into hot jars leaving 1/2 inch headspace. Remove air bubbles. Wipe rim. Center lid on jar and apply band, adjust to fingertip tight. Place jar in boiling water canner. Repeat until all jars are filled.
Process jars in a boiling water canner for 20 minutes, adjusting for altitude. Turn off heat, remove lid, let jars stand 5 minutes. Remove jars and cool 12-24 hours. Check lids for seal, they should not flex when center is pressed.
Makes approximately 3 pint size jars.
TIPS FOR PREPARING THE TOMATOES + MY FAVORITE VARIETIES
There is truly nothing as delicious as a homegrown tomato! My husband even says you don’t really have to add salt cause they’re just so good fresh from the vine. When it comes to caning there are a few varieties that I have grown to love. A paste variety is best because it has more meat and you’ll get a thicker sauce. You can use any tomato but the varieties below are my trend and true favorites.
MY FAVORITE VARIETIES
San Marzano
Martinos’ Roma
Amish Paste
I have over the years found this method to be the easiest when it comes to preparing tomatoes for canning. The peel has to be removed as it introduces a potential for bacteria if left on the tomato. Peeling the tomato is not necessarily easy. There are many methods out there but this is my favorite
HOW TO PEEL A TOMATO
Half the tomato lengthwise
Remove the core
Remove the seeds
Place tomato’s face down onto a baking sheet
Place in oven on high broil for 5 minutes ( set a timer)
If skins are wrinkly remove for oven and let cool for 5 minutes
Easily remove peels from the tomato and discard.
The tomatoes are now ready for use and you can proceed to following the recipe for how to use them.
If you want to keep your tomato peels you can dehydrate them for some delicious tomato powder to use in recipes.


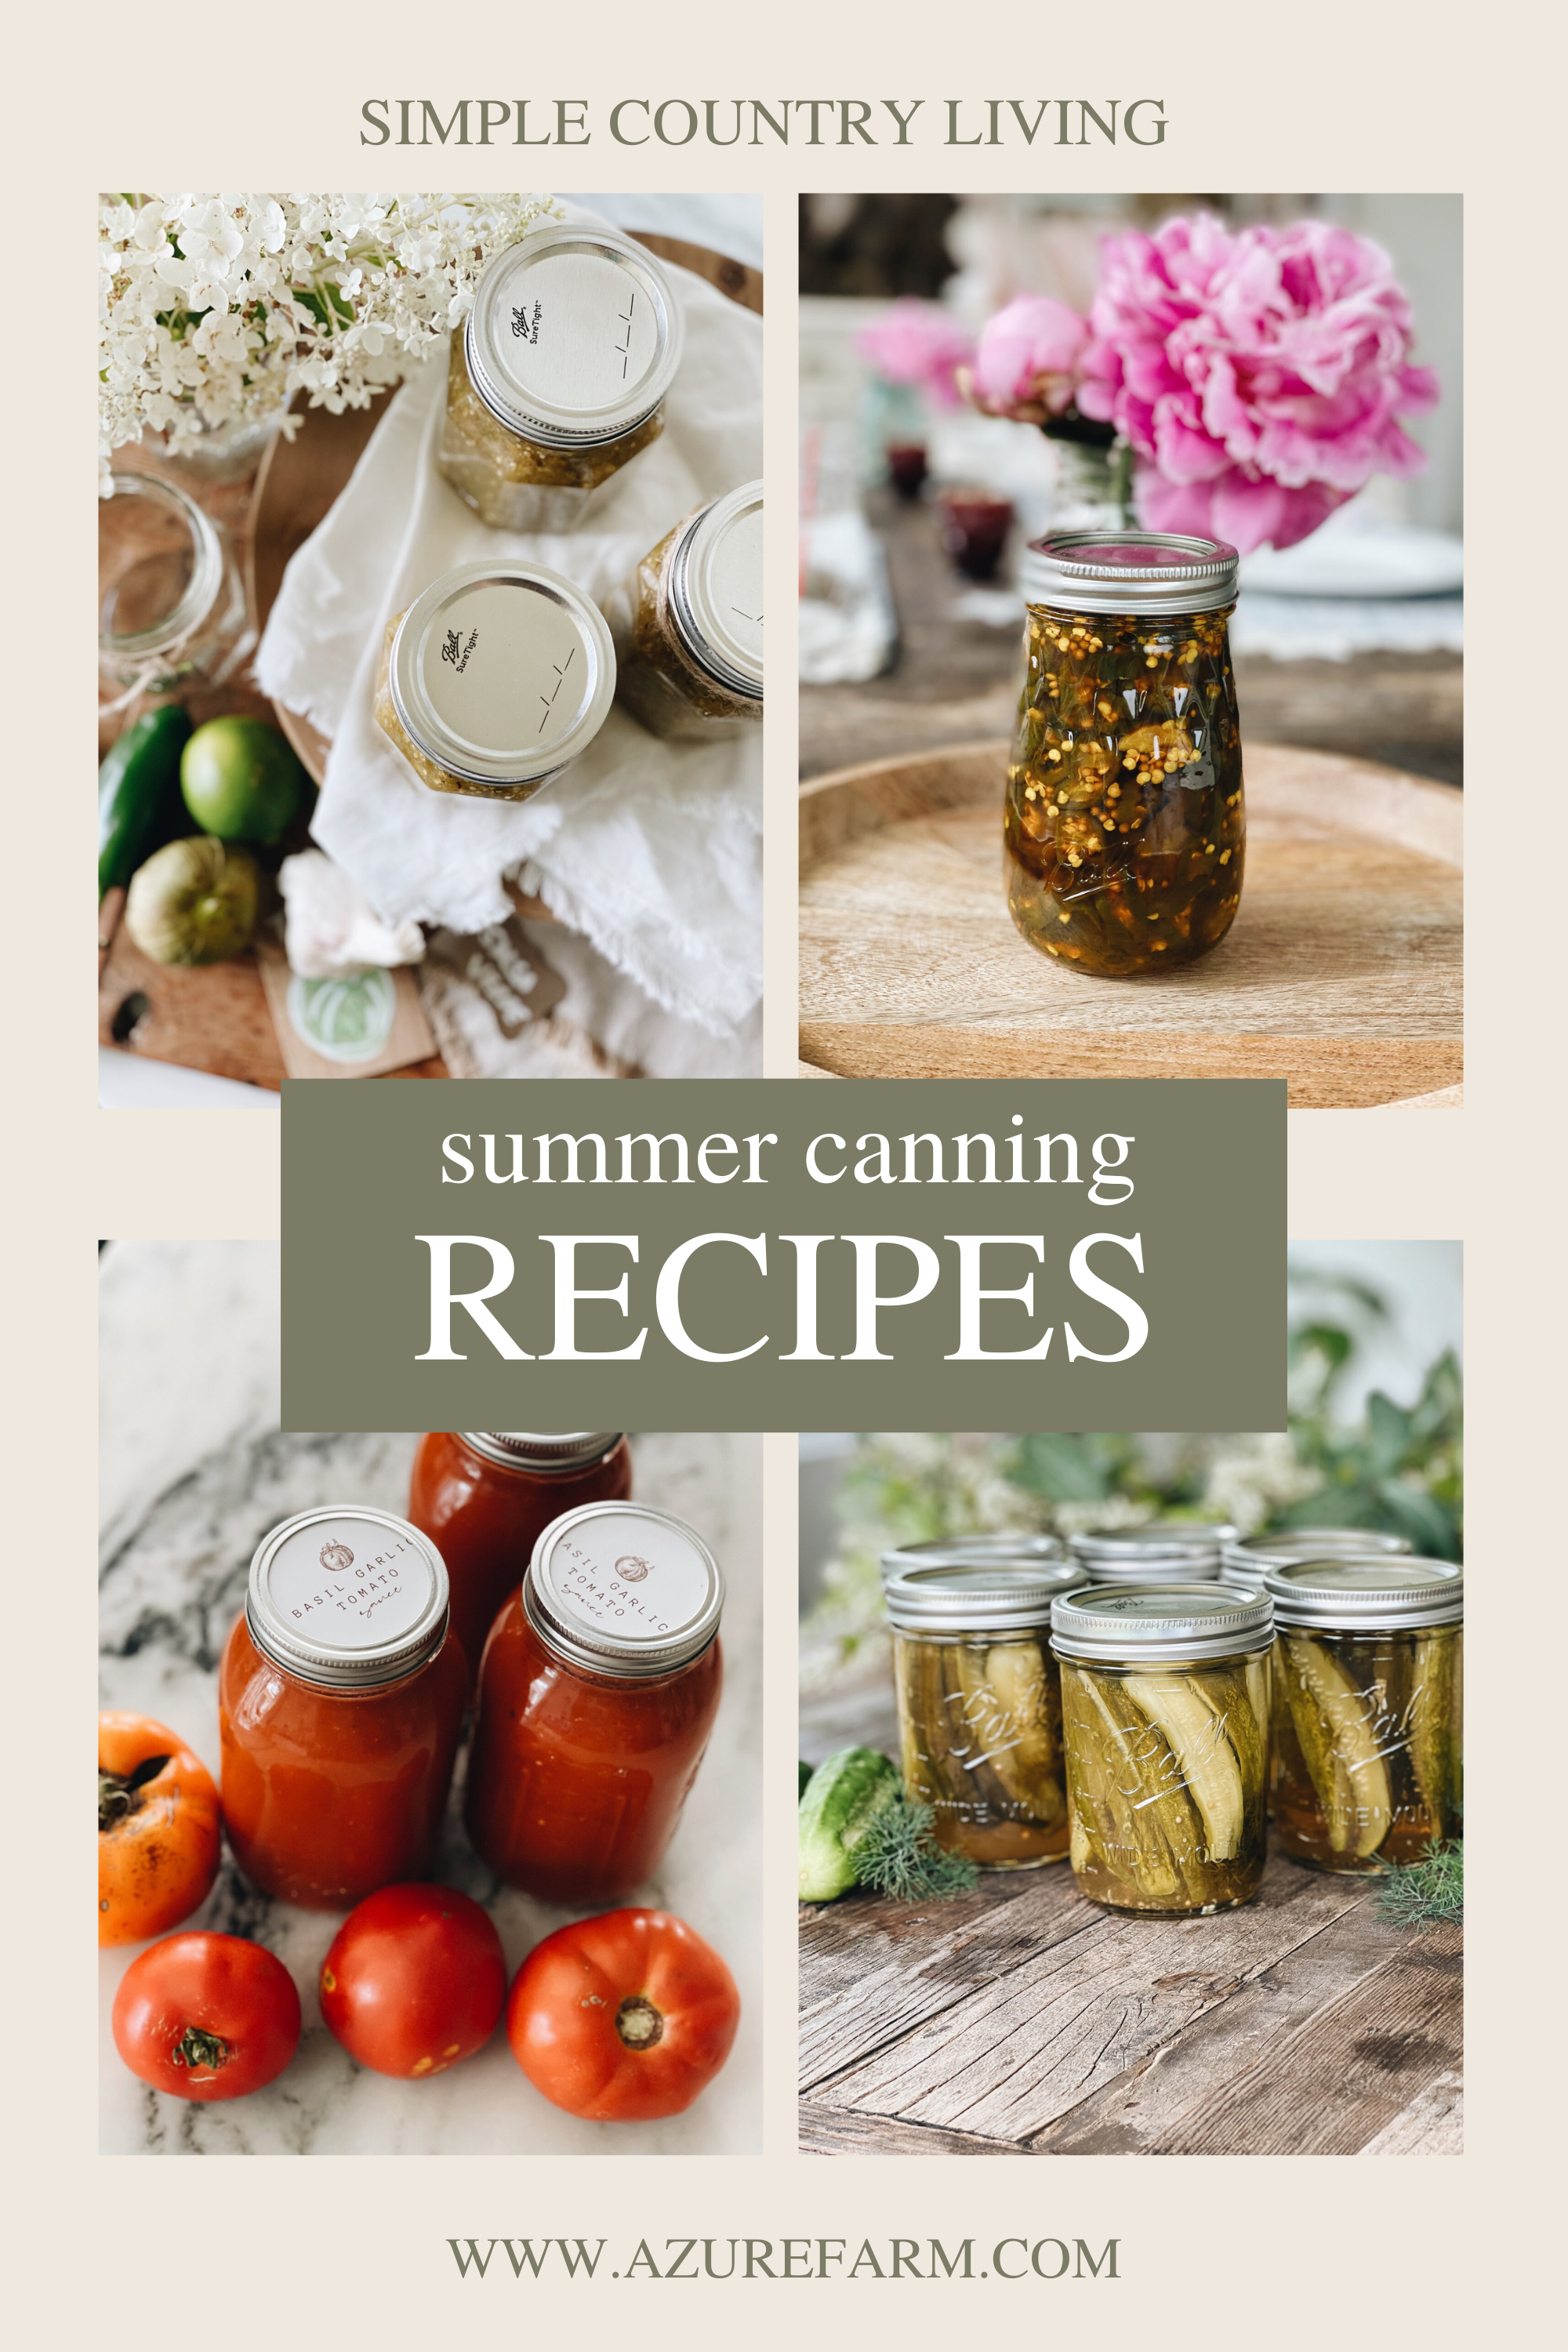
PIN FOR LATER

SHOP THIS POST

For more recipes see below!
Roasted Salsa Verde
Candied Jalapenos
Grandma’s Chili Sauce
Basil Garlic Tomato Sauce
Reduced Salt Dill Pickles
Much Love,
Annette
Disclosure: This is a sponsored post that is part of an ongoing partnership with the Fresh Preserving Division of Newell Brands. They have provided jars, equipment and monetary compensation. All thoughts and opinions expressed are my own.