DIY Salt Dough ‘Leaves Of Thanks’ For Thanksgiving
Thanksgiving has always been a holiday near my heart.
Although Christmas has its own special meaning and excitement that goes along with it, where we are itching to put up Christmas decorations already in November, I like to pause a little bit longer at Thanksgiving.
When Ava was born, I decided I want to start doing yearly Thanksgiving traditions that really embrace the meaning of thanks and family.
And that’s when our yearly ‘Leaves of Thanks’ tradition was born. As Ava gets older, she can participate in them too. Each year we display the leaves from current and previous years and see how God has blessed us.

DIY Salt Dough Leave Ornaments
Instead of my usual ‘Leaves of Thanks’ project, where we would cut out leaves and hang them in a frame, I decided to change it up and make salt dough leaves!
This was a fun twist to our usual tradition, and Ava loved it! Making salt dough leaves gave her a chance to really be involved and, of course, play with dough. What kid doesn’t like that?!
This is an activity the whole family can do, and the thought is to say something you are thankful for each day and then hang the leaf on the tree. By the end of the month, there should be a pretty tree with all the salt dough ornament leaves.

Here are the steps for making these cute ornamental leaves!
What you need:
1 cup of plain flour
1 cup of salt
Up to 1 cup of warm water x 3
Pinch of nutmeg
2 tbsp cinnamon
Food coloring in desired colors. I chose green, red, orange, and yellow.
Twine or string
Directions:
1. Mix the flour and salt in a bowl, then add the warm water in small amounts, mixing as you go. It should come together to resemble a slightly sticky dough, but not so sticky that any residue comes off on your fingers.
If this happens, then you have added too much water, and you need to add some more flour to balance it out. It’s very similar to making cookie dough and can be saved quite easily.

2. Divide the mixture into three and add food coloring to the different dough balls. If you are a pro at making salt dough and already know the balance of water and flour to make the perfect dough, add the coloring to the water before you mix it in, as this gives it a more even color throughout.
3. Once your dough balls are made and colored, add the nutmeg and cinnamon. We added the cinnamon to all of the dough balls but saved the 1 tsp of nutmeg for the browner shade that we had created. This helped to give it most of its color.
4. Roll out your balls with a roller to around 1cm thick and cut out leaves with a leaf cookie cutter. Make small holes at the top with a toothpick or sharp knife.


5. Lay the finished creations out on a baking sheet and then bake in the oven at a very low temperature (between 100 degrees C and 140 degrees C) for around 4 hours.
6. If they are still doughy or soft after this time, simply turn them over and heat them again. The idea is to use the oven to air dry and harden them, not to “cook” them.

7. Once cooled down, use a thin-pointed permanent marker or ballpoint pen to write a word describing what you are thankful for on the back. Seal them with mode podge, glaze, or simply left as they are.
8. Tie a piece of string or twine to the leaf, and it is ready to hang on a tree, branch, or anything you see fit!


What I love about these cute dough leaf ornaments is that after Thanksgiving, you can hang them on your Christmas tree! You could also use them as tablescape decorations for future fall/ thanksgiving table settings.
I hope you and your family have fun making these!
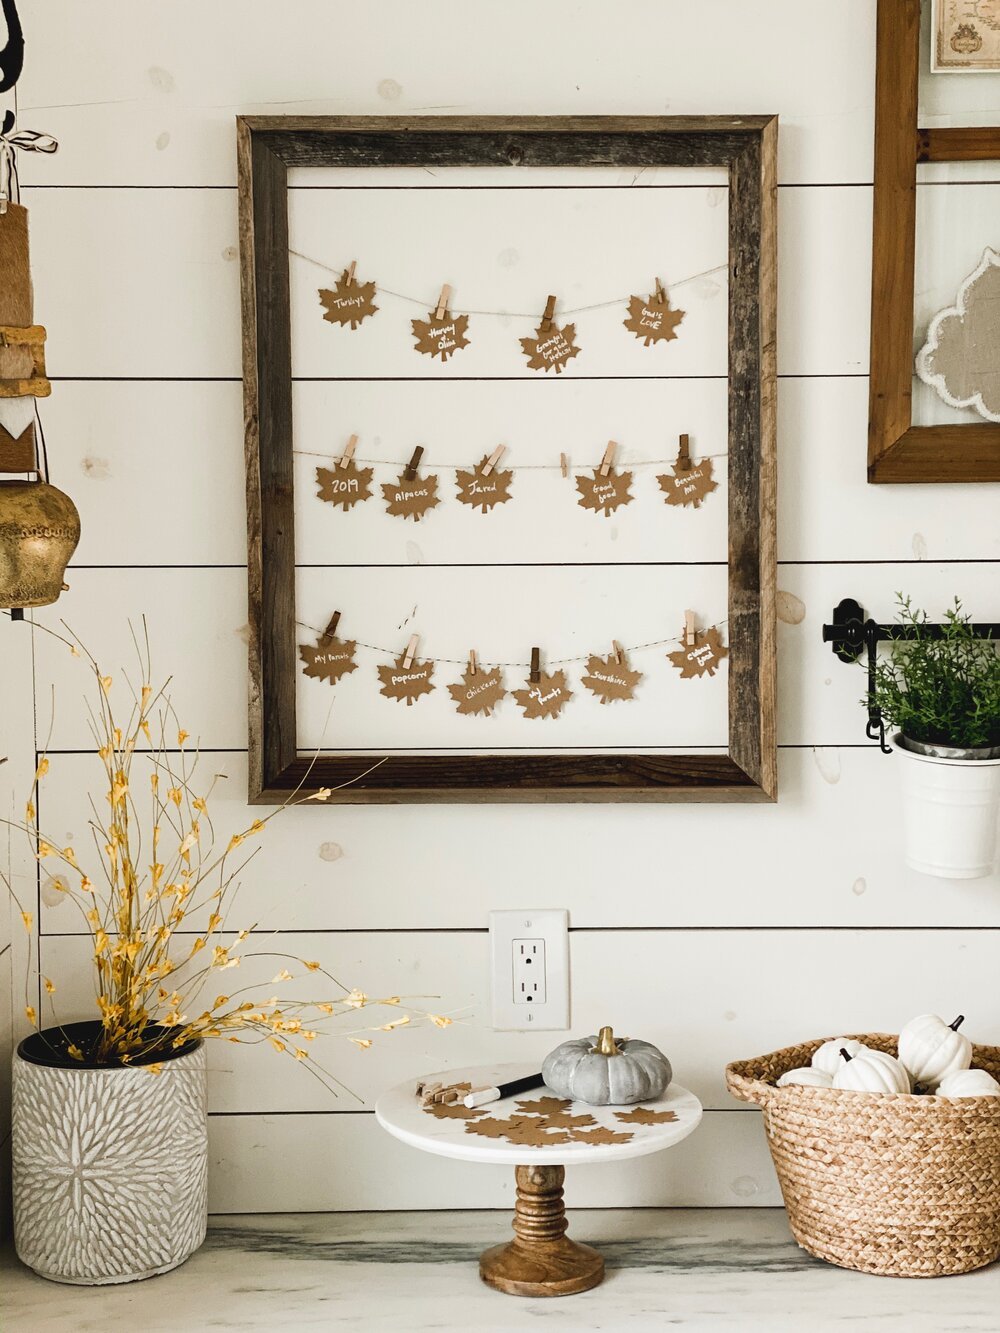
Here is a look at some of our previous “Leaves Of Thanks” projects:

PIN FOR LATER
