A Delicious Sweet And Sour Onion Relish Recipe
Onions are a staple here on our homestead, and I am loving this new recipe! It’s both sweet and sour, which I love, making it the perfect side to a main dish or even as an appetizer with some delicious bread.
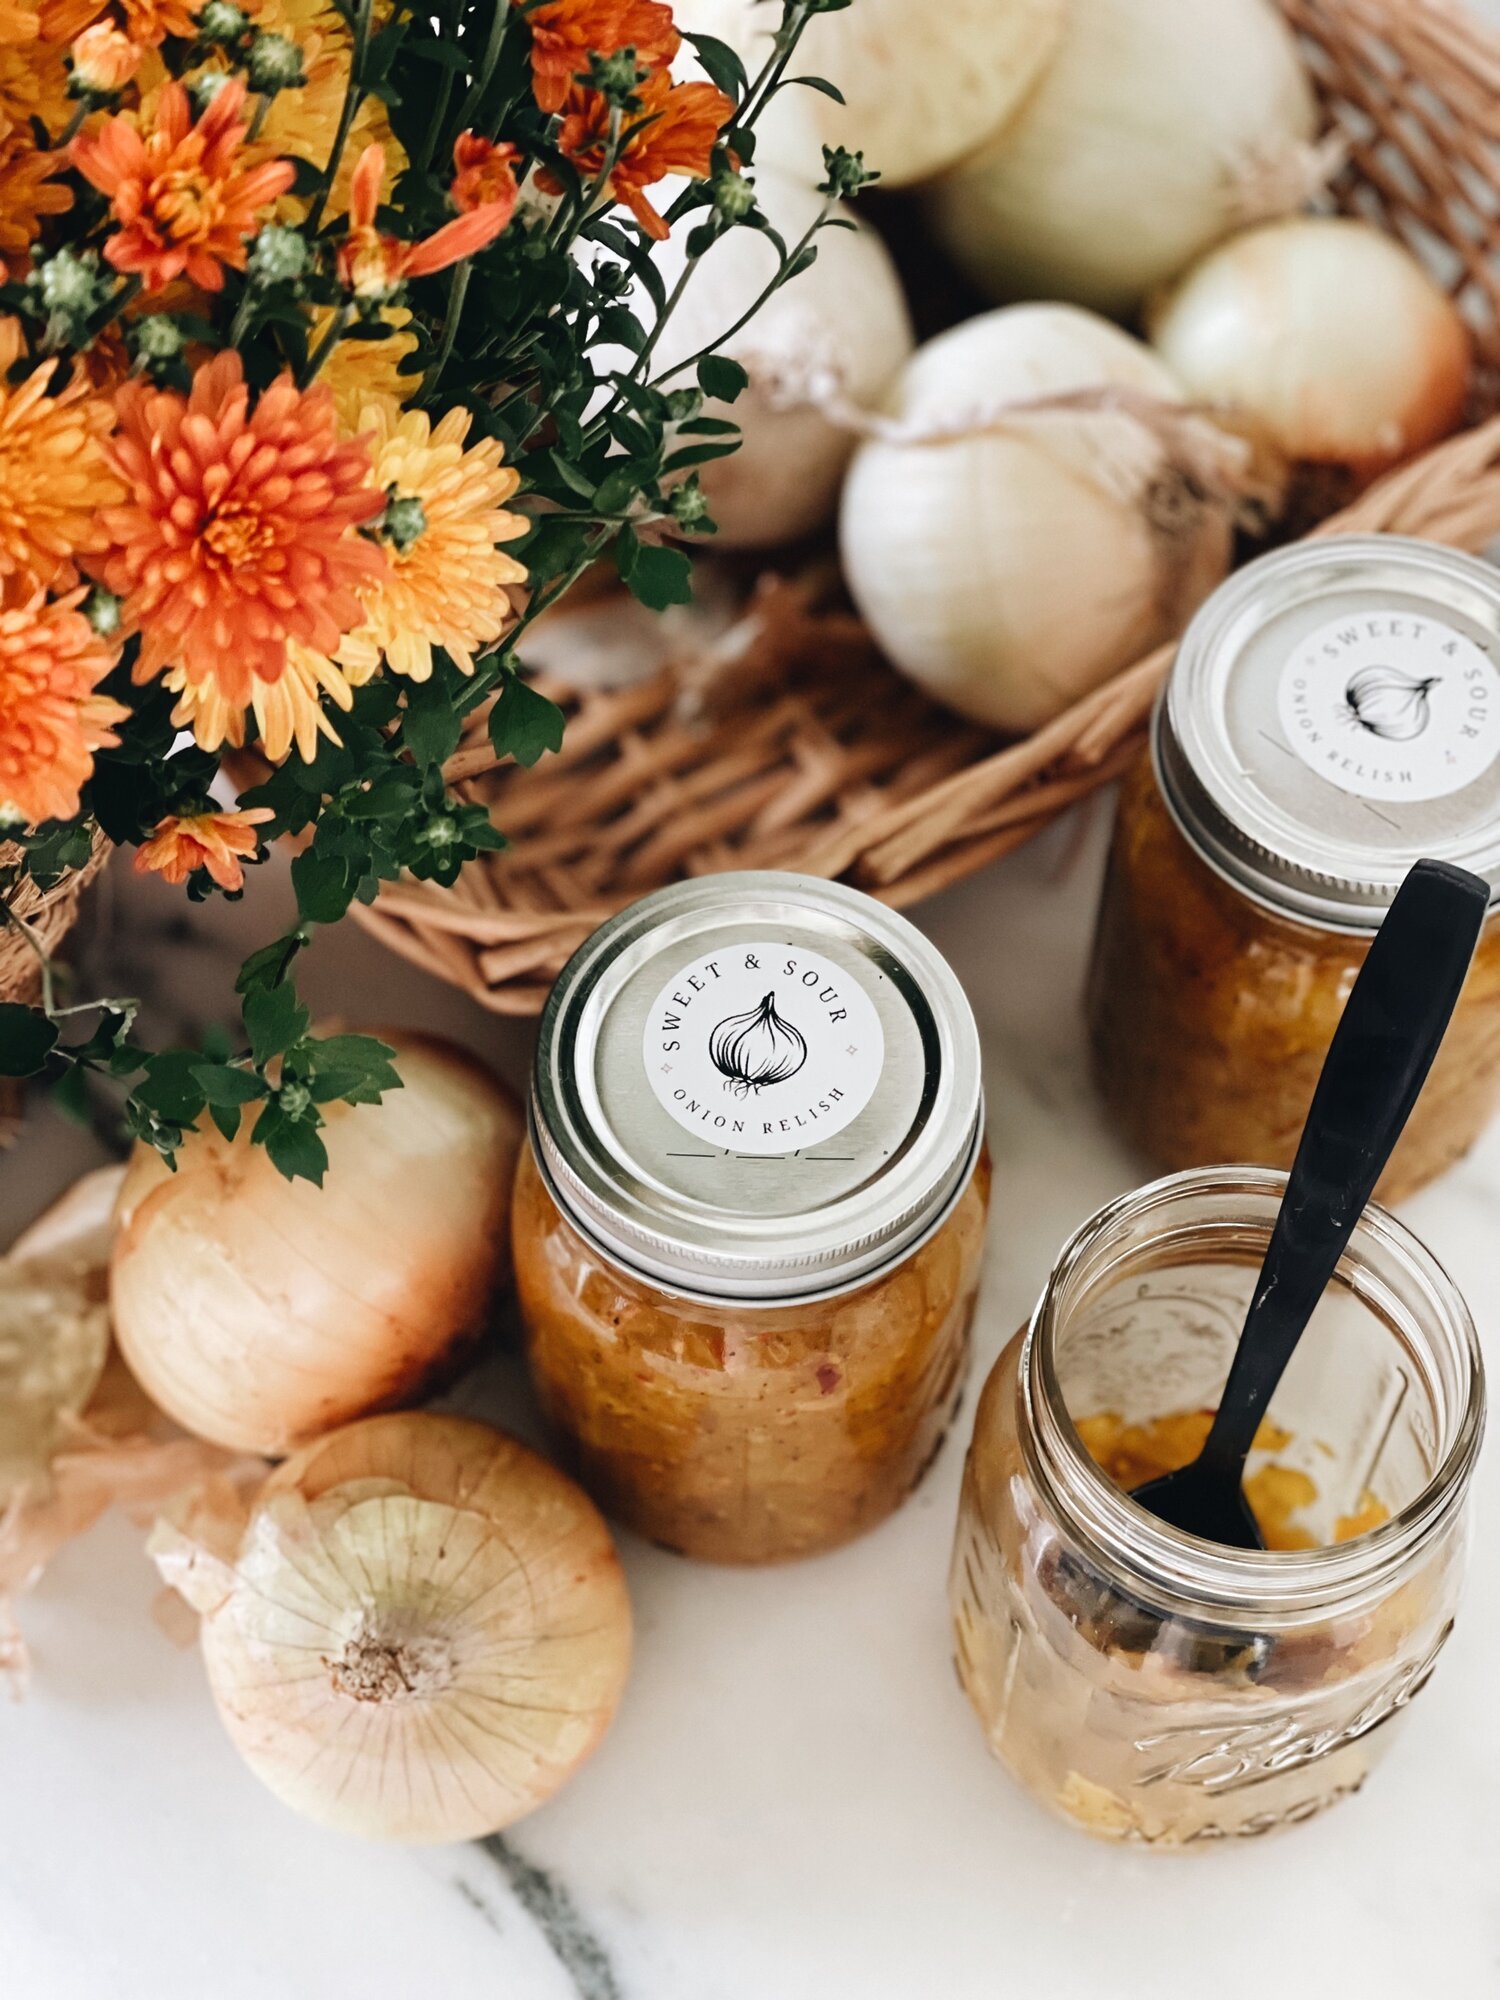
This delicious sweet and sour onion relish is one you are going to love, trust me!
This post is sponsored by the makers of Ball® home canning products*

SWEET & SOUR ONION RELISH RECIPE
INGREDIENTS
5 lbs mixed yellow and sweet onions, finely chopped
1 1/2 cups apple cider vinegar
1 cup maple syrup
1/4 cup agave syrup
3 tsp salt
2 tsp mustard seeds
1 tsp mustard powder
1 tsp turmeric
1/2 tsp celery
1/2 tsp red pepper flakes ( or to taste)
1/2 tsp coriander seeds
1/2 tsp ground black pepper
DIRECTIONS
STEP 1
Fill your water bath canner with enough water to cover jars by 1-2 inches and bring to a simmer. Keep your jars in hot water (not boiling) until you are ready to add the food content. Wash lids and bands in warm soapy water and set aside.
STEP 2
Combine all ingredients in a non-reactive pot and bring to a boil. Lower heat and simmer until onions are translucent and have softened about 20 minutes.
STEP 4
Ladle hot relish into a hot jar, leaving a 1/2 inch headspace. Fill one jar at a time with the food content. Do not assembly line fill.
Remove any air bubbles with the bubble remover or a rubber spatula by sliding the tool down the side of the jar, then pulling inwards.
Rotate and repeat around the jar as needed until all bubbles are removed. Repeat this two to three times.
STEP 5
Wipe the rim and threads using a damp cloth to remove any food residue. Place the lid on and screw the band on until it is fingertip-tight.
Using your jar lifter, place the jars upright into the water and onto the rack. Your jars should be covered with 1-2 inches of water; if not, add more water.
STEP 6
Turn the heat up, and wait until you hear or see the water vigorously boiling (rolling boil). The processing time of a recipe only starts when the water has reached boiling point.
Start your timer and process the jars for 15 minutes, adjusting for altitude.
STEP 7
When the processing time is completed, turn off your burner. Remove the pot's lid away from you (be careful of the steam!), and wait 5 minutes before taking your jars out. This helps for a better vacuum seal.
STEP 8
Carefully remove the jars, one at a time, with the jar lifter. Keep them upright, and place your jars on a towel or wood cutting board. Never place them directly onto a cold surface or countertop to prevent cracking due to thermal shock.
Leave the jars untouched for 12-24 hours. Do not tamper with the lids or bands or wipe away water ;-)
After 12-24 hours, check if the lids have been sealed. Press the center - A properly sealed jar lid will not spring up when you press down in the center. Remove the band and use a finger to press down on the middle of the lid. If the lid springs up when you lift your finger, the jar must be reprocessed before you can store it safely.
Makes approximately 4- 16 oz pint jars


print this recipe
Sweet & sour onion relish
INGREDIENTS
5 lbs mixed yellow and sweet onions, finely chopped
1 1/2 cups apple cider vinegar
1 cup maple syrup
1/4 cup agave syrup
3 tsp salt
2 tsp mustard seeds
1 tsp mustard powder
1 tsp turmeric
1/2 tsp celery
1/2 tsp red pepper flakes ( or to taste)
1/2 tsp coriander seeds
1/2 tsp ground black pepper
DIRECTIONS
STEP 1
Fill your water bath canner with enough water to cover jars by 1-2 inches and bring to a simmer. Keep your jars in hot water (not boiling) until you are ready to add the food content. Wash lids and bands in warm soapy water and set aside.
STEP 2
Combine all ingredients in a non-reactive pot and bring to a boil. Lower heat and simmer until onions are translucent and have softened about 20 minutes.
STEP 4
Ladle hot relish into a hot jar, leaving a 1/2 inch headspace. Fill one jar at a time with the food content. Do not assembly line fill.
Remove any air bubbles with the bubble remover or a rubber spatula by sliding the tool down the side of the jar, then pulling inwards.
Rotate and repeat around the jar as needed until all bubbles are removed. Repeat this two to three times.
STEP 5
Wipe the rim and threads using a damp cloth to remove any food residue. Place the lid on and screw the band on until it is fingertip-tight.
Using your jar lifter, place the jars upright into the water and onto the rack. Your jars should be covered with 1-2 inches of water; if not, add more water.
STEP 6
Turn the heat up, and wait until you hear or see the water vigorously boiling (rolling boil). The processing time of a recipe only starts when the water has reached boiling point.
Start your timer and process the jars for 15 minutes, adjusting for altitude.
STEP 7
When the processing time is completed, turn off your burner. Remove the pot's lid away from you (be careful of the steam!), and wait 5 minutes before taking your jars out. This helps for a better vacuum seal.
STEP 8
Carefully remove the jars, one at a time, with the jar lifter. Keep them upright, and place your jars on a towel or wood cutting board. Never place them directly onto a cold surface or countertop to prevent cracking due to thermal shock.
Leave the jars untouched for 12-24 hours. Do not tamper with the lids or bands or wipe away water ;-)
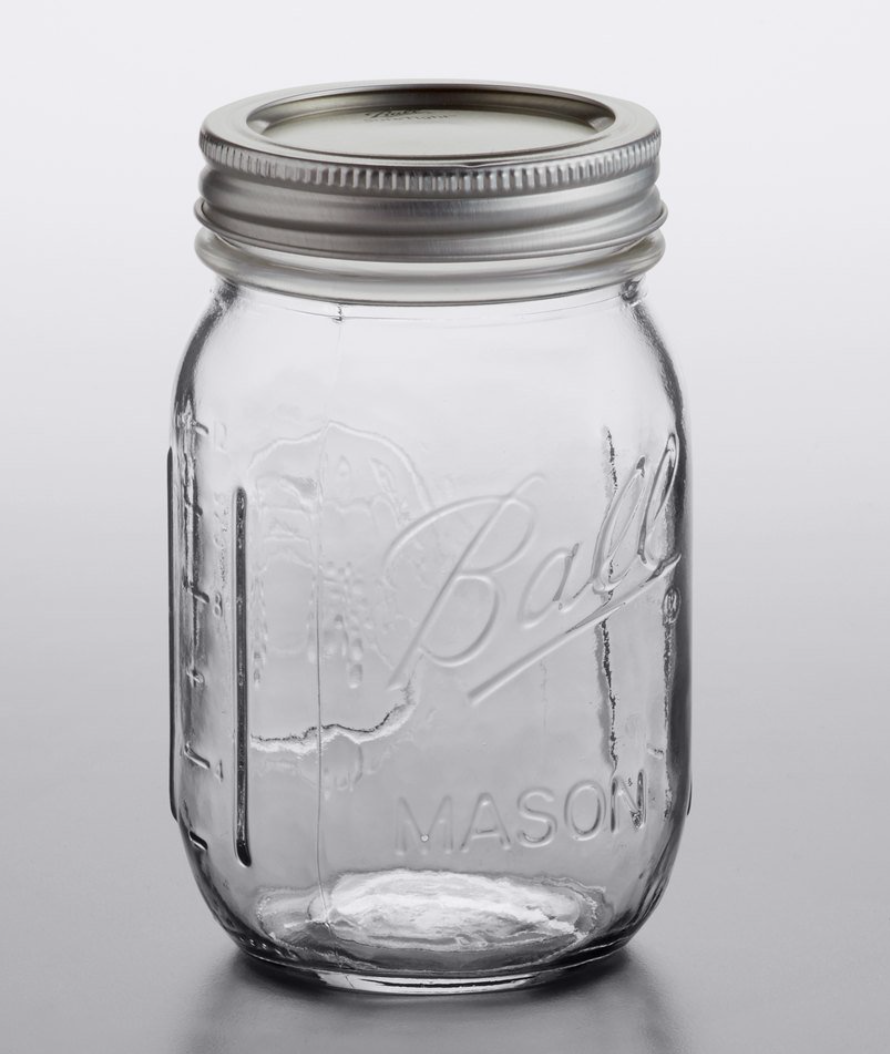
SHOP THIS POST
PIN FOR LATER

*Disclosure: This is a sponsored post that is part of an ongoing partnership with the Fresh Preserving Division of Newell Brands. They have provided jars, equipment and monetary compensation. All thoughts and opinions expressed are my own.