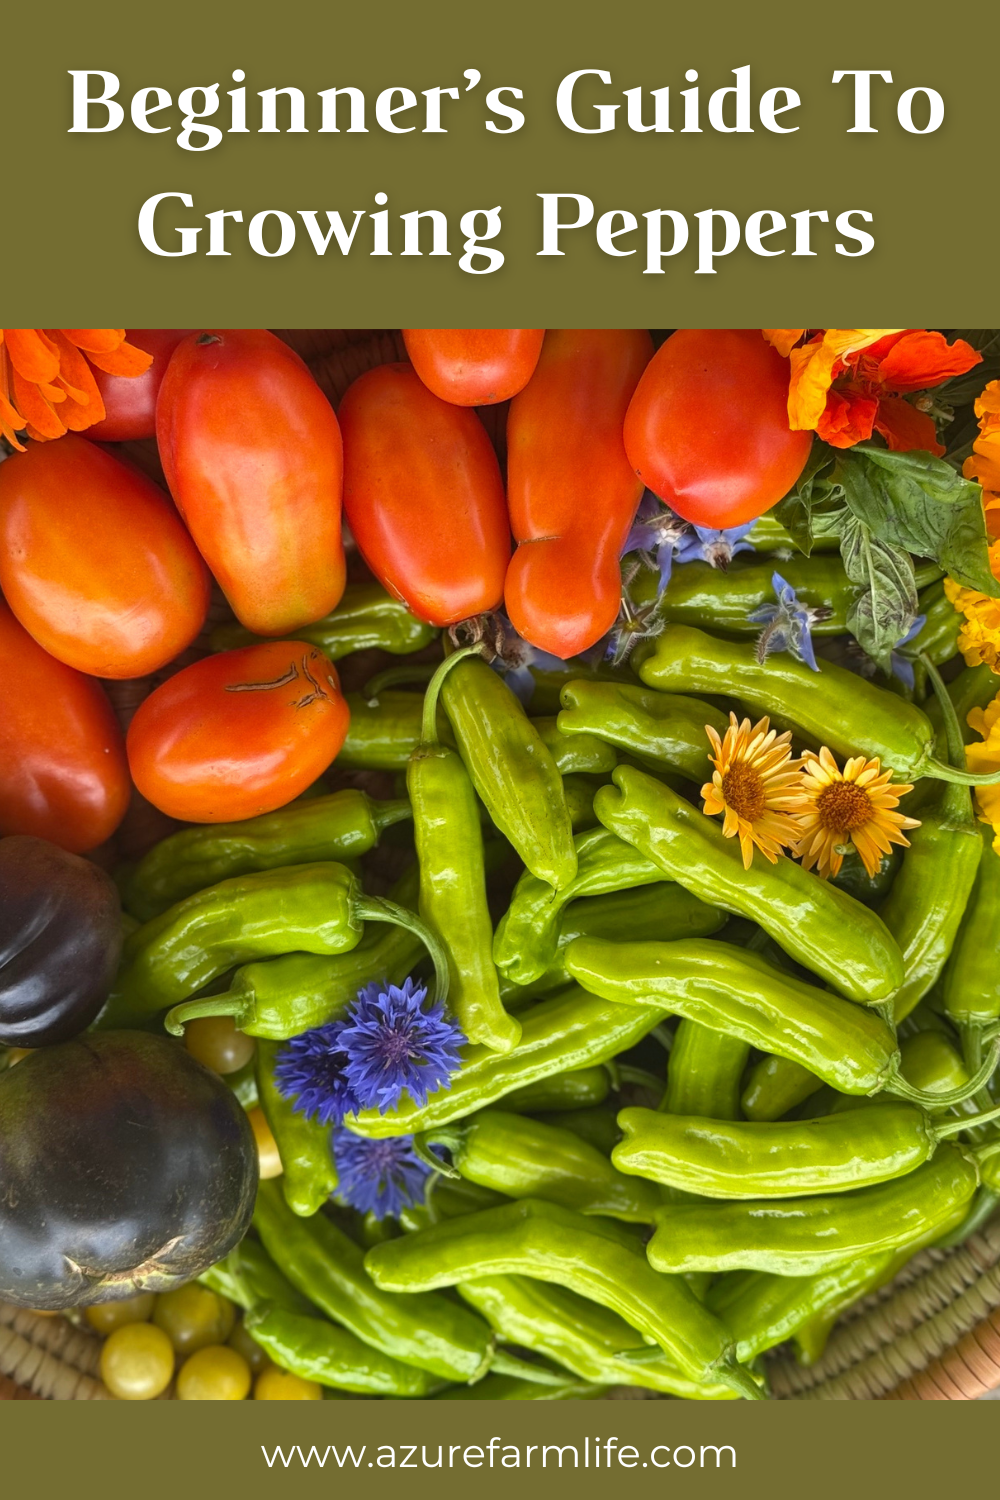
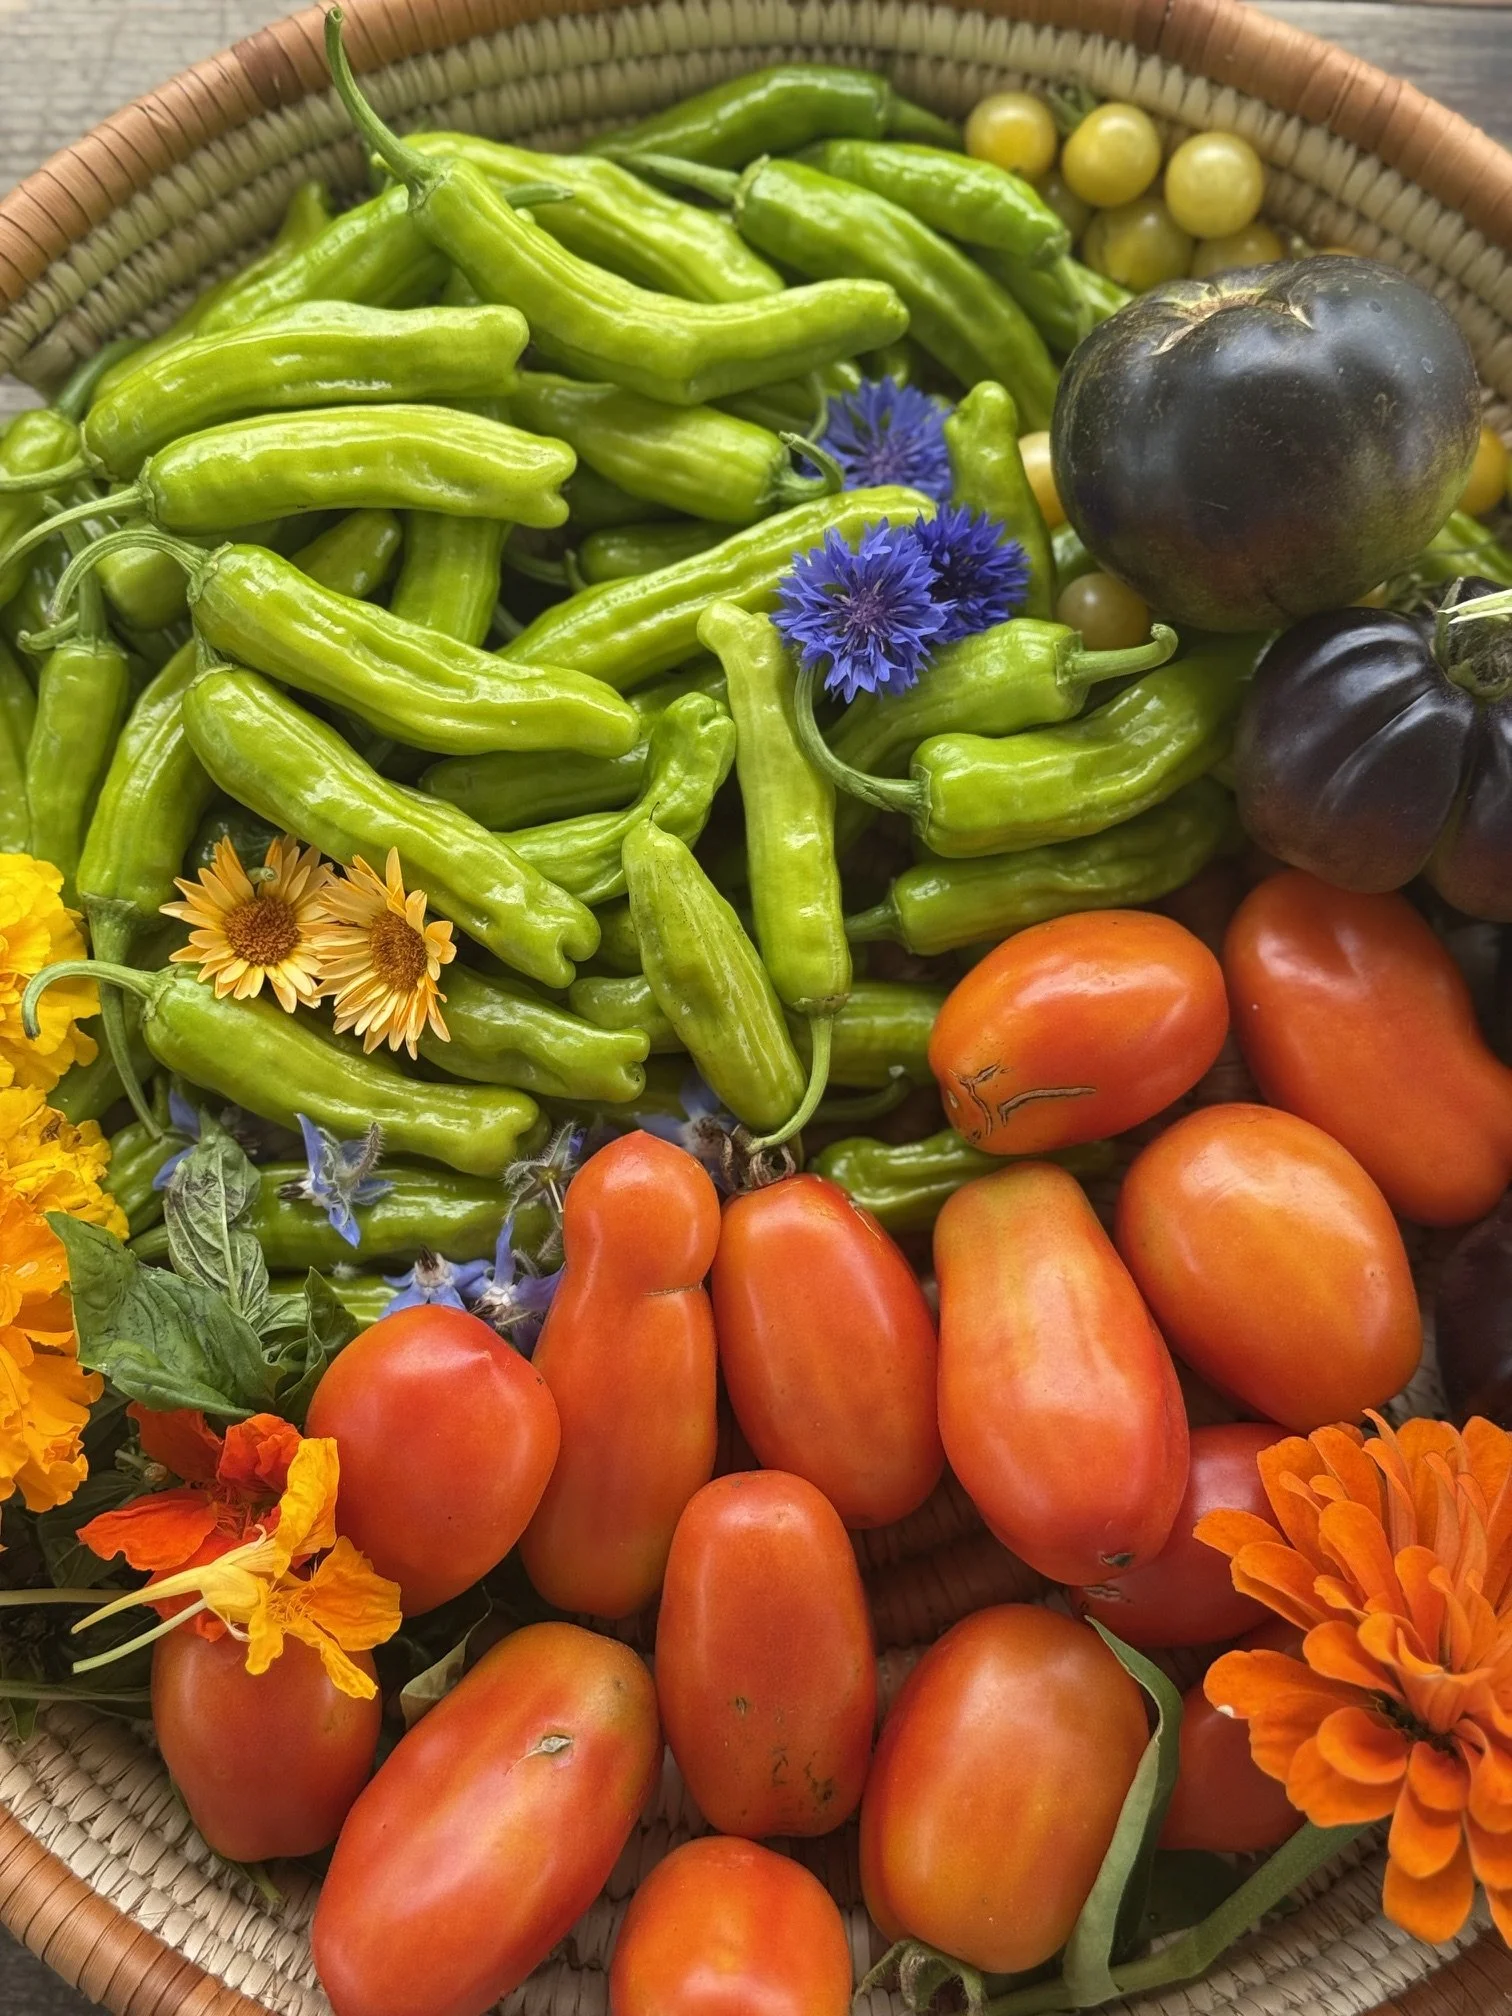
A Beginner's Guide to Growing Flavorful Peppers
There’s something steady and satisfying about growing peppers.
They don’t rush. They ask for warmth, patience, and a bit of attention early on—but once they settle in, they give generously. Few plants like peppers can carry you through fresh summer meals and still leave enough to preserve for later.
We grow peppers every year, and they’ve become one of those crops we count on. I especially love them for a variety of canning recipes.
Index:
why grow peppers?
Peppers are one of the more practical crops to grow, especially if you’re trying to stretch your garden into everyday use.
They produce steadily once established, don’t take up as much space as sprawling plants, and store well in multiple forms.
A few reasons I love them in the garden:
They produce over a long season
They work in a wide range of meals
They freeze well without much preparation
Many varieties can be dried or preserved easily
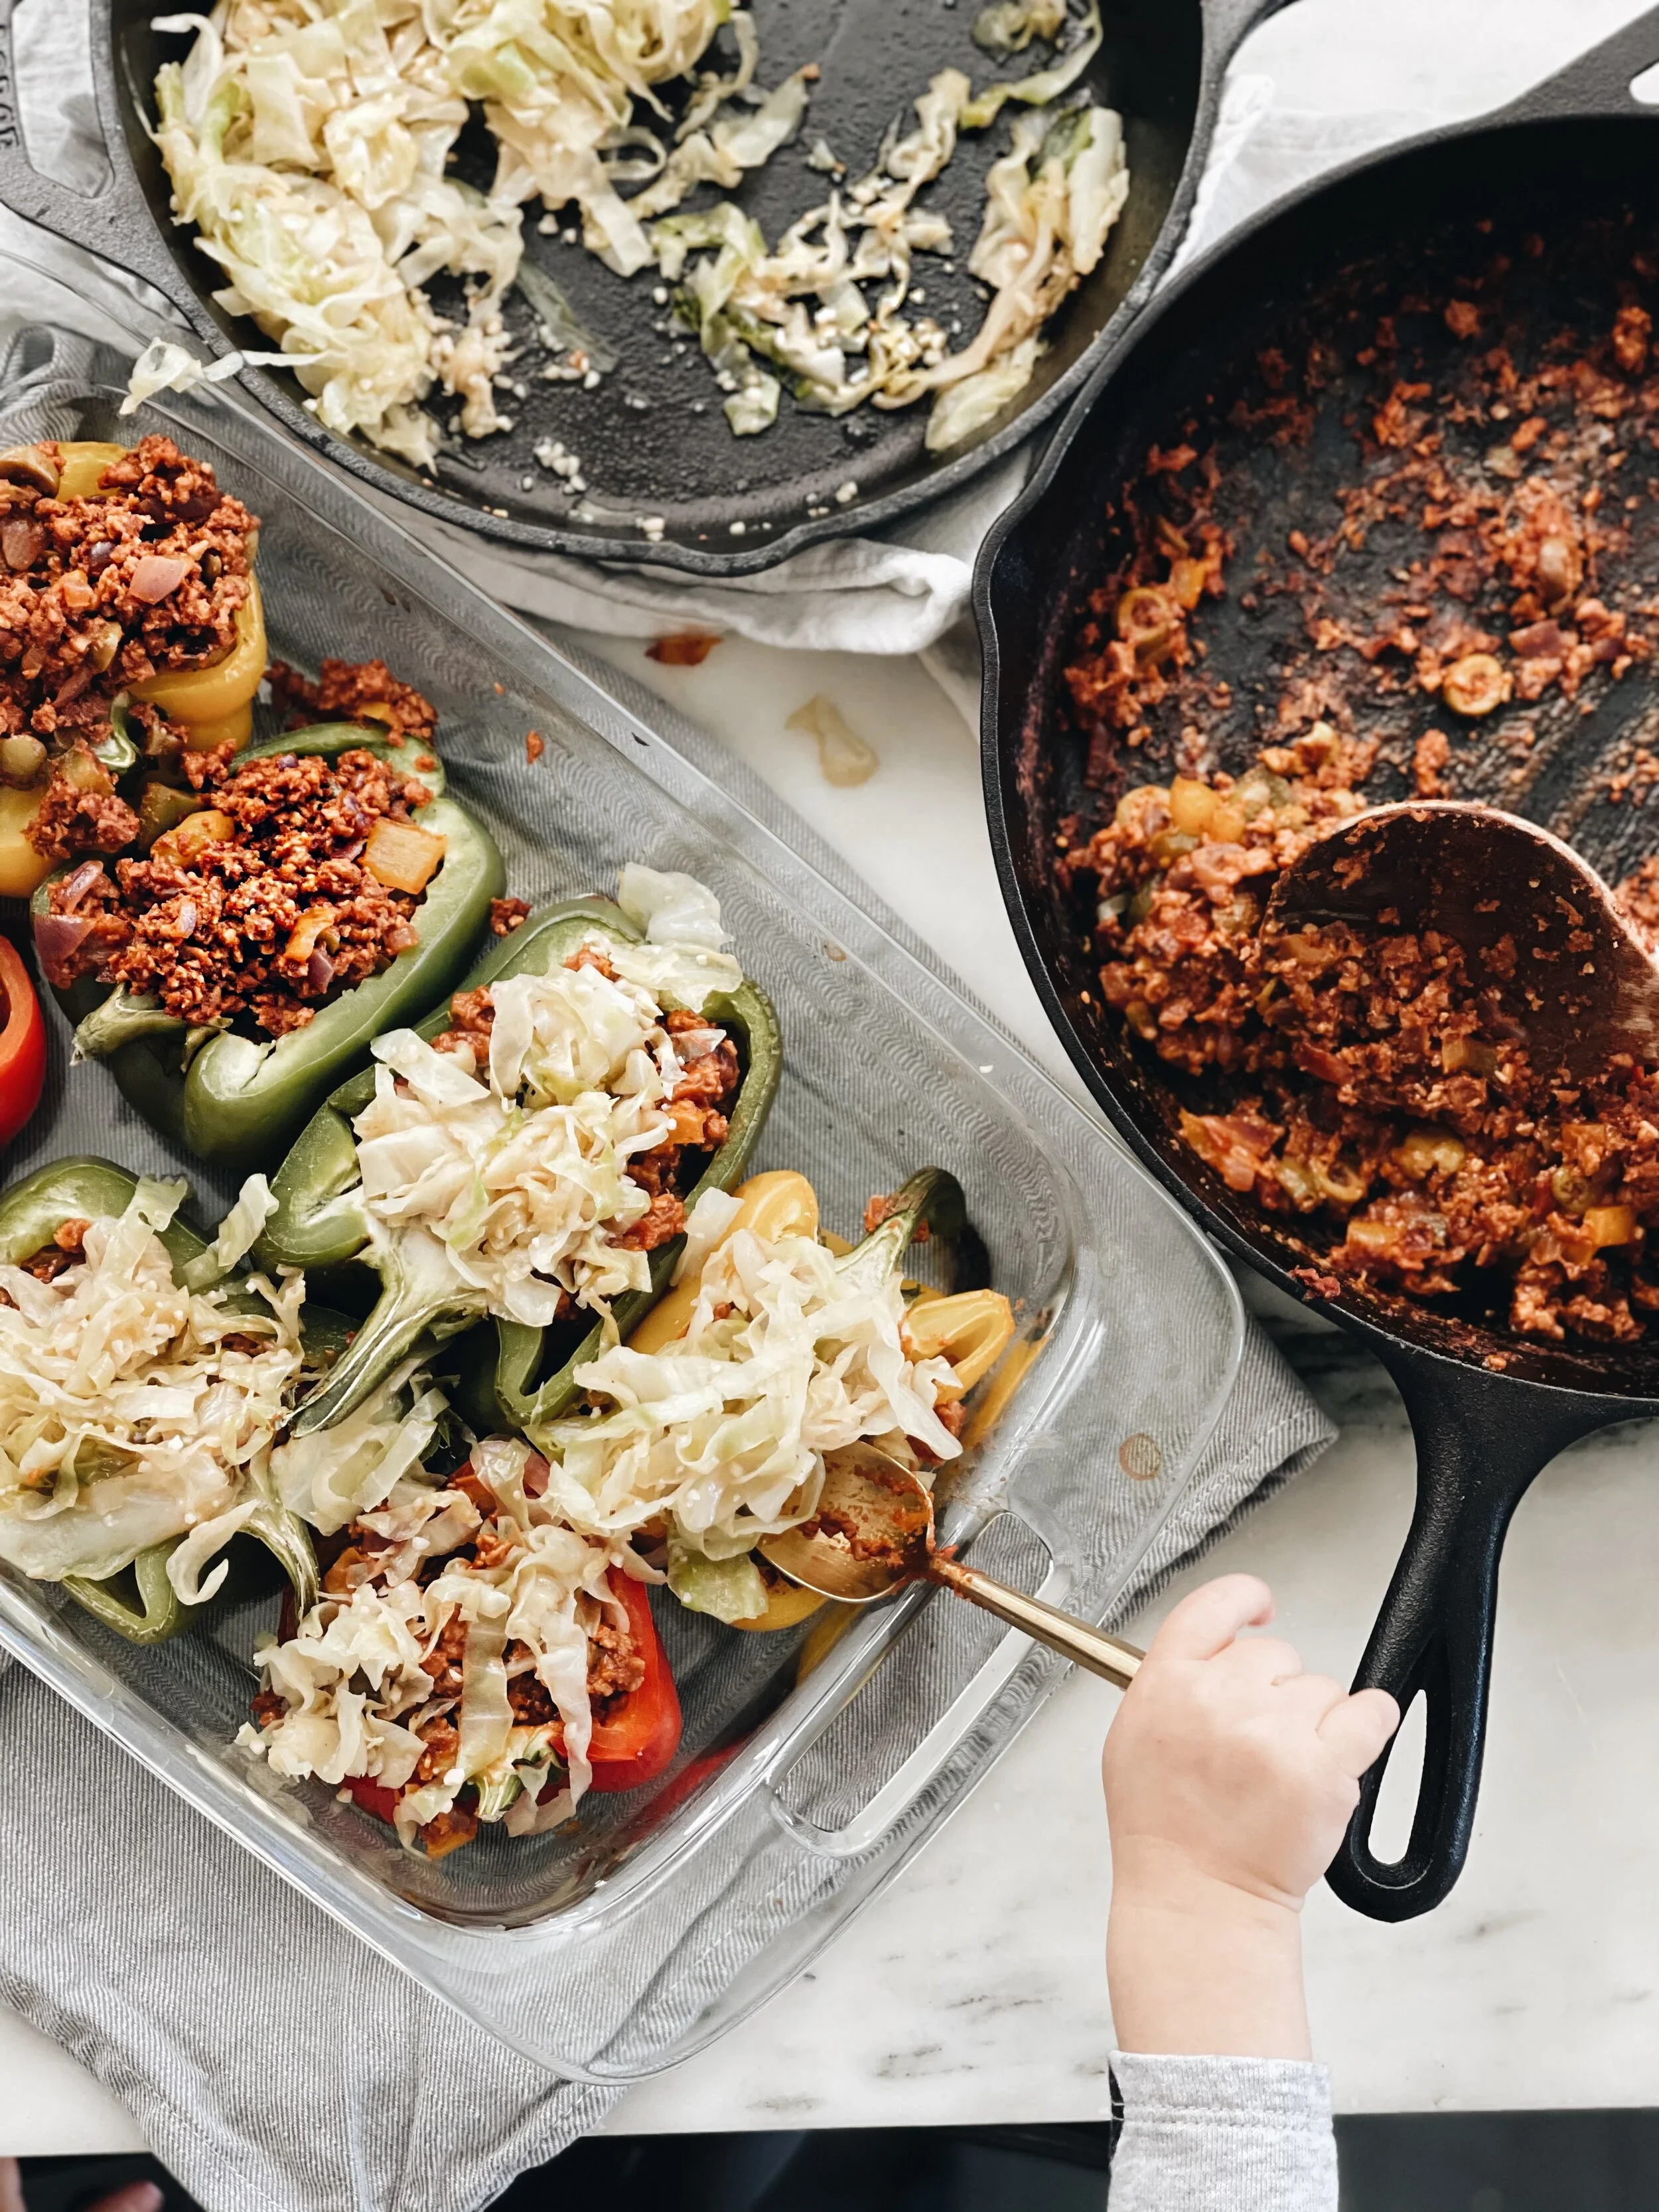
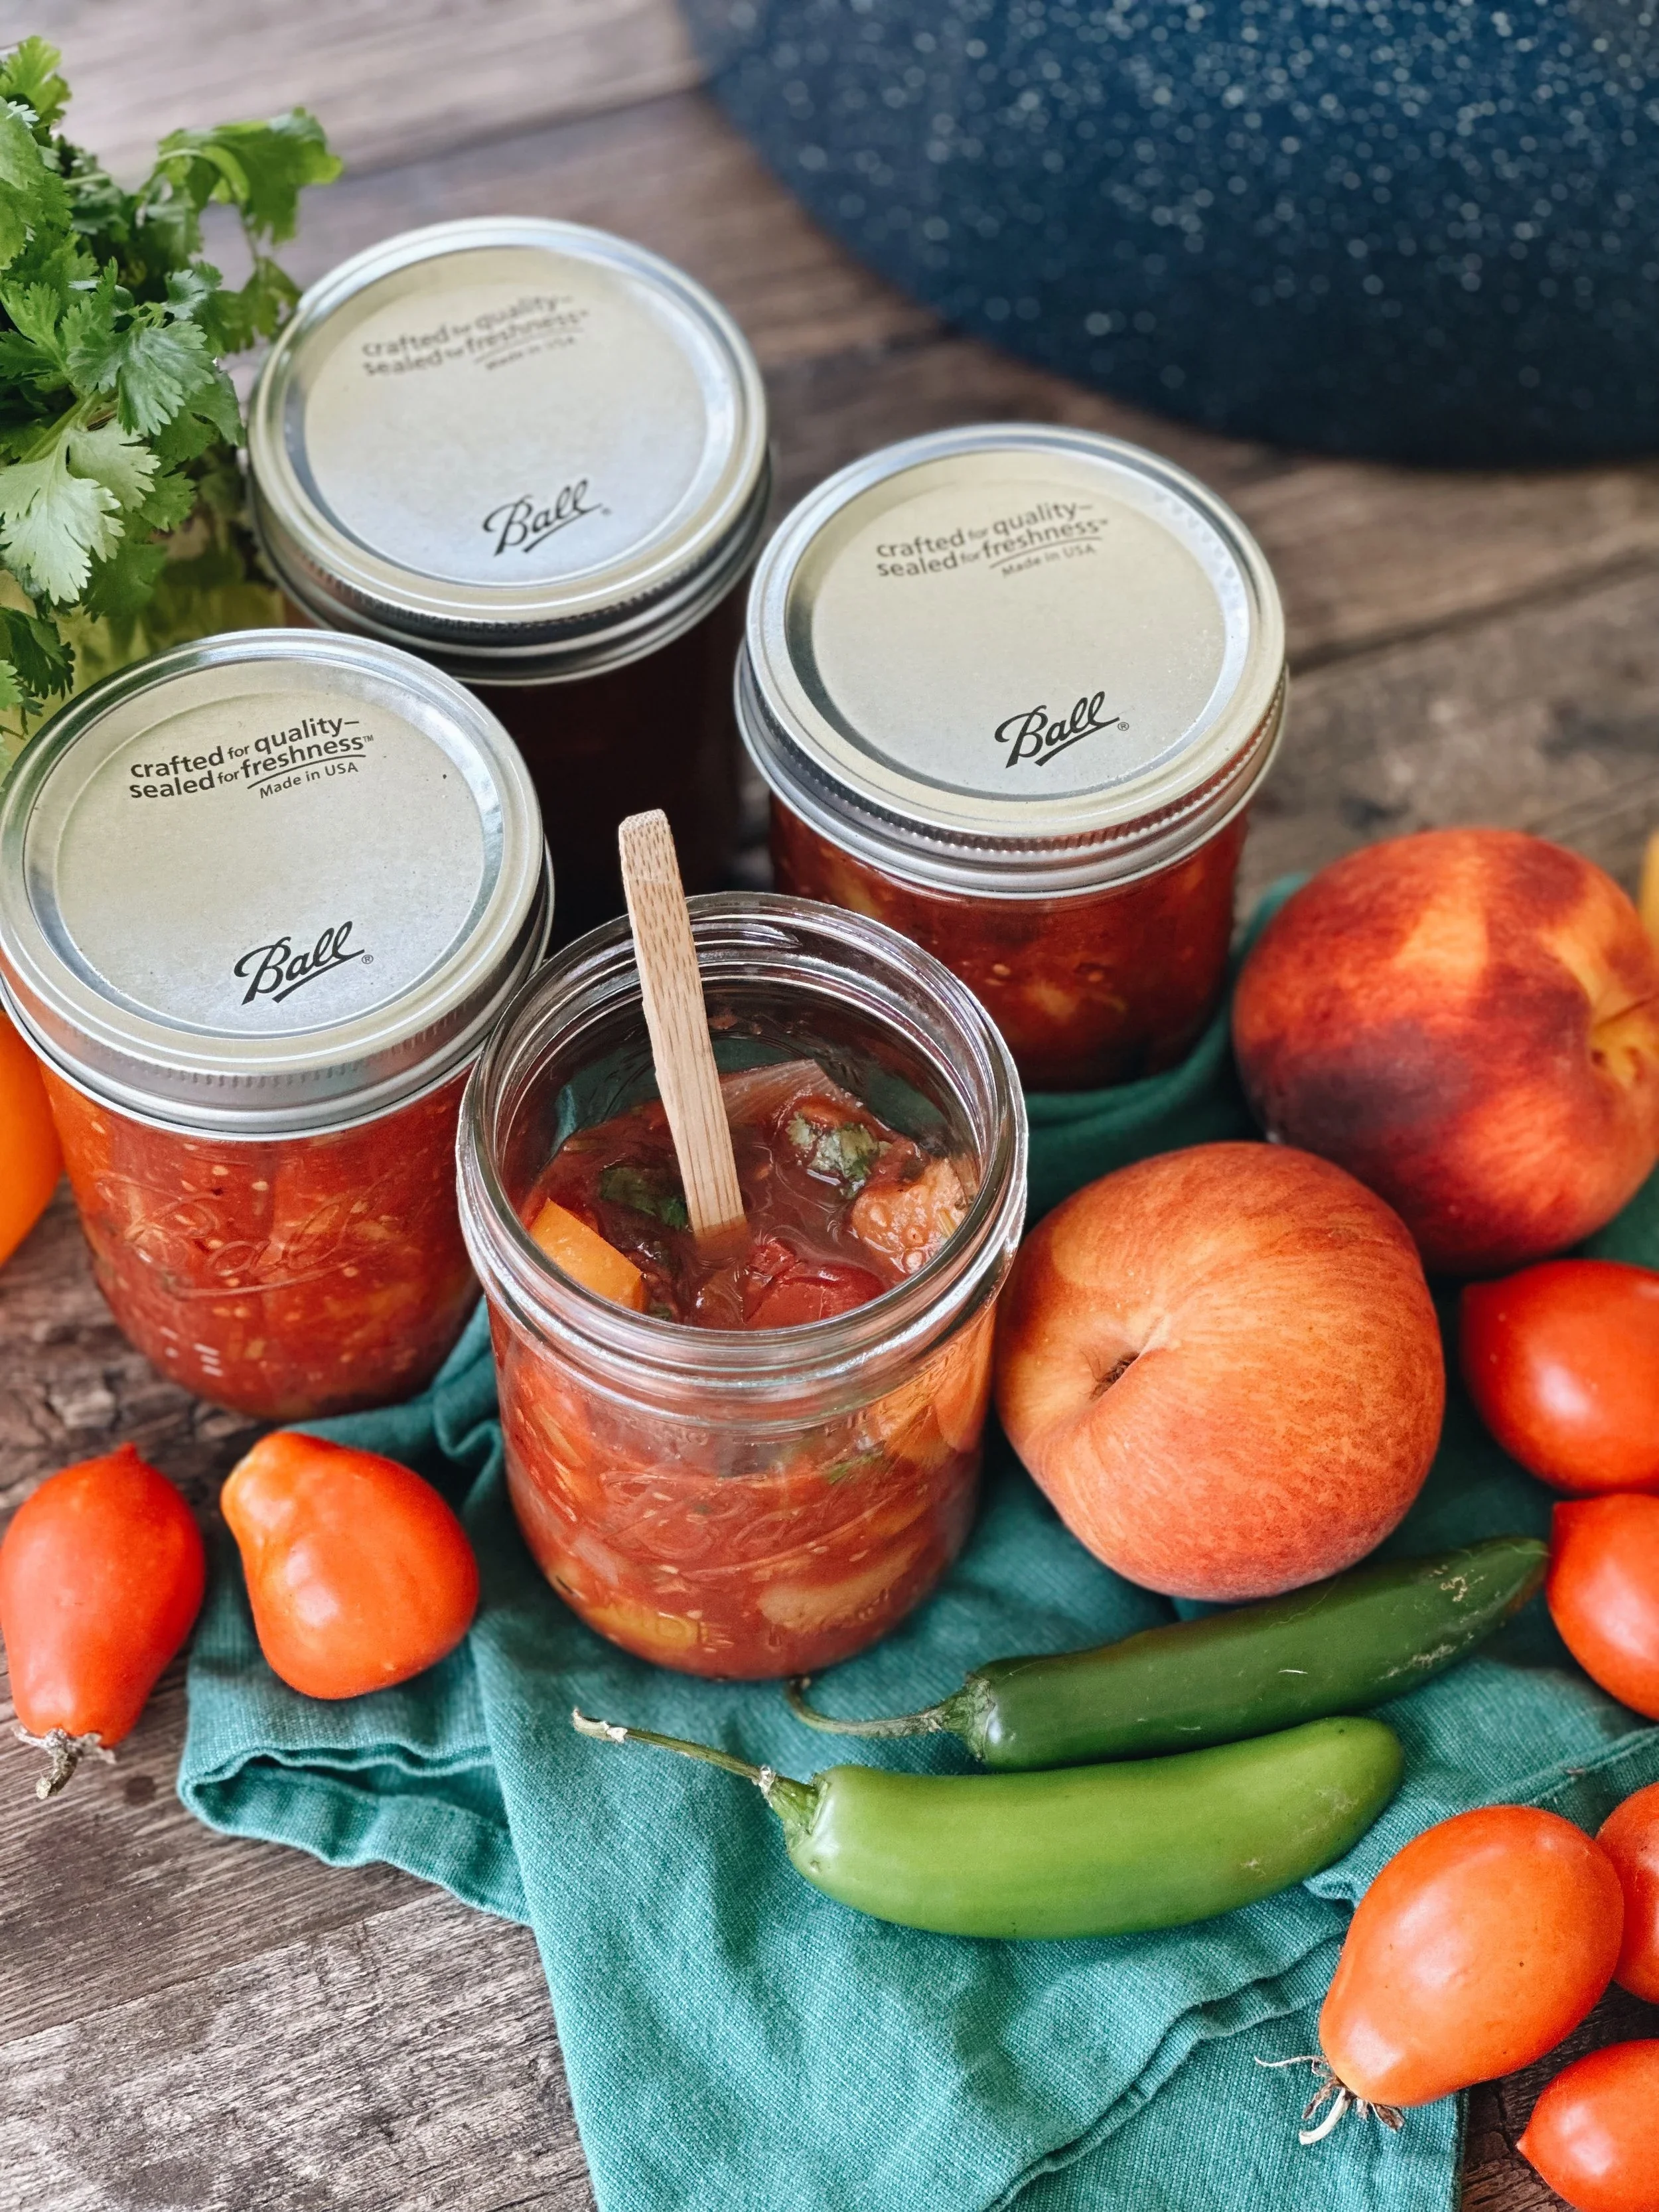
I love using them to make the most delicious canning recipes (scroll to the bottom for recipes!)
And unlike some crops, you don’t need a large planting to make it worthwhile.
A good rule is about 3–5 plants per person in your household.
Read more: How much to plant per person in the vegetable garden
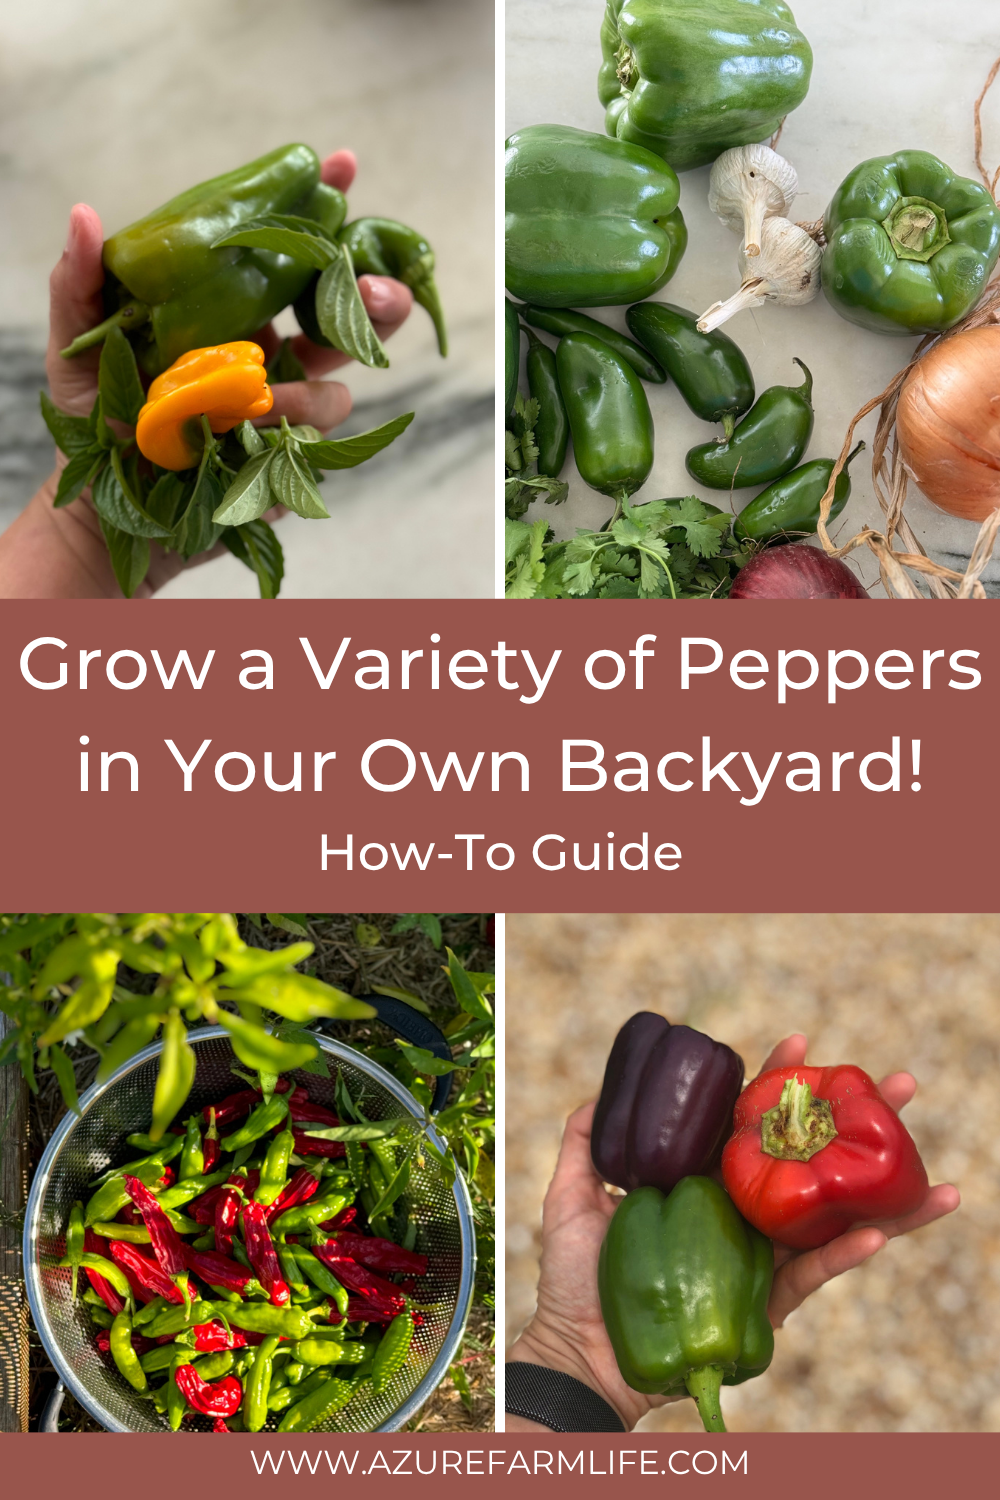
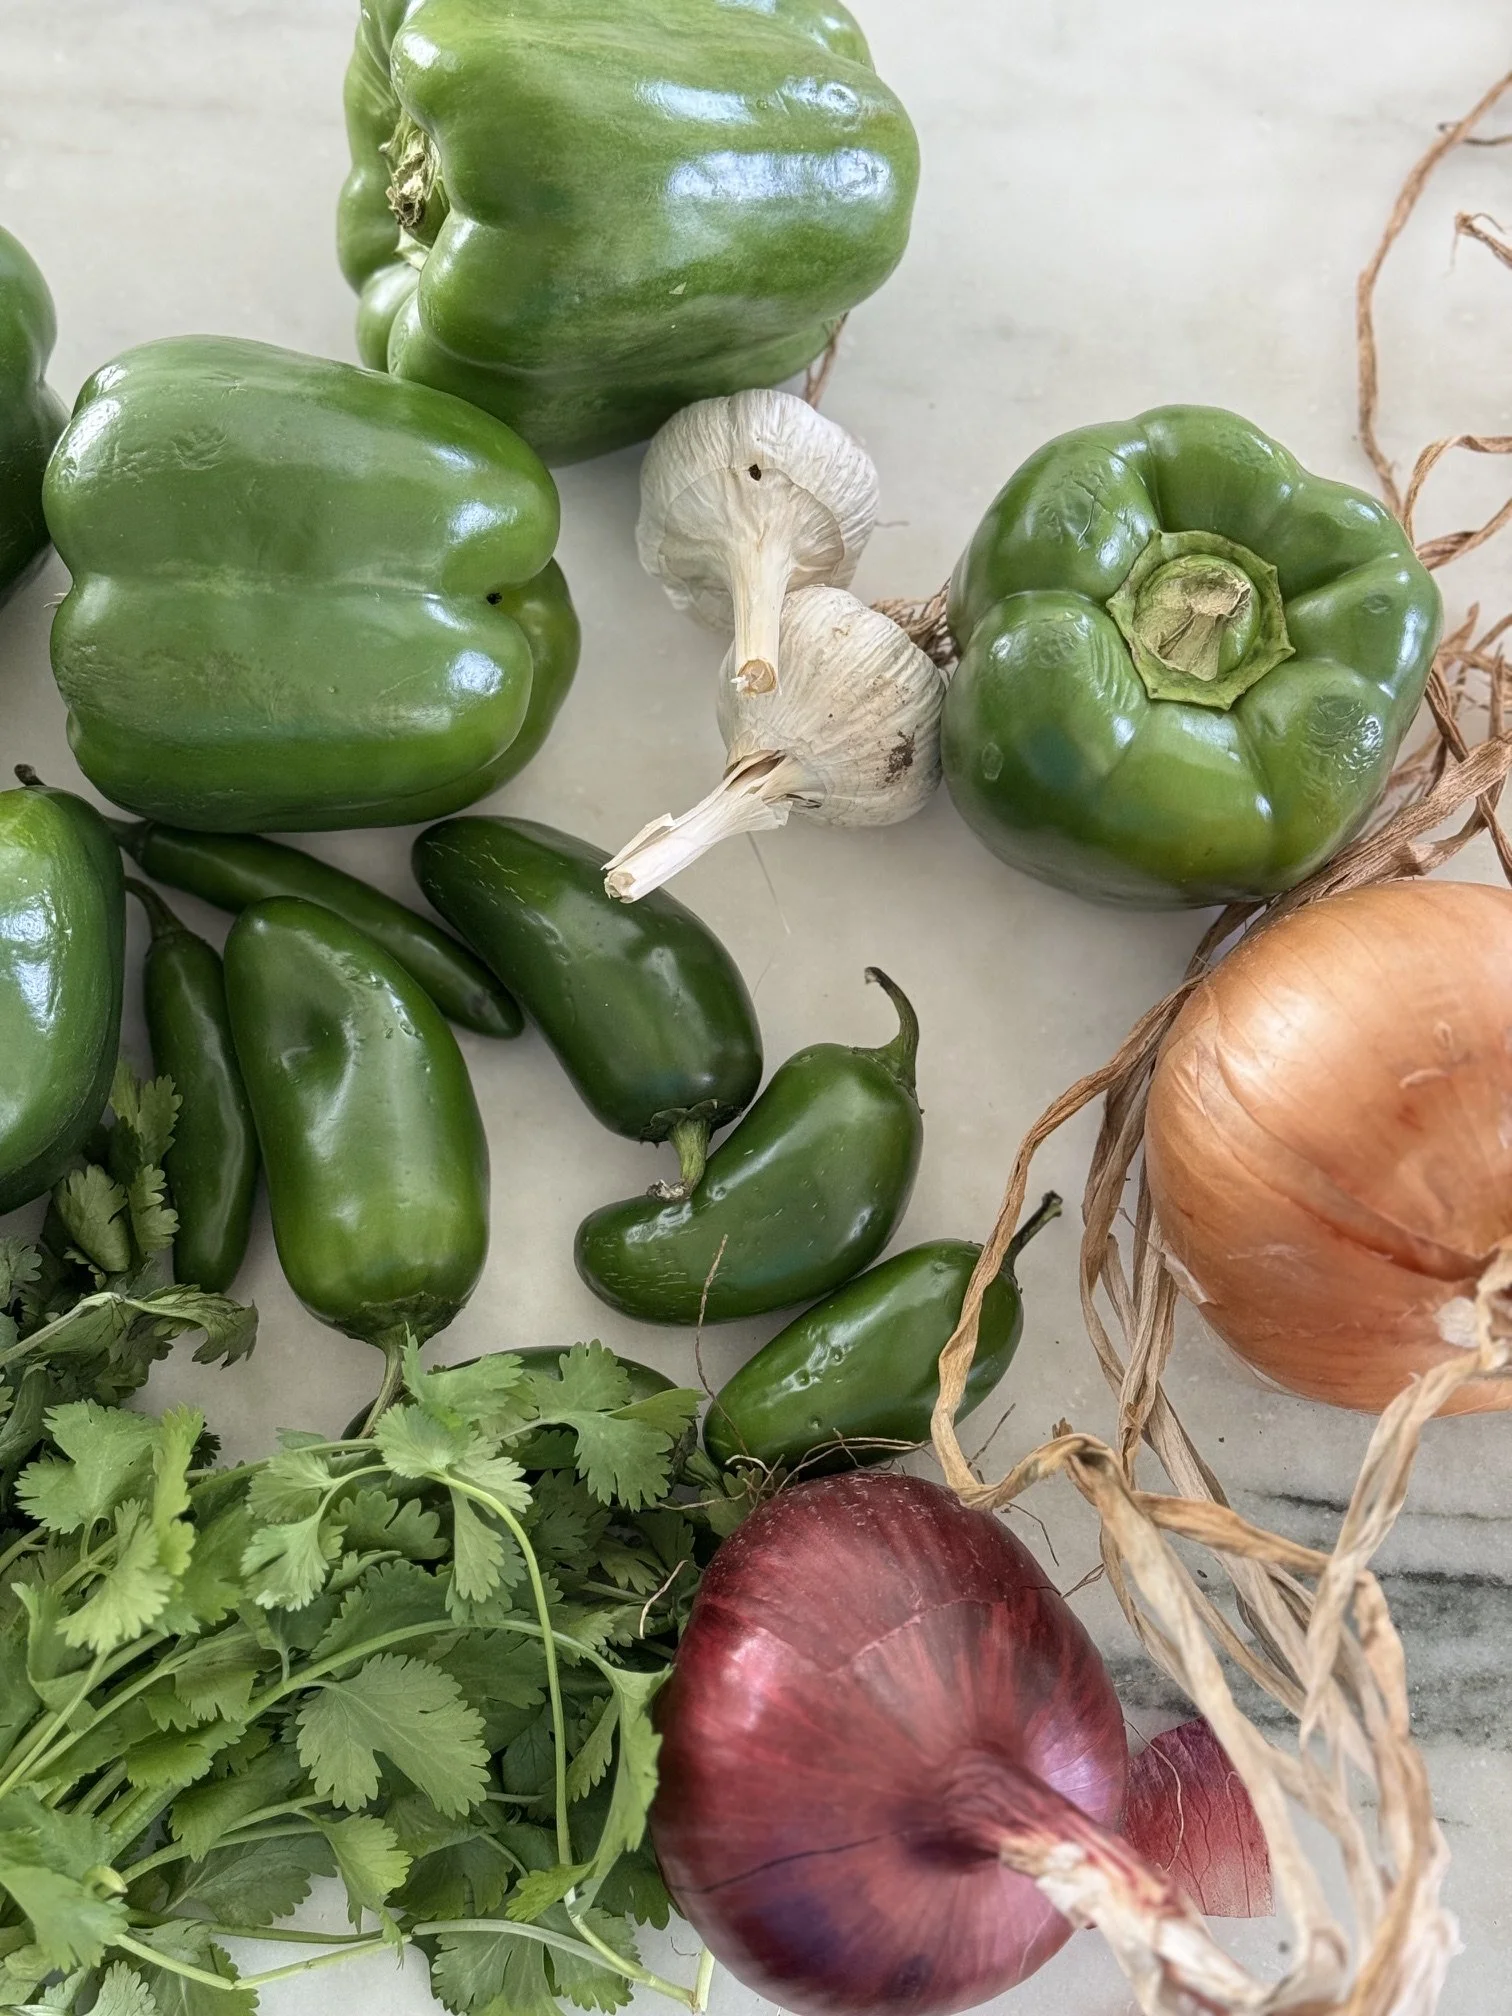
pepper varieties to start with
There’s a wide range of peppers, but it helps to start with a few reliable types.
Some of our favorites:
Shishito – mild, thin-skinned, quick to cook. More compact and often more productive per plant.
Emerald Giant – a dependable bell pepper, good size and flavor. Larger, sturdier plants.
Banana Peppers – productive and easy, great for fresh eating or pickling
Jalapeño – a staple if you like a bit of heat. A medium and bushy plant.
You can branch out later, but these tend to be forgiving for beginners.
When to plant peppers
Peppers follow warmth. Not just a warm day here and there, but steady, settled warmth in both the soil and the air. Timing them well makes all the difference between a plant that struggles and one that grows with ease.
Peppers are a long-season crop. They need:
Warm soil to germinate (around 21–29°C / 70–85°F)
Consistently warm air to grow (above 15°C / 60°F at night)
A long stretch of frost-free days to mature fruit
If they’re exposed to cold early on, they don’t just slow down—they often pause entirely.
March (Early Spring)
Begin starting seeds indoors
Use seed trays and, if needed, a heat mat to maintain warmth
Seedlings should be emerging and developing slowly
Keep them warm and in strong light. Growth is steady but not fast.
April (Mid Spring)
Seedlings are growing, but it’s still too early to plant outside in most areas
Begin planning for transplanting, but wait on the weather
Peppers don’t benefit from being rushed outdoors.
Read more: 11 of the best summer season vegetables that love the heat
how to grow peppers
Starting Seeds
Peppers take their time.
They usually germinate more slowly than tomatoes, and they need more warmth to do it.
Use a heat mat if your space runs cool
Keep soil consistently moist, not soaked
Expect germination to take 1–3 weeks
Patience matters here. It’s easy to think nothing is happening—but they’re just slower to begin.
Light and Temperature
Once they sprout, peppers need:
Full sun (at least 6–8 hours daily)
Warm temperatures to grow well
They don’t thrive in cool, overcast conditions. Growth can pause if temperatures drop too much.
Read more: Seed starting basics
what about direct sowing?
Direct sowing peppers is possible—but only in very warm climates with long summers.
You’ll need:
Consistently warm soil (above 18–20°C / 65–68°F)
No risk of cold snaps
A long enough season for fruit to mature
Even then, germination can be slow and uneven.
Because of this, most gardeners rely on indoor starts to ensure strong, productive plants.
Transplanting
Transplant your peppers only when:
Frost risk has fully passed
Night temperatures stay consistently warm
In many regions, this falls mid to late May (sometimes even early June in cooler climates).
When moving seedlings outdoors:
Harden them off gradually over about a week
Plant them in well-draining soil
Space plants about 12–18 inches apart
Adding compost at planting helps give them a steady start.
Ongoing Care
Peppers are relatively low-maintenance once established.
Water consistently, especially during flowering and fruiting
Mulch to retain moisture and regulate soil temperature
Avoid over-fertilizing with nitrogen (this can lead to more leaves than fruit)
They tend to settle into a rhythm once the weather is right.
Read more: Hardening off seedlings: The what, why, when, and how

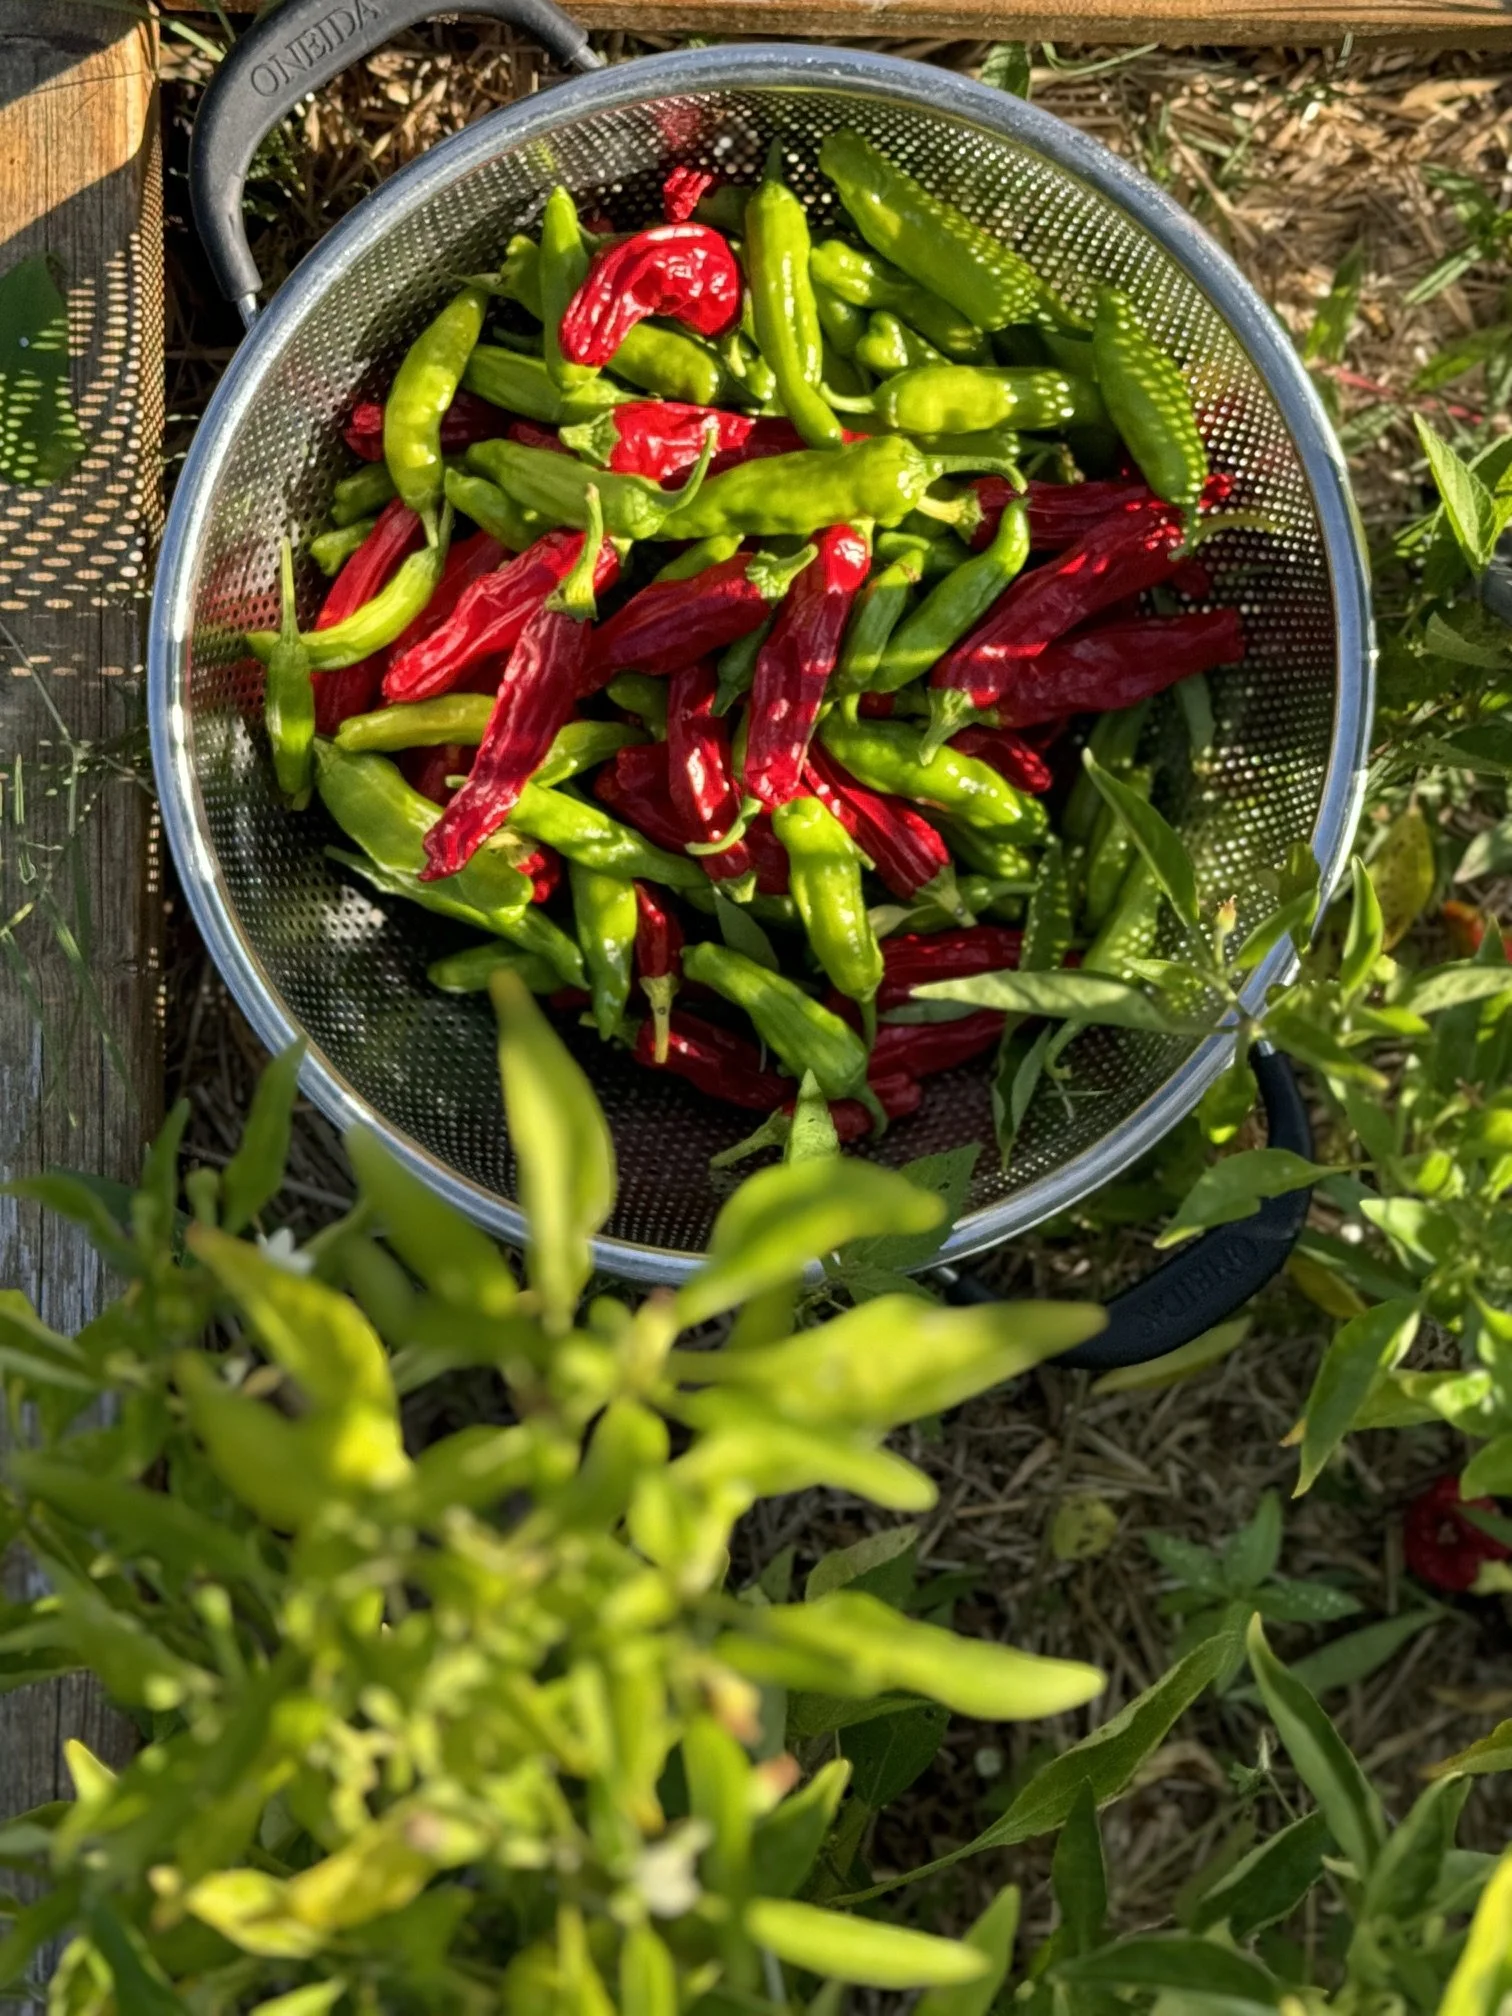
when to harvest peppers
June to August is the main growing and harvesting period
Warmth during this time directly impacts how productive your plants will be.
September to October will be the final harvest window, where fruit may ripen more slowly as temperatures begin to drop
Before the first frost, harvest remaining peppers—even if they’re still green.
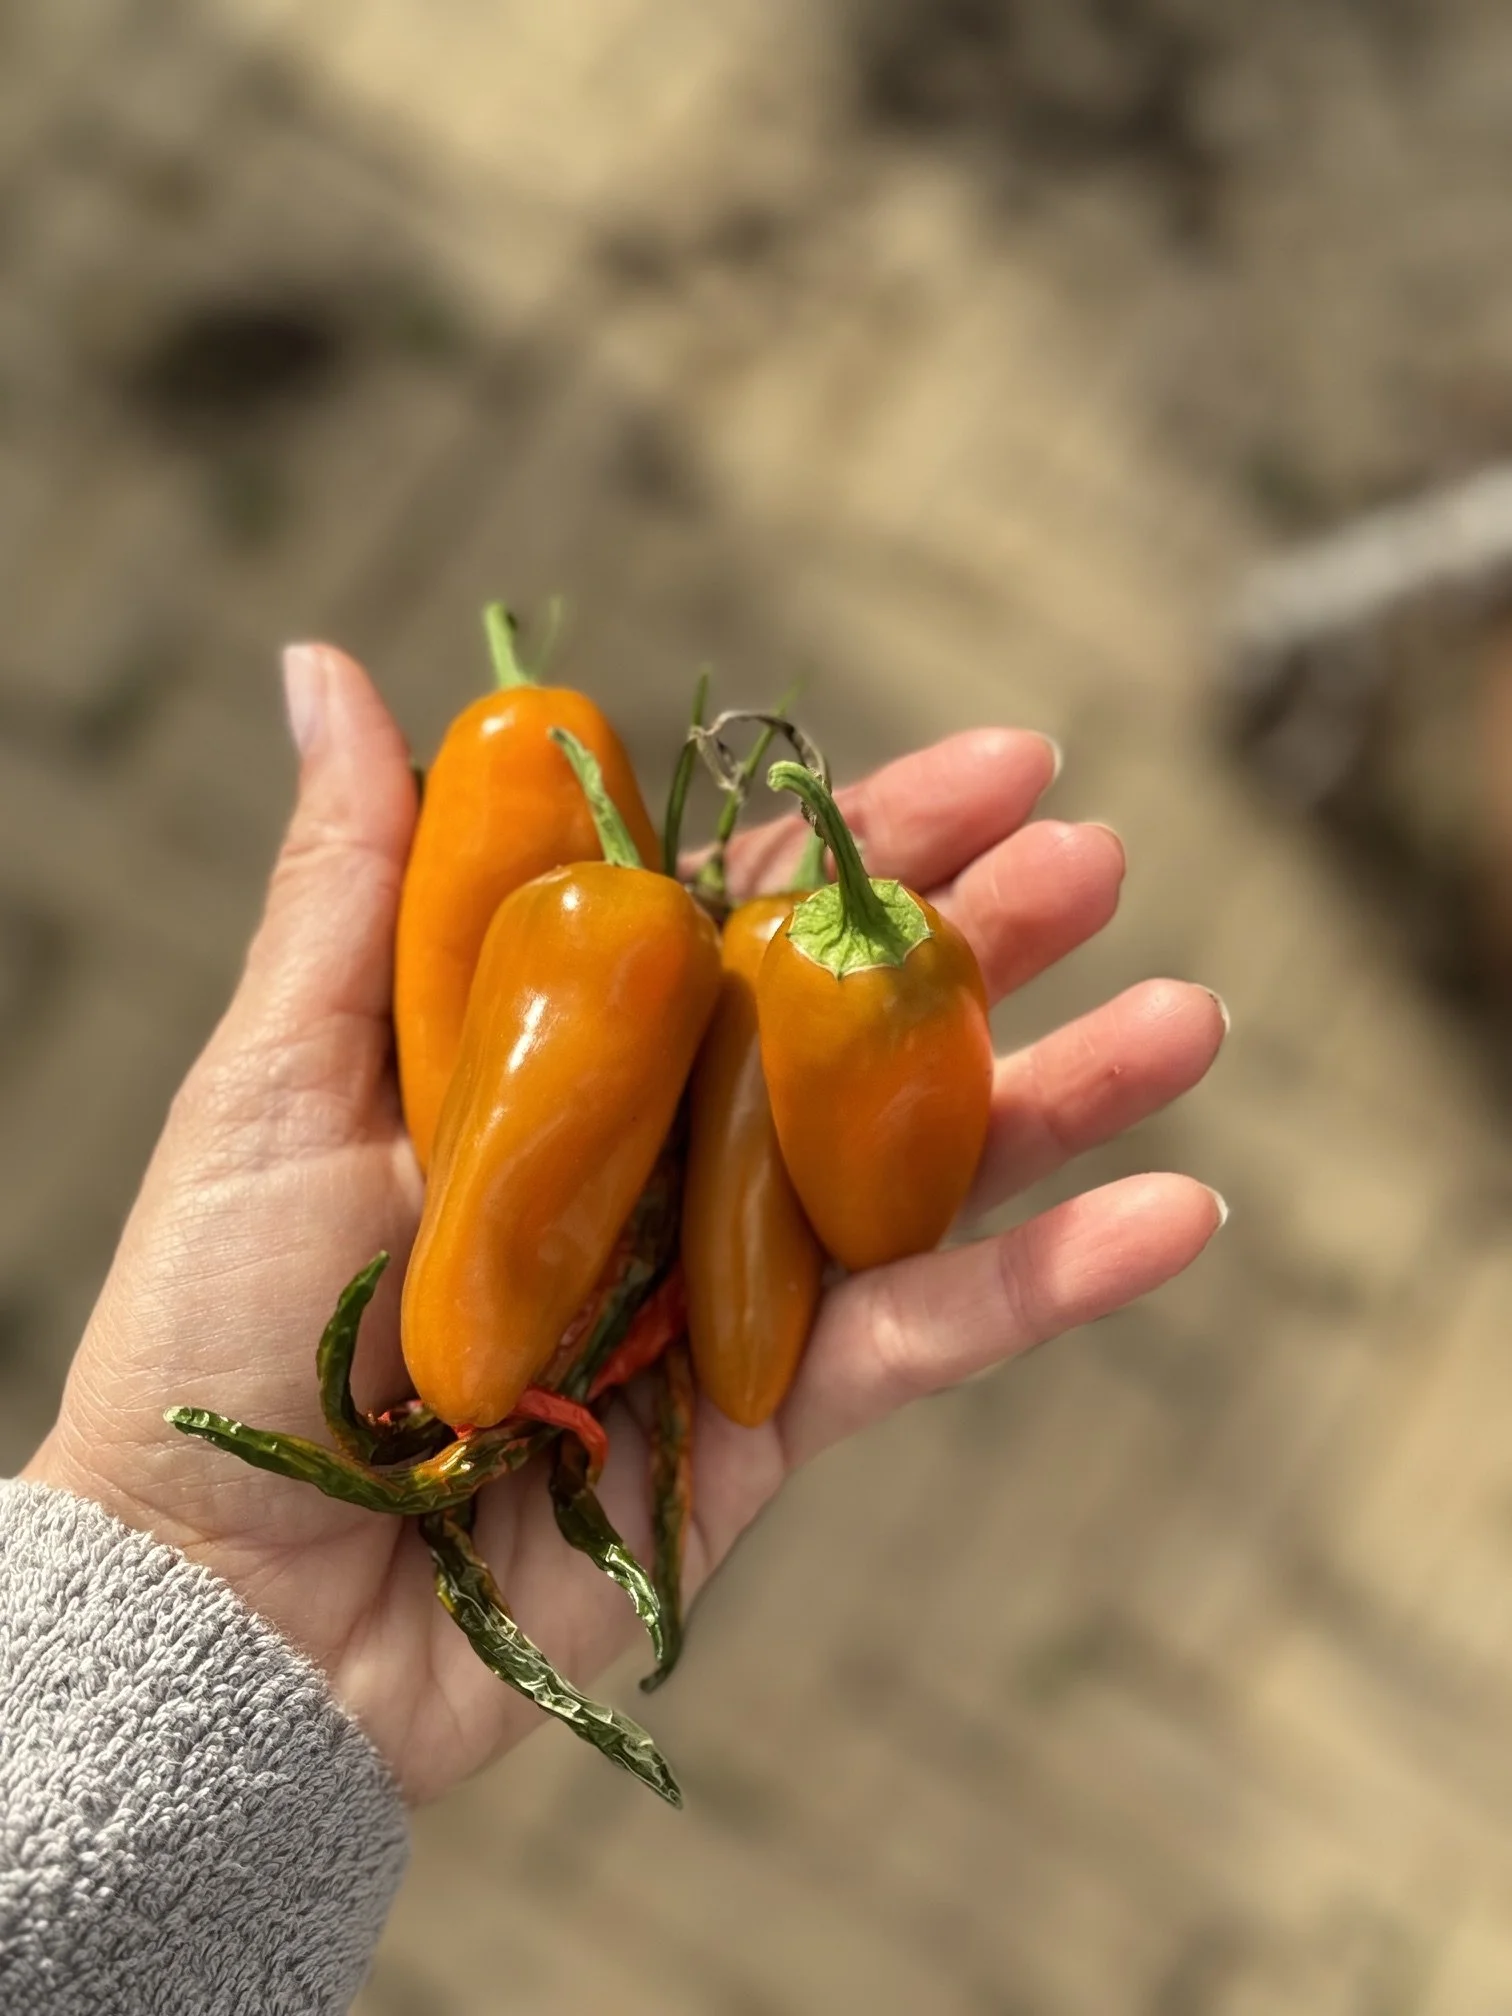
Peppers can be harvested at different stages
Green (immature) – firmer, slightly bitter
Fully ripe (red, yellow, orange depending on variety) – sweeter and more developed flavor
Both are usable; it just depends on what you prefer.
The longer they stay on the plant, the sweeter they typically become!
Time to Maturity
Some peppers are quicker; others take their time.
Banana peppers, shishitos: relatively fast
Jalapeños: moderate
Bell peppers (like Emerald Giant): slower, especially to fully ripen
Pests to Watch For
Peppers are generally steady, but like most garden plants, they reflect their environment. When something is off—too dry, too crowded, inconsistent watering—it often shows up here first.
The goal isn’t perfection. It’s noticing early and keeping things balanced.
Aphids
Small, soft-bodied insects that gather on new growth and the undersides of leaves.
What you’ll notice:
Leaves curling or looking distorted
Sticky residue (called honeydew)
Ants nearby (they’re often drawn to it)
What helps:
A steady spray of water to knock them off
Encouraging beneficial insects like ladybugs
Avoiding overly lush, nitrogen-heavy growth
Spider Mites
Very small and easy to miss at first. They tend to show up in hot, dry conditions.
What you’ll notice:
Fine webbing on leaves
Speckled, dusty-looking foliage
Gradual leaf decline
What helps:
Increasing humidity around plants
Regularly rinsing leaves (especially undersides)
Keeping plants well-watered during heat
Whiteflies
Tiny white insects that flutter up when the plant is disturbed.
What you’ll notice:
Clouds of small white flies when you brush the plant
Yellowing leaves over time
Sticky residue similar to aphids
What helps:
Sticky traps to monitor populations
Gentle spraying to disrupt their lifecycle
Keeping airflow good between plants
Caterpillars and Chewing Insects
Occasionally, you’ll see visible damage from something feeding on the leaves.
What you’ll notice:
Holes in leaves
Missing sections of foliage
What helps:
Hand-picking when possible
Checking plants regularly, especially early morning or evening
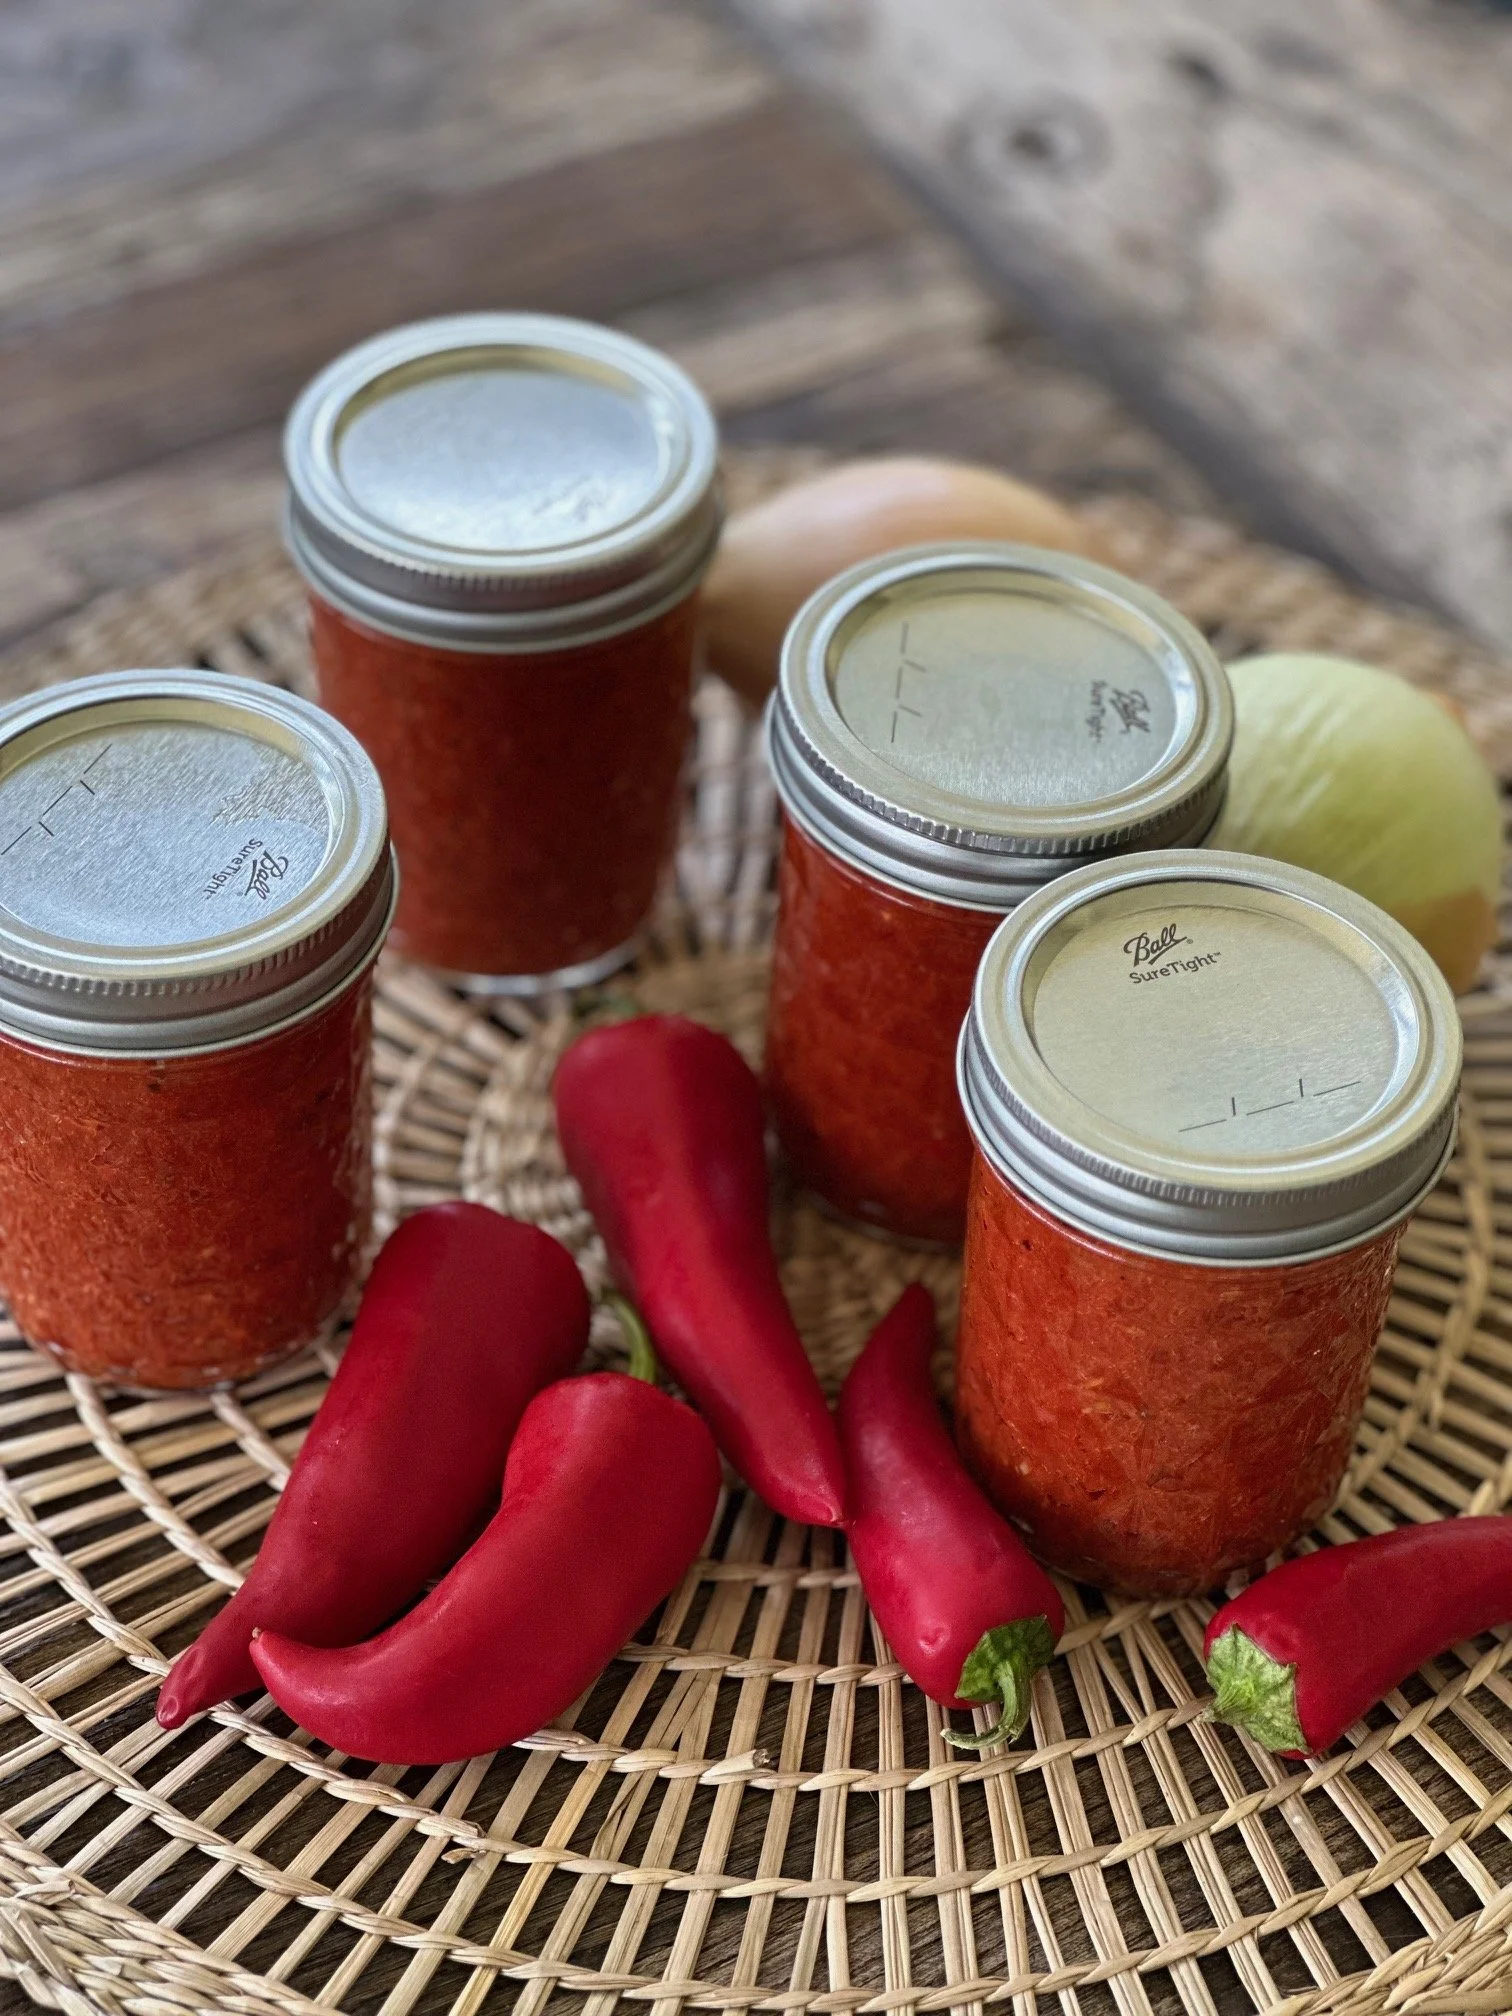
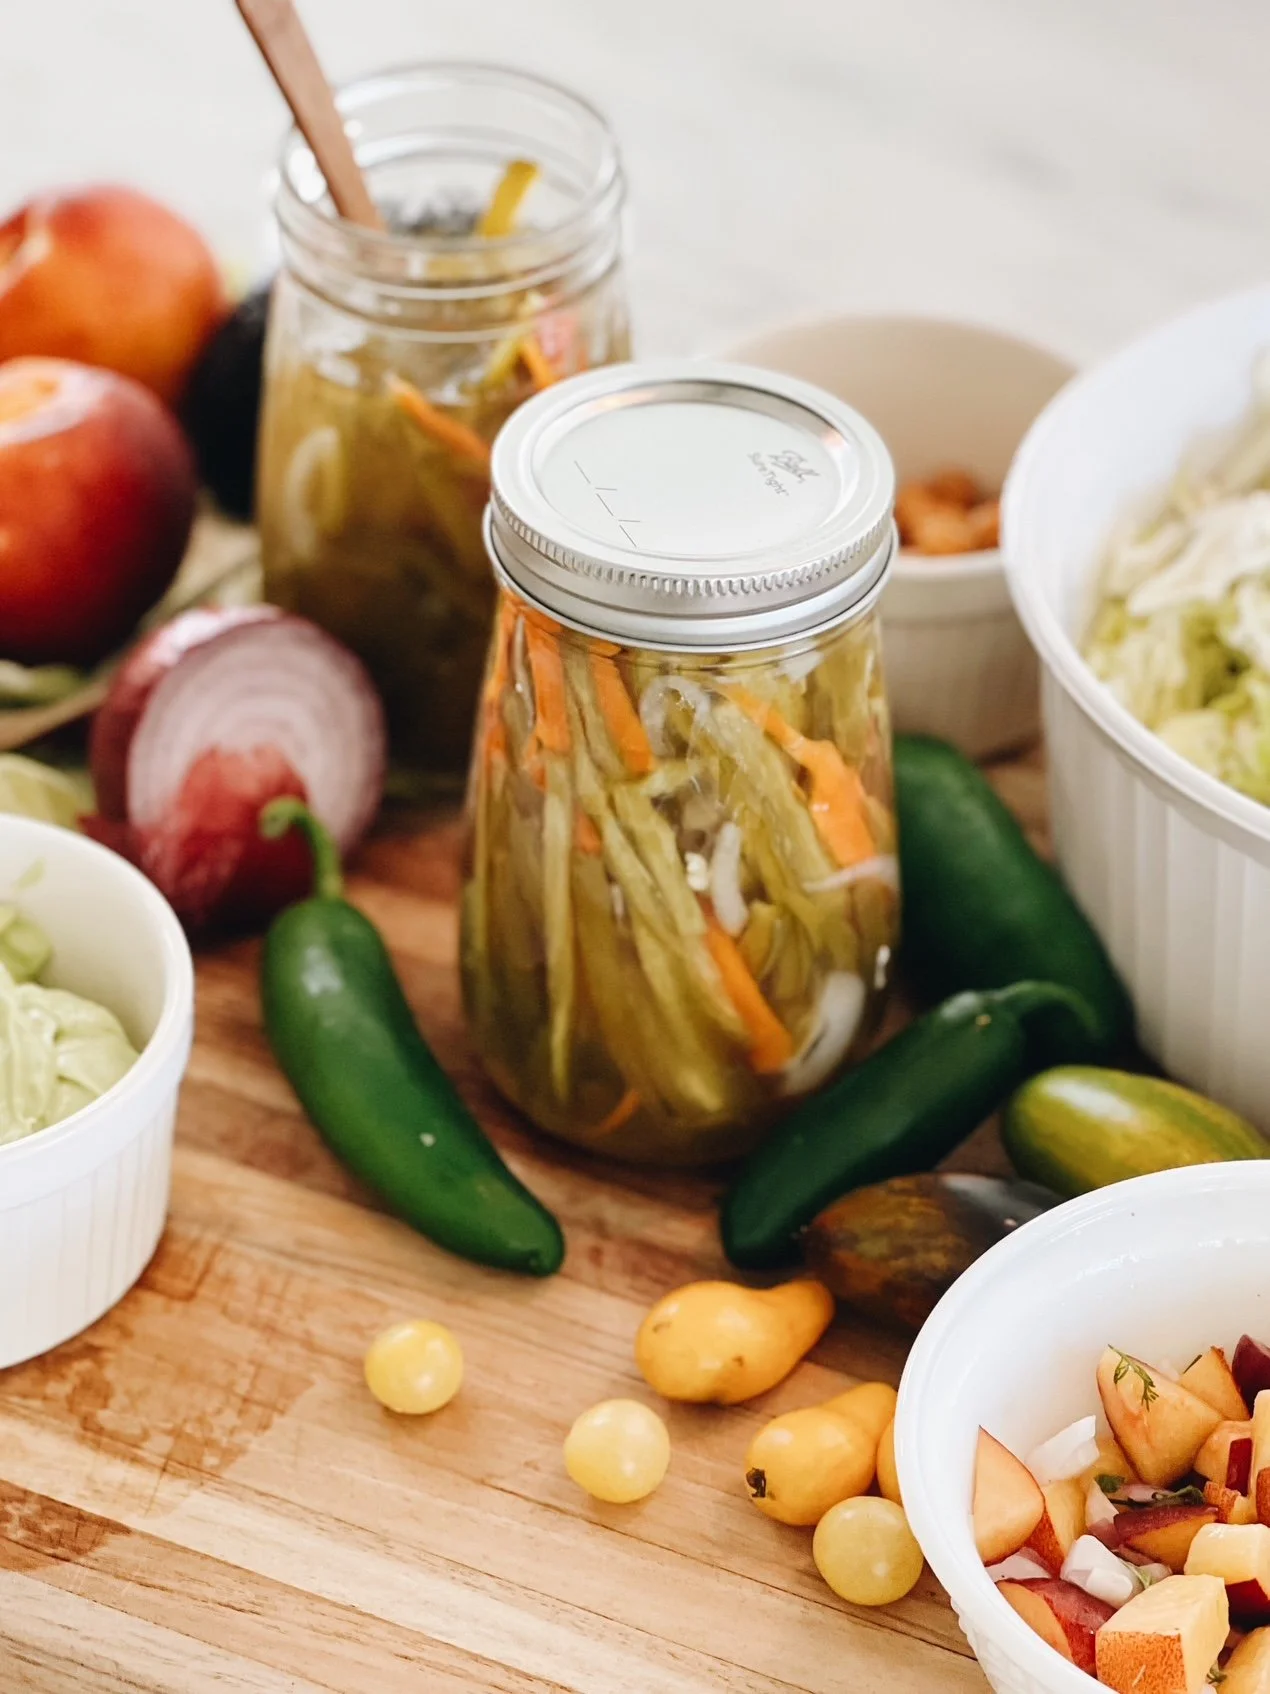
preserving peppers
Peppers store well, which makes them even more useful.
Freezing: Chop and freeze for easy use later. I share more about this in my book Simple Country Living!
Drying: Cayenne and other thin-walled peppers dehydrate easily
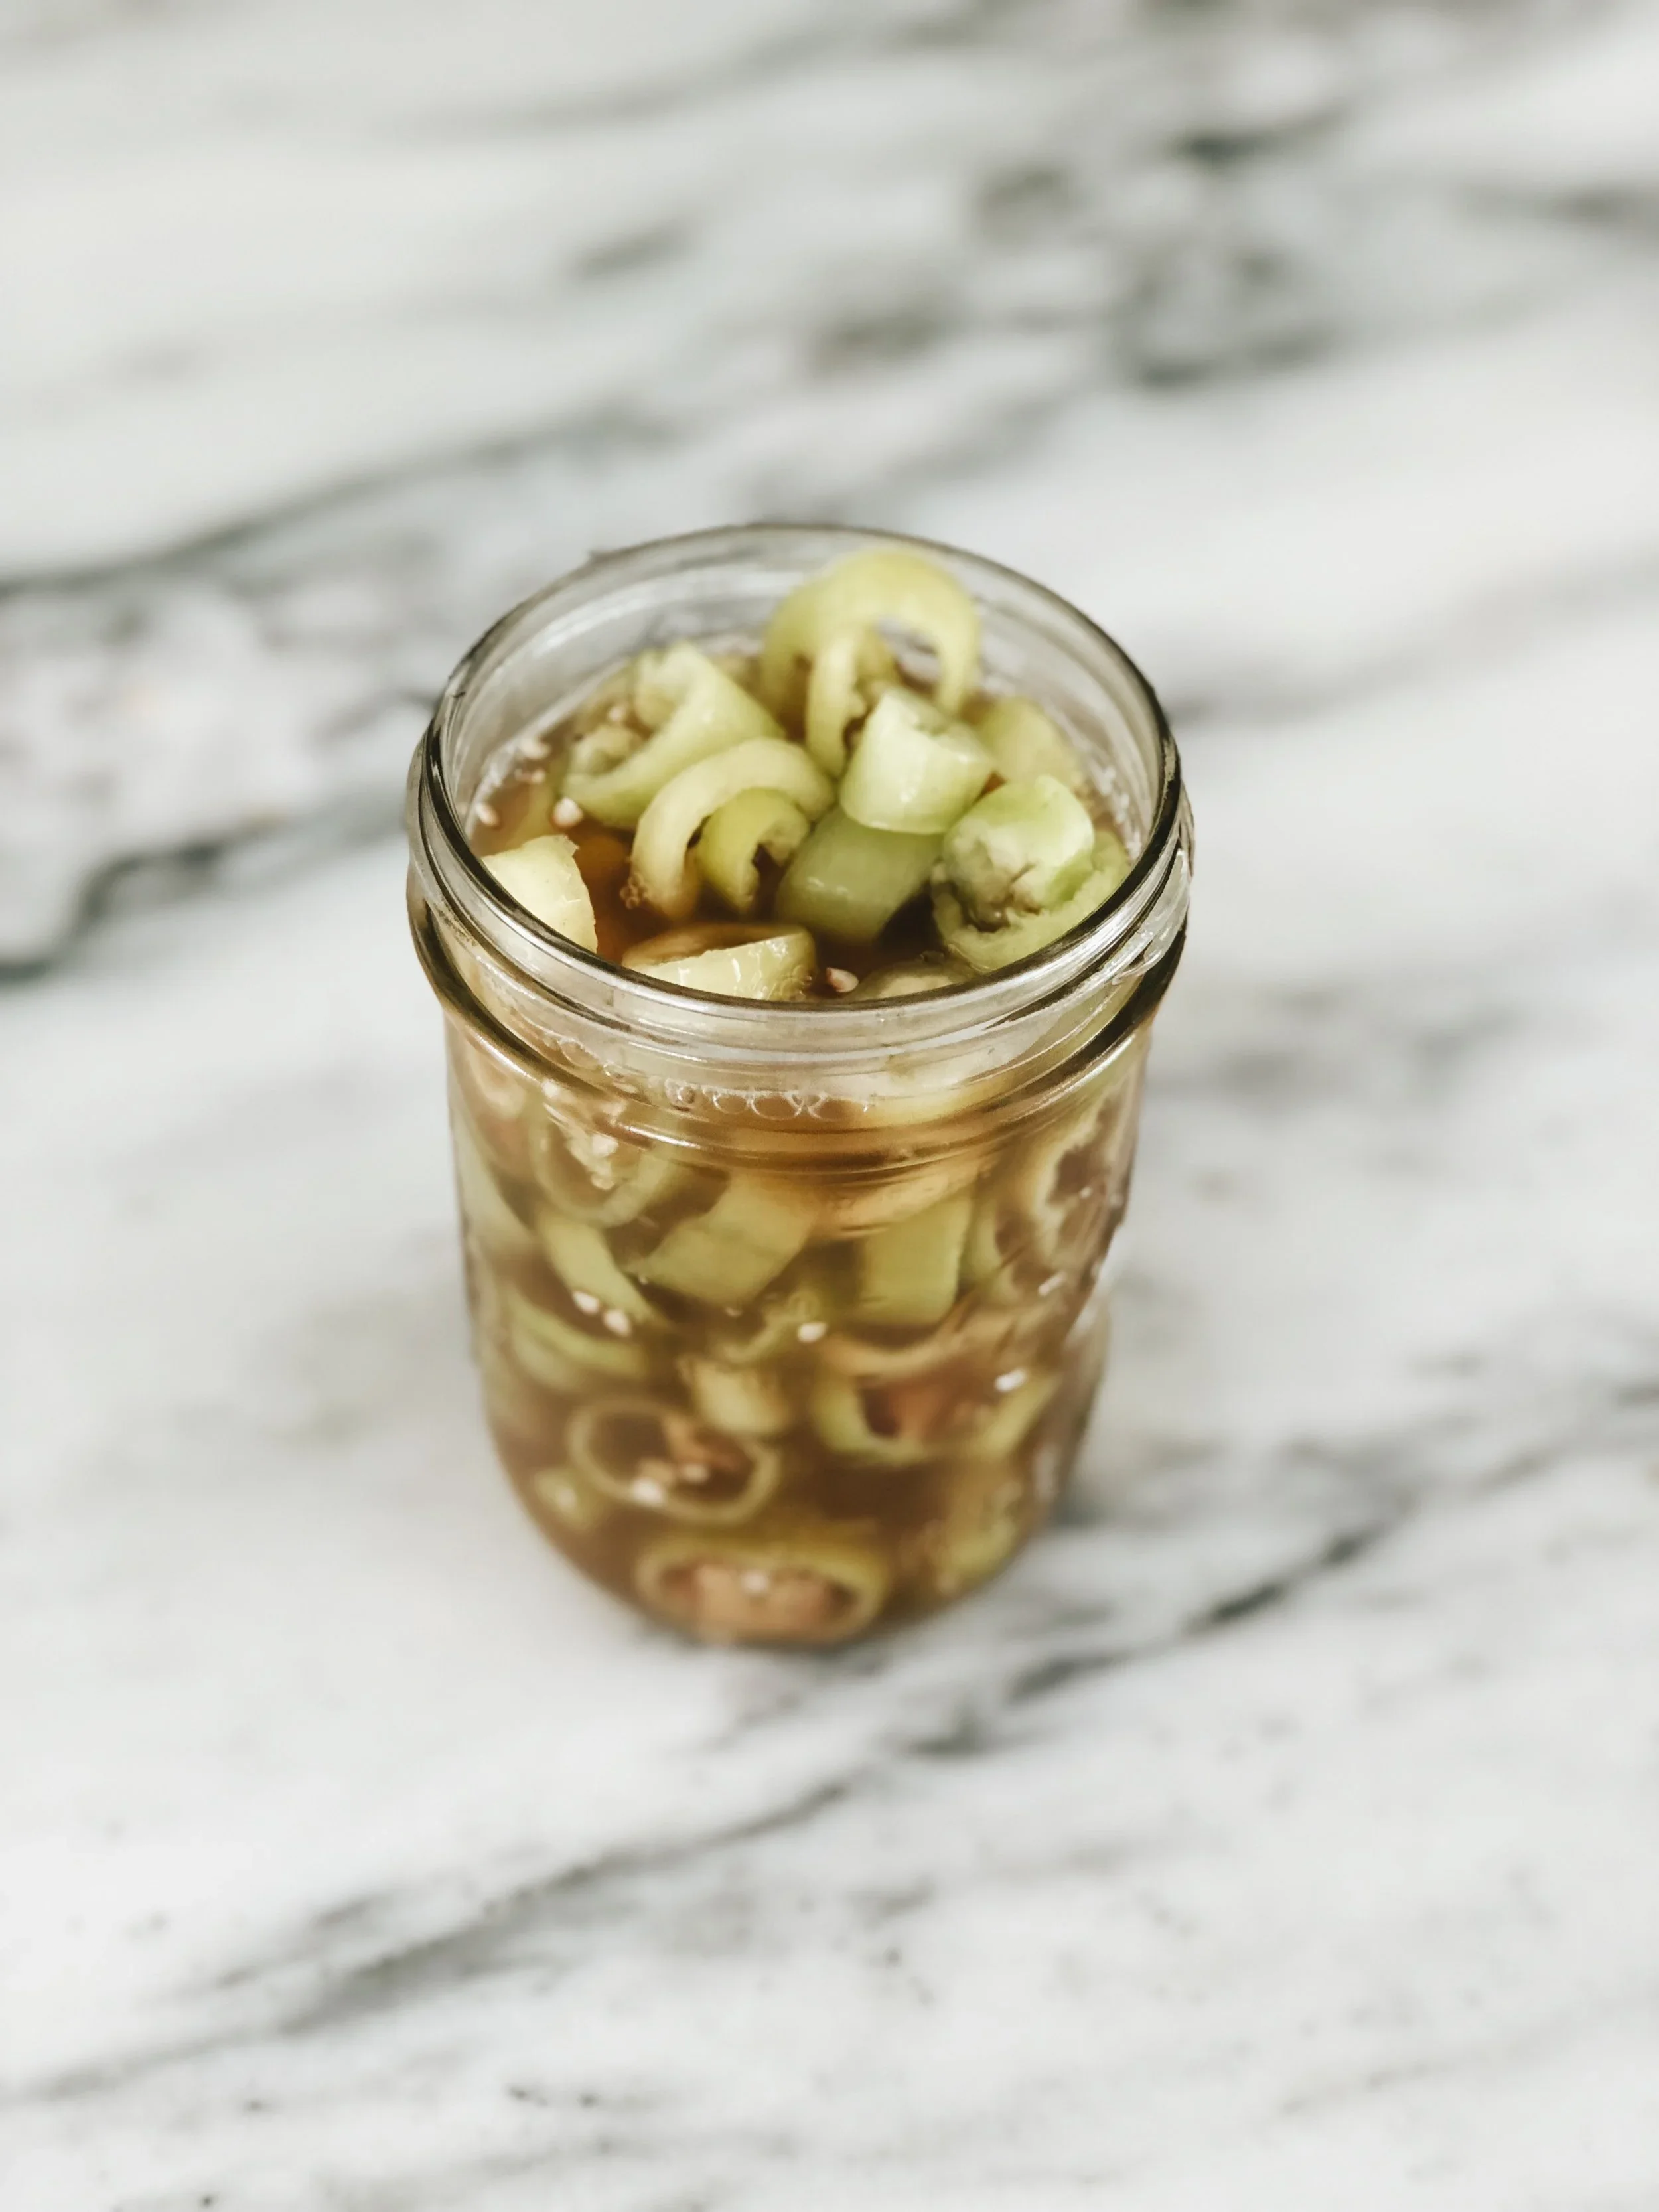
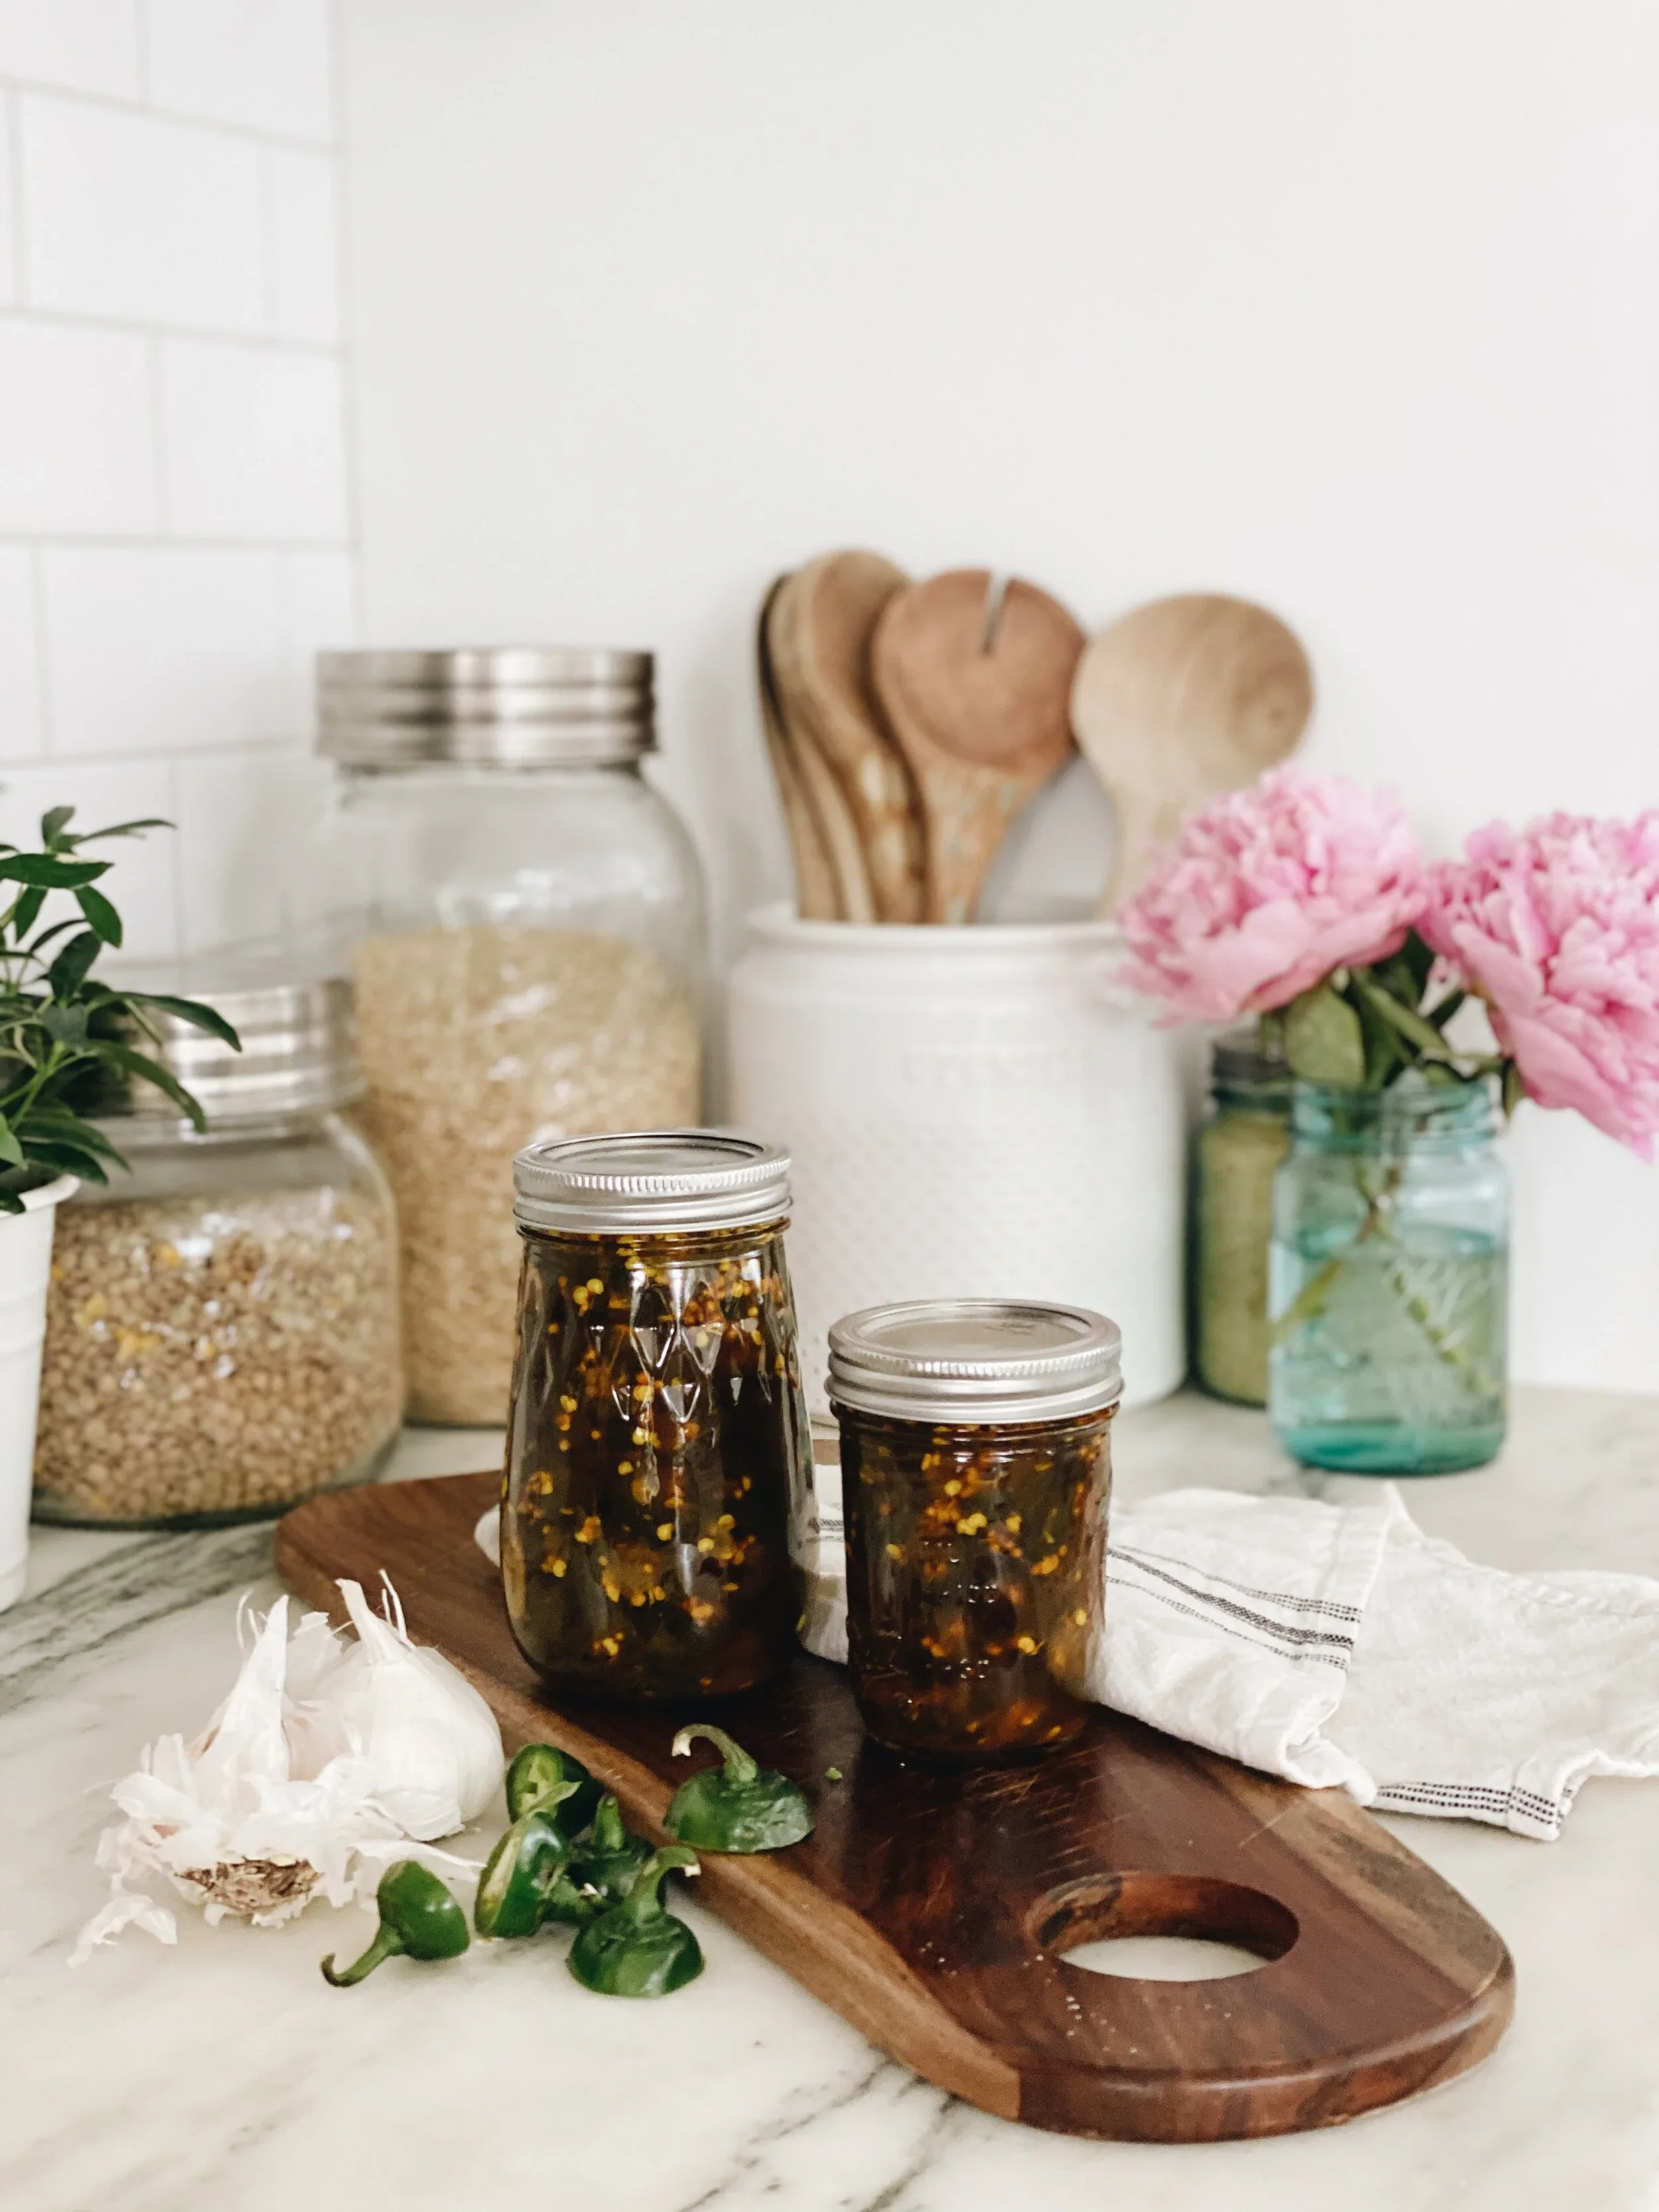
Pickling: Especially good for banana peppers and jalapeños.
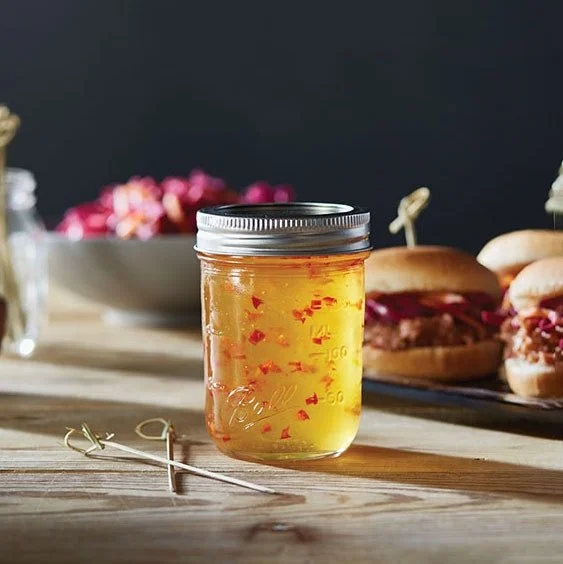
Canning: I love making canning recipes with my peppers so I can enjoy them all year long!
It’s one of those crops that doesn’t go to waste if you plan ahead.
favorite pepper recipes
Garden-fresh stuffed bell peppers
Sweet and spicy candied jalapeños
Sweet and spicy enchilada sauce

a steady crop to grow in your garden
Peppers aren’t the fastest crop in the garden.
But they’re steady.
They ask for warmth at the beginning, patience while they establish, and then they settle into something dependable.
A few plants can carry more weight than you expect, both in the kitchen and in storage.
And over time, you start to learn their pace and come to love them!
Love, Annette x

Simple country living
Answer the calling deep within for a simpler life
Join me in connecting with nature on a deeper level. In Simple Country Living, you’ll find a sampler covering homesteading techniques that can be put to work no matter where you live.
You'll find recipes, tips, tricks, and family activities that will help you reduce waste, save money, and harness new skills.