Grow Bountiful Fruit Trees With The Ellen White Tree Planting Method
Our orchard was one of the very first things we started when we moved to our homestead years ago. We knew trees take a long time to grow and produce healthy fruits.
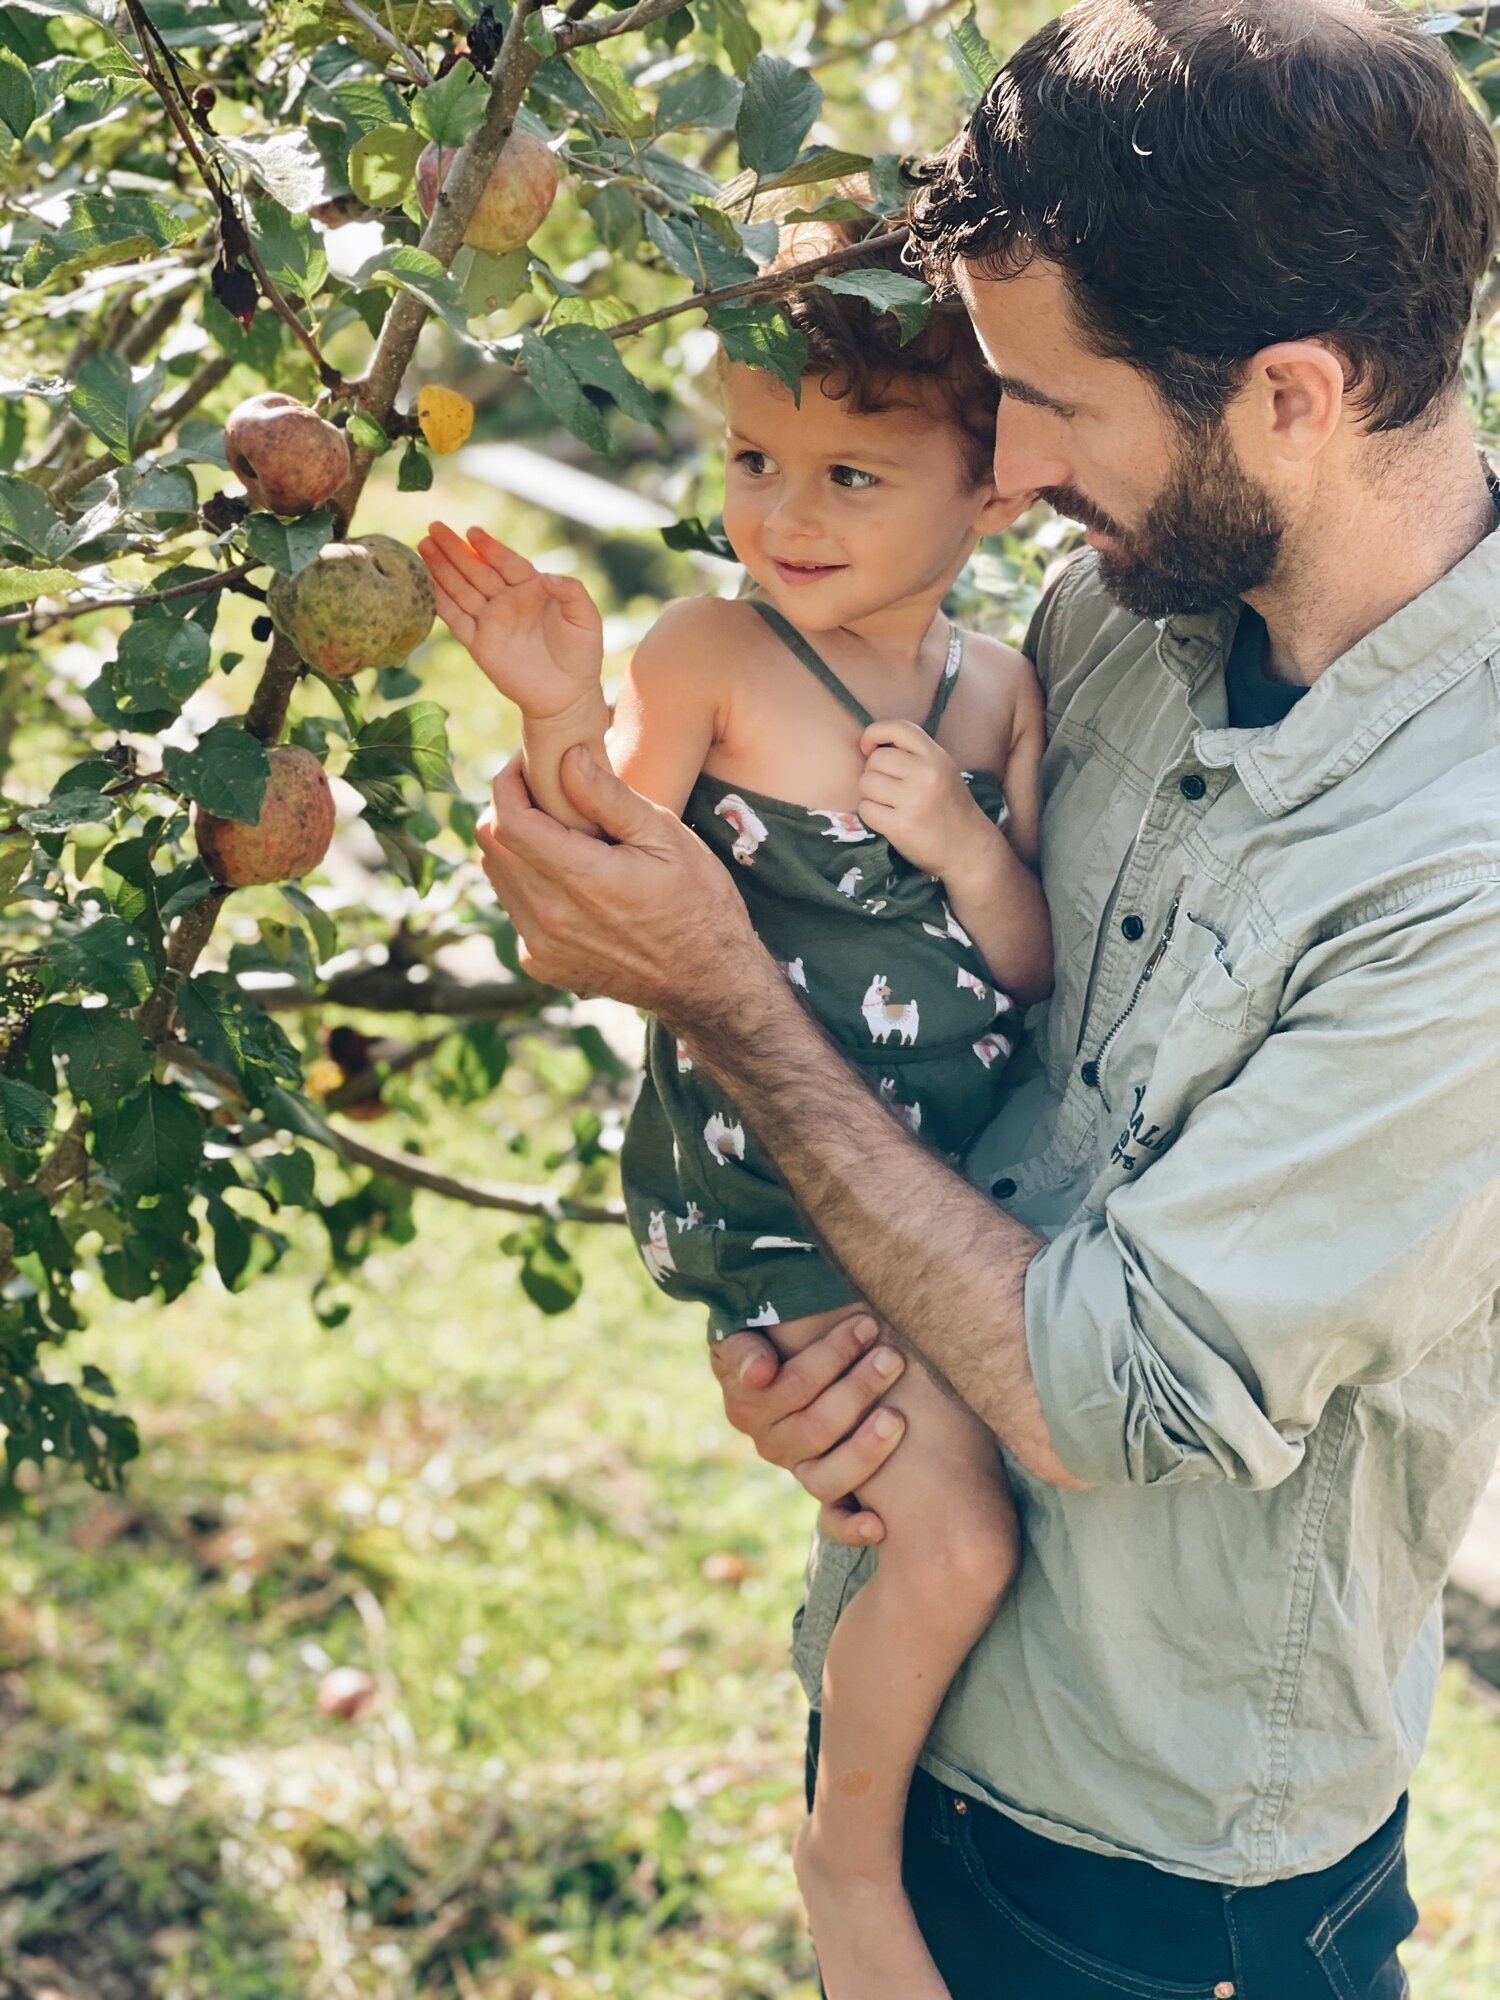
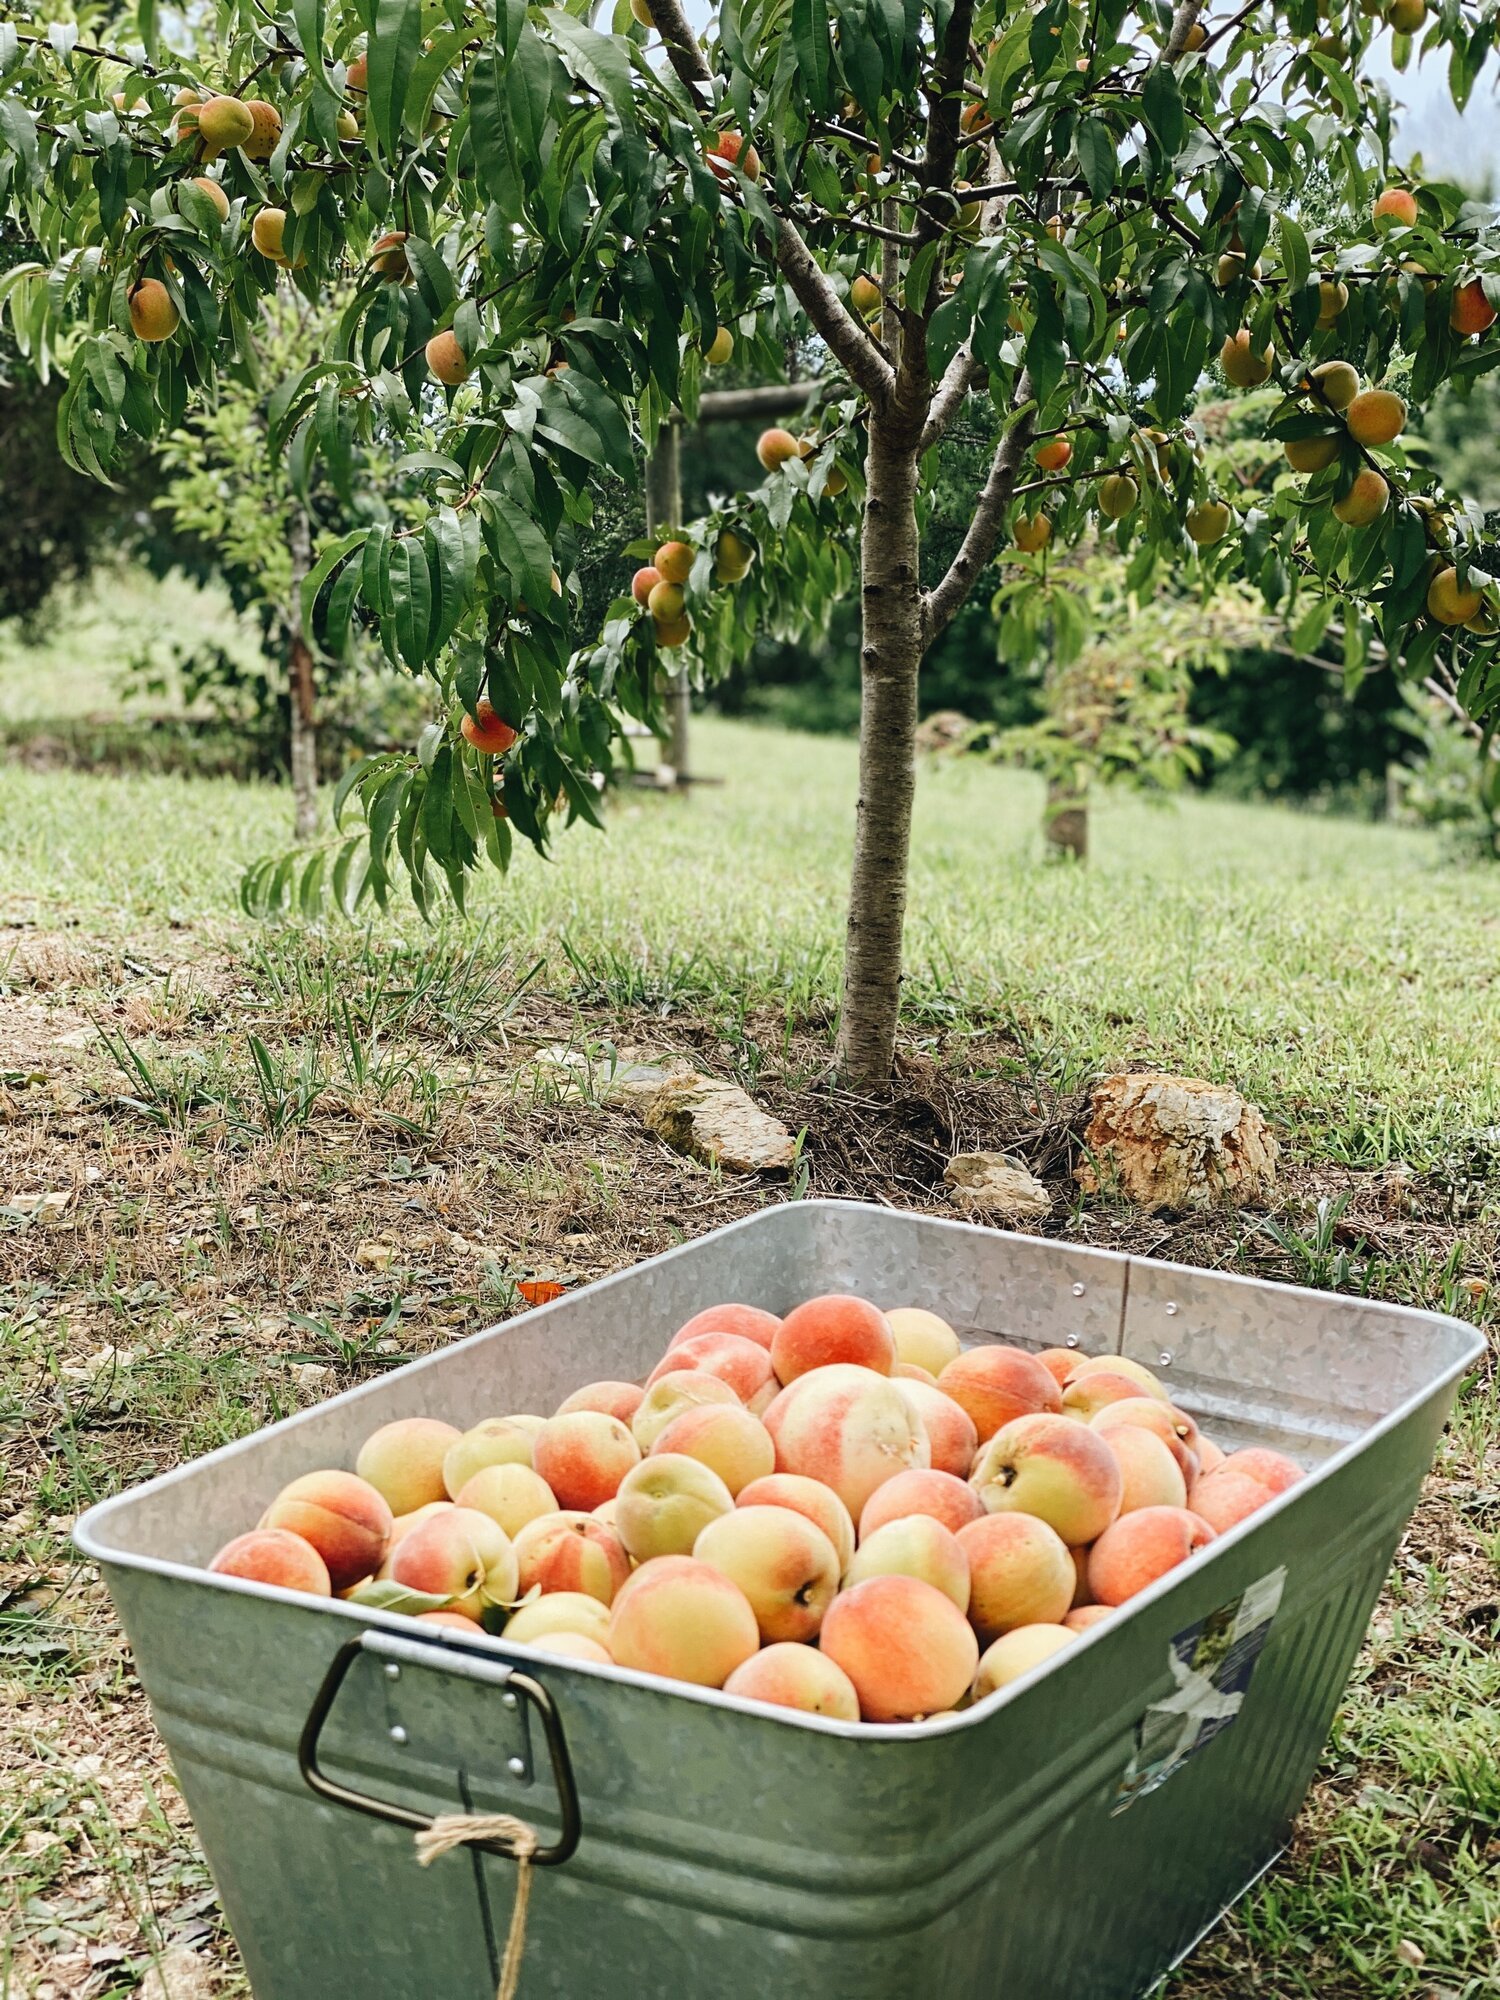
It took trial and error and a lot of hard work to get it going. But it was oh so worth it! Today, our family enjoys yummy, juicy peaches, apples, pears, cherries, blueberries, and figs straight from our backyard!
We love using the Ellen White tree planting method, which has given us many successful results. Scroll down to learn more about how to grow fruit trees and how the Ellen White method works!

Patience delivers great results
If ever there was something that required patience, it would be planting a fruit tree. You put in all this hard work only to wait a few years to see it pay off.
When you think of planting something by seed, especially a fruit tree, you can imagine the hope and anticipation of one day seeing that one seed turn into thousands and thousands of peaches or apples or cherries.
Starting an orchard can be intimidating and challenging when it is your first time planting fruit trees.
If you're lucky, your land might already have an orchard. However, you'll still need to know how to take care of it and, depending on the age of the trees already there, plant a few younger ones or add more variety.
If you aren't fortunate enough to have trees waiting and ready for you, planting some should be one of the first things on your agenda, as they take a long time to grow.
Much more permanent than a flowerbed or seasonal garden, orchards are long-term investments that can be tricky to get right. After years of taking care of your tree, the last thing you want is to find that it only gives you a few sour apples.
But just a few tips and TLC can be the key to a lifetime of beautiful fruits straight from your backyard!

Choosing What to Grow
The first step to starting your orchard, or only planting a few trees, will be picking what you want to grow. It might be tempting to choose whatever fruits you like best, but there are other considerations to take into account.
Factors to also consider include:
Which trees are tough enough for your location and climate? A great resource to start with is the USDA Plant Hardiness Zone Map.
The amount of shade you want from the tree.
How fast it will grow and produce fruit.
How much space you have available?
And yes, planting and growing fruit your family actually loves.
We currently have peach, pear, apple, cherry, blueberry, and fig trees.
READ MORE:
Don't Forget the Little Guys
If you're impatient, you may want to start with a crop of dwarf trees, which require less time to fruit and can be easier to take care of. Plus, they don't need a ladder to reach your harvest once they're ready.
A row or two of dwarf trees can be a great way to tide you over until your larger varieties are ready and, although they bear less fruit, can be planted much closer together to allow for more trees.
When to plant fruit trees
Fruit trees should be planted in late winter or early spring before they emerge from dormancy. When you can plant depends on where you live, but it comes down to the ground no longer being frozen.

Location, Location, Location
Once you’ve picked what to plant, the next step will be deciding where. There may be a place on your property you think would be lovely for a little orchard, but there are more important factors than aesthetics.
The ideal place for an orchard is on the upper side of a southern gradual slope, such as on small hills surrounding a valley. A southern slope is also better than a northern slope, which will delay blooming.
If you plant too low, cold air can accumulate in the spring and cause frost damage. Too high, and the trees may be battered by wind.
Plant your trees in layers with those most sensitive at the middle of the slope, such as those with frost-sensitive blooms, and your hardiest trees that can better stand the cold on the outer edges.
Also, plant your rows in a north-south orientation for the best sun exposure.
Trees also need good sun exposure, air circulation, and soil to grow well.
While planning out your orchard, or if you’ve missed the season this time, you may want to consider planting a “green manure” crop like rye to ready the location you’ve chosen and provide more fertilization for the soil.
Prepare your soil the same way you would in your garden by testing the pH levels and adding nutrients as necessary. The pH preference of trees varies from species to species but is usually around 6-6.5.
READ MORE: How to make the best organic garden soil
Plan Your Plot
Once you’ve picked your perfect spot, it’s time to start planting. But don’t go digging just yet!
Trees are much more permanent than the plants in your garden, and you’ll want to make sure you set them up exactly where you want them in the places they’ll live best, as you won’t be able to move them later.
The best course of action is to measure your plot of land with a tape measure or string and make a scale model on graph paper. Then, follow this guide like a map when you’re ready to plant, measuring as you go to make sure the trees are far enough apart.
They may be small now, but remember that your trees will grow much larger and need room to stretch their limbs.
Dwarf trees need 10’ between each, while full-size fruit trees require 20’ and nuts need about 50’.
Now it is time to plant! See the Ellen White tree planting method below.

ellen white tree planting method
The alleged story goes like this: An American named Ellen White moved to Australia to help start a school in the 1800s. The students needed to earn money for tuition and to eat. They tried all different types of planting methods to increase yield. In the end, the "Ellen White" method worked fantastically.
Jared has believed in the Ellen White tree planting method for years now. We've seen others apply the same method and can attest that it delivers fantastic results.
By following this method, you will grow trees a lot faster than with other methods. This includes better height, breadth, foliage, and fruit yield.
Yes, the Ellen White method requires a lot of work and a lot of raw material in the form of compost, peat moss, and topsoil. Still, the results amply justify the investment in time and material.
STEP 1
You want to dig a huge hole, much bigger than you would think necessary. This loosens up all the soil so the roots can easily inch their way left, right, and down to find more nutrients to keep growing.
I dug a 3’ by 3’ hole.
Put all the dirt in a pile, and then you want to add in your amendments one layer at a time as in the picture and next steps.
STEP 2
Put some very rich compost and topsoil mix into the bottom of your hole. You want your roots to reach down and find all the good stuff deep in this hole.
I recommend mixing up a batch of topsoil and compost (manure) from organically raised animals, and mixing in a little peat moss, ground-up kelp, biochar, organic alfalfa hay, and ground molasses. Many of those you can get at a feed store. Don’t stress if you can’t find them all; use as many as you can.
Use this at the bottom of the hole and as you add new layers.
STEP 3
Put a layer of gravel on top of this mixture at the bottom of the hole. This, as I’m told, does something to the electrical current in the ground and channels it into the tree. Just a thin layer of some type of rocks.
STEP 4
Now put a 4” PVC pipe with large rocks stuffed into the ends so that, for the most part, the pipe will trap oxygen in the middle of your hole and not fill with dirt. The oxygen feeds the microorganisms and causes a flourishing of growth.
STEP 5
Gently put more of your mixture of soil and amendments around the pipe and on top of your rock layer and fill up 2/3 of the hole. Think of the hole in thirds.
STEP 6
Put a big rock on top of your mixture, and now you’re going to put a little layer of your soil mixture on top of that rock and then set your tree. Then fill the rest of the hole around your tree with your super soil mixture.
STEP 7
Put some type of mulch, i.e., hay or straw, on top of your hole.
STEP 8
Water that tree for 10-15 minutes. Trees are thirsty plants, so remember to water them daily for at least the first few weeks and weekly afterward for a year or two.

Image from HeavenPreparation.org
WATCH IT GROW
In the spring, a month or two before the tree blooms, you can work in some high-nitrogen fertilizer to fuel its growth.
Use around a quarter pound of blood meal or 8 pounds of manure in a ring with a 2-3” layer of well-aged compost on the inner edge closest to the tree, keeping the trunk dry and clean to prevent rot. Then, cover the layer in straw, hay, or mulch.
READ MORE: How to use compost in the garden
You’ll also want to make sure you prune your tree regularly. The largest branch should point into the prevailing wind like a weather vane. Other branches should be cut back proportionally to the root loss.
Pluck the fruit off right after the buds each spring for the first 1-3 years of your tree. I know this will take a lot of patience, waiting in anticipation to enjoy the fruit!
But this allows all the tree's energy to go into the roots to grow even better and stronger. Then, your tree will produce so much more as the years go by and be more resistant to drought, disease, etc.
Happy tree planting friend! May you have bountiful harvests and healthy trees in a few years to come!
homegrown community
Want to learn more about gardening and cultivating healthy, bountiful fruits and veggies?
Do you crave a lifestyle where your time is spent among the kindness of animals?
Are you longing to return to the basics and experience the healing powers of soil under your nails?
Then our HOMEGROWN COMMUNITY might be for you!
There’s nothing like the excitement of learning a new thing - how to garden, how to make delicious recipes from your garden, or how to care for baby chicks.
But the truth is that without understanding the basics, these fun experiences can become a headache. Bugs eat your tomatoes before you do. Recipes don’t taste like you hoped. Those chicks get sick or worse, don’t make it.
We have been creating and curating content from people just like you who have already lived and learned, and we are excited to share with you the steps we took to find success so you don’t have to repeat the same mistakes we have made.
From food to farm to family and so much more, we find ways to share tried and tested ideas in your own kitchen, garden, farm, and home.
A growing library of over 100 videos
Watch and enjoy on any device
Connect with a community of lifelong learners
Access to on-demand workshops and step-by-step tutorials
Fun Instructions for Rookies or Rockstars
Curated courses & world-class instruction
Affordable subscriptions with no surprise extra costs
Special subscriber offers & personal support for your country living questions
HomeGrown is here not just to teach you what to do but how to do it, too. Oh…and we have some fun along the way.
For a small fee of $5.99/month or $49 for the year, you have years of experience, trial and error, and knowledge right at your fingertips.

