How to grow garlic cloves - an easy guide to grow healthy, flavorsome garlic bulbs
Mmmmm, can you smell it? The aromas of fried garlic drifting through the kitchen as you make one of your favorite dishes for supper.
This must be one of the best flavors added to dishes out there! Want to spice something up? Add garlic! Want to add more depth to a dish? Add garlic! Want to add a buttery, earthy flavor? Just add garlic! It’s a winning ingredient!
Continue reading for my tips on how to grow this fantastic vegetable.

How to grow garlic cloves
If you love garlic as much as I do, you have probably wondered how to grow garlic cloves and landed on this page!
Luckily for you, growing garlic bulbs or cloves is super easy. And let me tell you; it's pretty satisfying to whip up a dish and proudly add garlic (or any other veg for that matter) that you have grown yourself!
Growing garlic requires minimum effort and risk, with great return. Garlic is hardy, mostly pest-resistant, has little watering needs, and can grow in many soil types in almost all climates. My kind of vegetable!
Which variety of garlic to choose
There are two main types of garlic: - hardneck and softneck garlic. And within these two types, you get many varieties.
Hardneck Garlic
Hardneck garlic varieties produce a stiff stem that grows up through the center of the bulb.
They are very hardy in frigid climates and can overwinter well in harsh climates down to zone 0. So they are best for gardeners in the north because they also require prolonged exposure to cold weather for at least 40 days at 40 degrees Fahrenheit or less.
Hardnecks have more sharp, complex flavors, produce large but fewer cloves, are easier to peep, but don’t store as long as softnecks. They do, however, produce garlic scapes which are delicious to eat near harvesting time!
Make it: A delicious garlic scape pesto
Hardnecks have a shorter storage period, with an average of 3 - 5 months.
Hardneck varieties we love and grow:
Georgian Crystal
German Extra
Chesnock Red
Romanian Red
Purple Stripe
Rocambole
Porcelain
Softneck Garlic
Softneck garlic varieties don't produce a stiff central stem but rather have leaves that stay soft up until maturity.
This is the type of garlic you'll find at most supermarkets as they tend to store better long-term, as long as 9-12 months if stored correctly and depending on the variety.
Softnecks are more suitable for regions with milder winters and hot summers as they do not require cold exposure to make bulbs. They are great for zones 8-12.
They are milder in flavor, yield more cloves, and can be beautifully braided.
Softneck varieties we love and grow:
California White
Early Italian
Silver White
Silver Rose
Blanco Piacenza
Both varieties are great, and it really depends on your preference and purpose for growing garlic. If you live in a transitional zone, like we do in zone 7B, you can plant both kinds!
When wanting to plant garlic, get your seeds or cloves from a reputable supplier. Garlic from the grocery store is often sterile and won't produce healthy bulbs.
These are our preferred suppliers to order from:
Filaree Garlic Farm
Johny seeds
Keene Garlic

When to plant garlic
Garlic prefers shorter and cooler winter days and needs a proper cold period of at least 40 F degrees for 4-8 weeks. As mentioned earlier, the softnecks can get away with shorter and warmer periods.
For this reason, it is best to plant in the fall (between late September and November), 2-4 weeks before the ground freezes. In areas that get a hard frost, plant 6 to 8 weeks before the first fall frost date. If you live in a warmer climate, plant 2-4 weeks before your coolest weather.

Where to plant garlic
Find a spot in your garden that gets at least 6-8 hours of sunlight per day. Full sun is best.
Remember to plan your garden beds for the next season as asparagus, peas, beans, sage, parsley, and strawberries cannot be planted with garlic. It will stunt their growth.
Garlic can, however, be planted amongst fruit trees, tomatoes, dill, beets, kale, spinach, potatoes, carrots, and members of the brassica family. They are great for companion planting and help keeps pests away.

How to plant garlic
Prepare your bed by making sure all weeds are removed. Garlic doesn't compete well with weeds.
Sandy loam is ideal for garlic, but most soil types will do just fine, except for clay. The soil needs to drain well and have a pH of 6-7.5 for optimal growth conditions.
Before planting, mix some organic fertilizer into the soil, several inches below where the base of the garlic will rest. I also add a layer of compost from our animal manure compost pile.
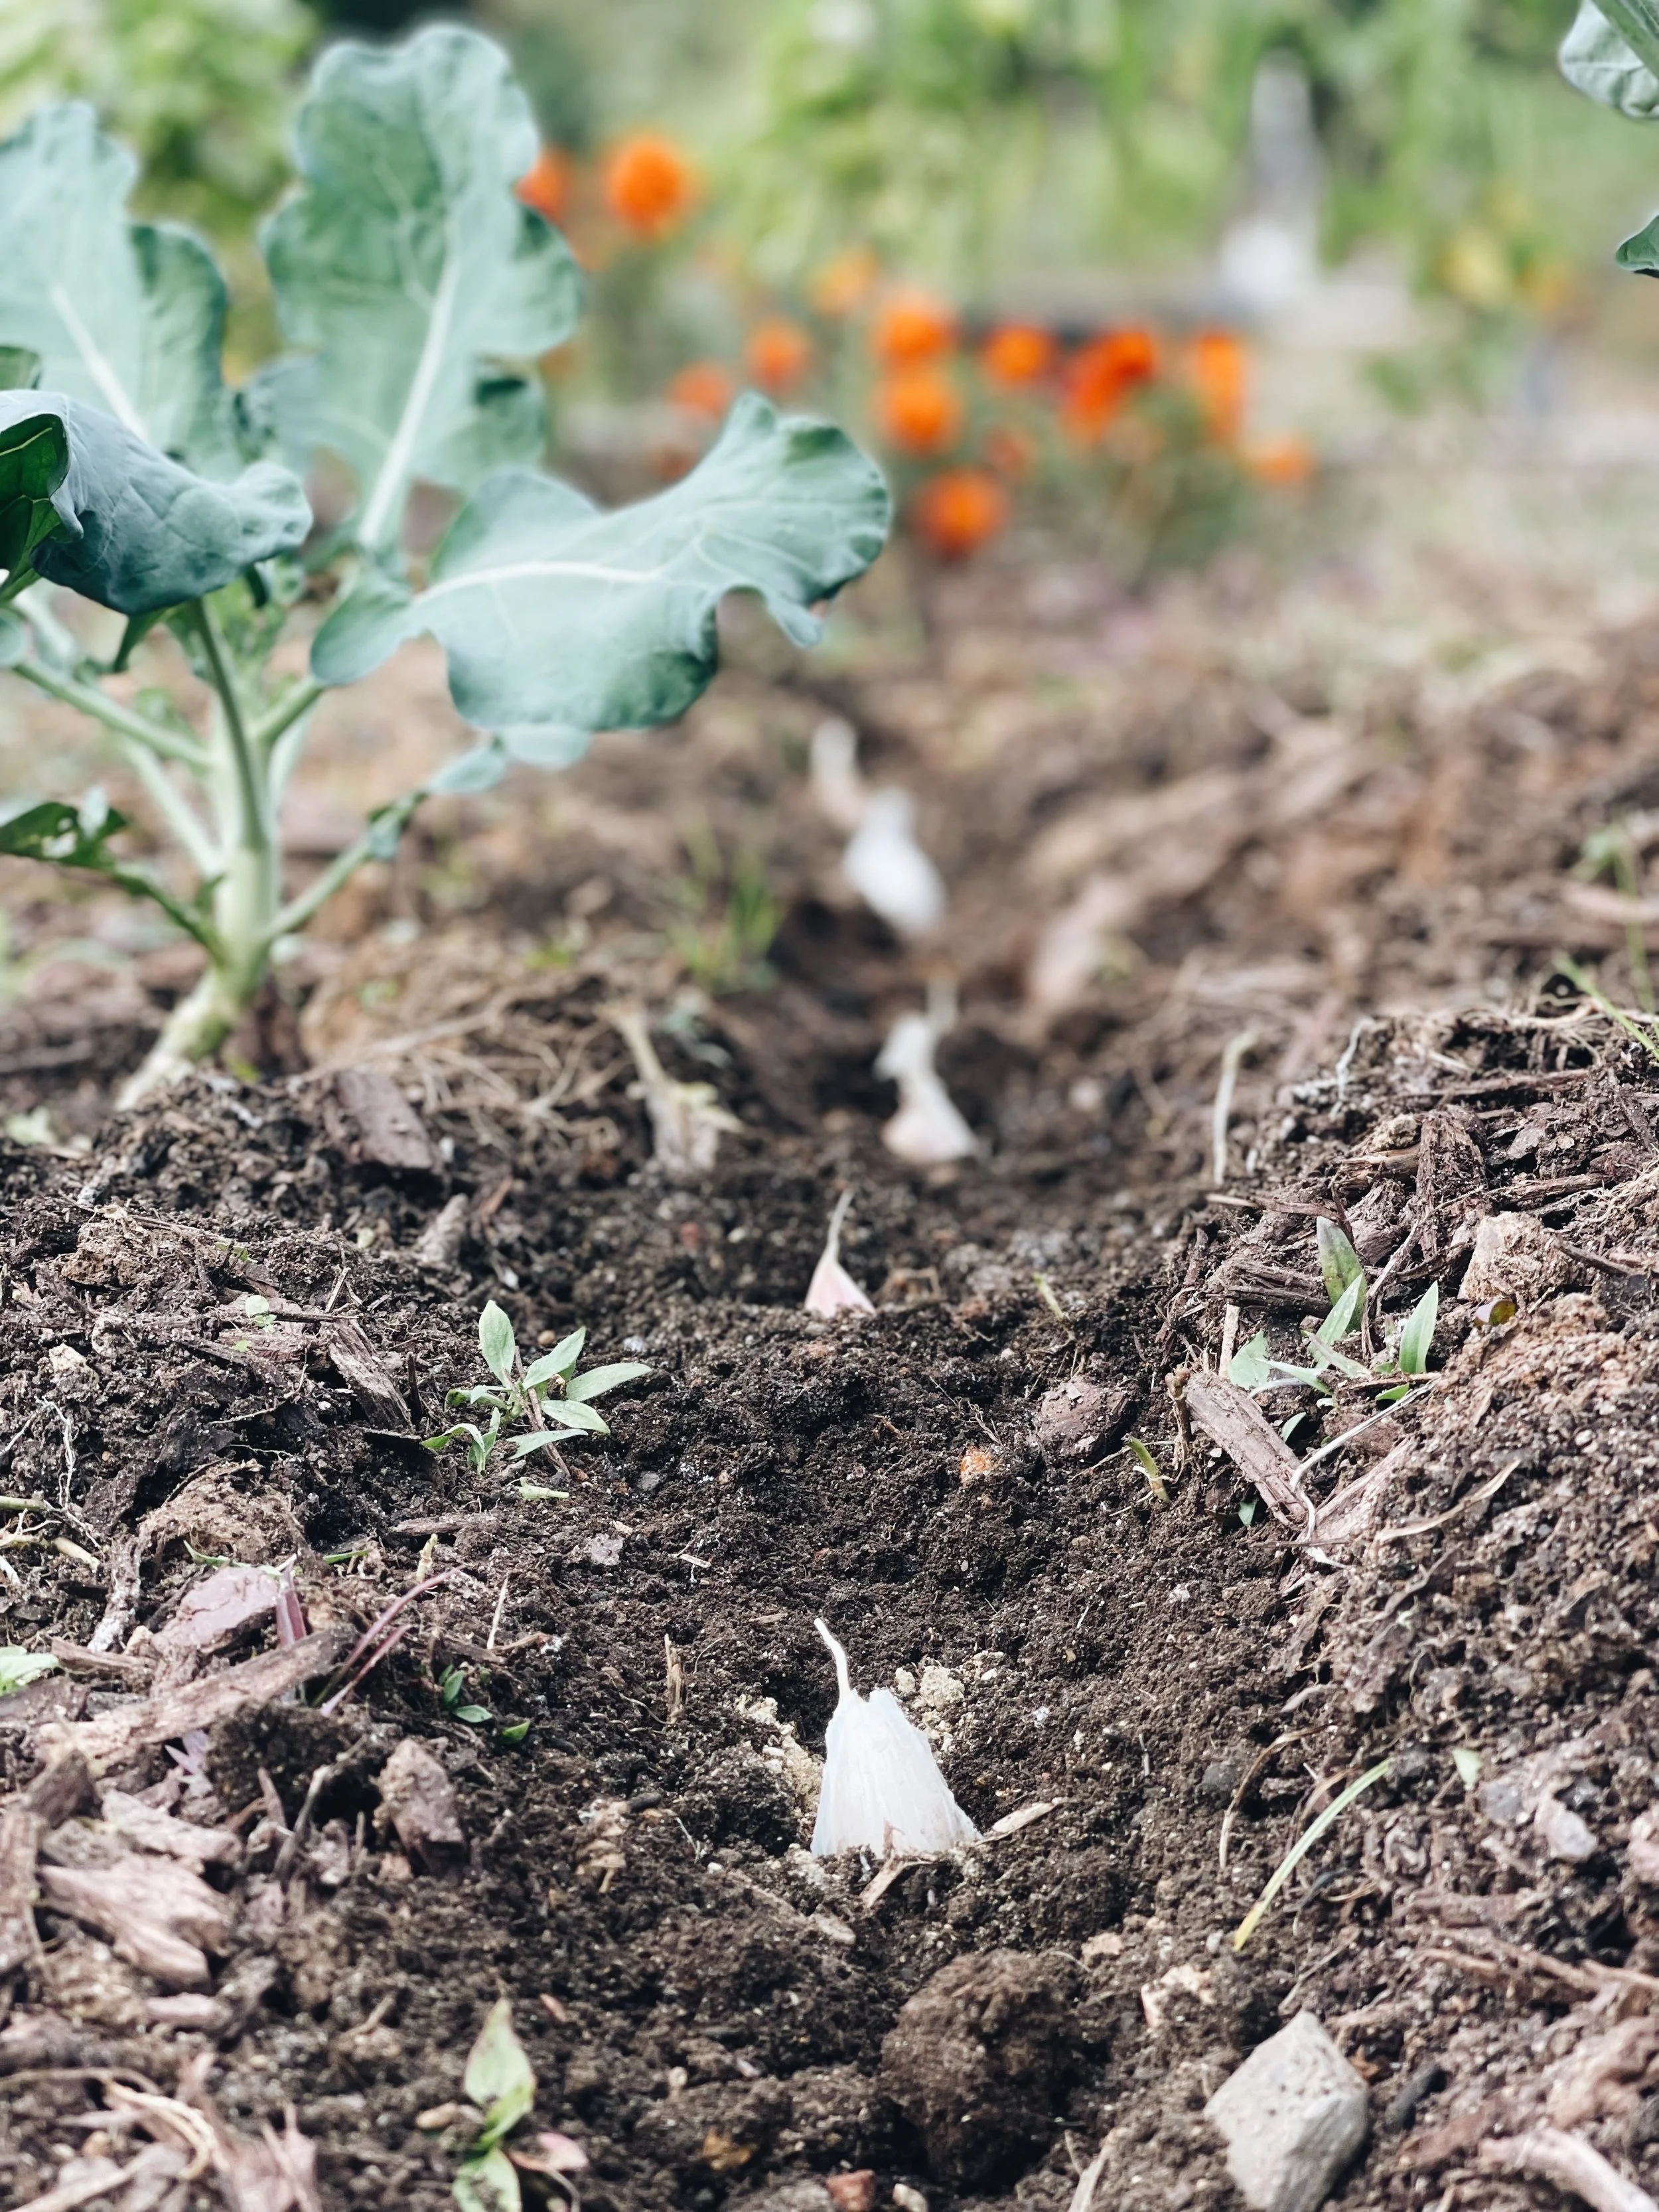
Dig individual holes or a trench 2-3 inches deep and place the cloves pointy side up, 4-6 inches apart from each other. Rows can be 9” apart. Yes that’s right, garlic grows from its own cloves!
Cover the cloves with a layer of soil (not too much) and water well for the first time.
Top with a thick layer of mulch such as hay. Mulch will keep the soil dry, weed-free and protect against frost and pests. The mulch can be removed in spring when all signs of frost have gone.

Nurturing a healthy bulb
Garlic prefers moist but not soaked soil. If you have dry winters, you can water when the ground is parched a few inches deep. When spring arrives and bulbs start to form, reduce watering to prevent bulb rot.
As a general guideline - From mid-May to June, you can water every 3-5 days, depending on rainfall. And from mid-June until harvesting, watering should be tapered down.
It would be ideal to fertilize again in the spring with a nitrogen-rich fertilizer such as chicken manure or store-bought fertilizer. This will boost bulb growth. It's also important to remove any flowers that may "steal" energy from the bulb.
One of the great things about garlic is that it is mostly pest-resistant. In fact, it often acts as a natural pest controller/ protector to other plants.
Pests and diseases that you may need to look out for are thrips, cutworms, and white rot. Treat problems as soon as you identify them.
READ MORE: How to control pests naturally in the garden.
Watch it grow
The roots will start to develop during the fall and winter months, and foliage will begin to grow in early spring. Each green leaf that sprouts will produce one clove.
When daylight reaches 13 hours of sun in spring, bulbing will be triggered, and during the last 6 weeks of growing, the bulbs will double in size.
How to harvest garlic
Garlic takes on average 25-30 weeks to mature, usually around mid to late summer. The leaves will start to turn yellow and die back. It’s best to not wait until the leaves are dying.
When 50% of the leaves have died, check one bulb to see if it is ready. The cloves will bulge through the papery covering. Don't wait until all the leaves have died before harvesting.
When waiting too long, your bulbs won't have as many protective layers around the cloves, making them vulnerable to diseases, and they won't store well.
If growing a hardneck variety, cut the scapes before they blossom. You can then harvest the garlic about 2-4 weeks after cutting the scapes.
Loosen the soil and gently dig up your garlic with a garden fork. It's not a good idea to try and pull it out as the root systems are pretty deep and settled so you may damage the plant.
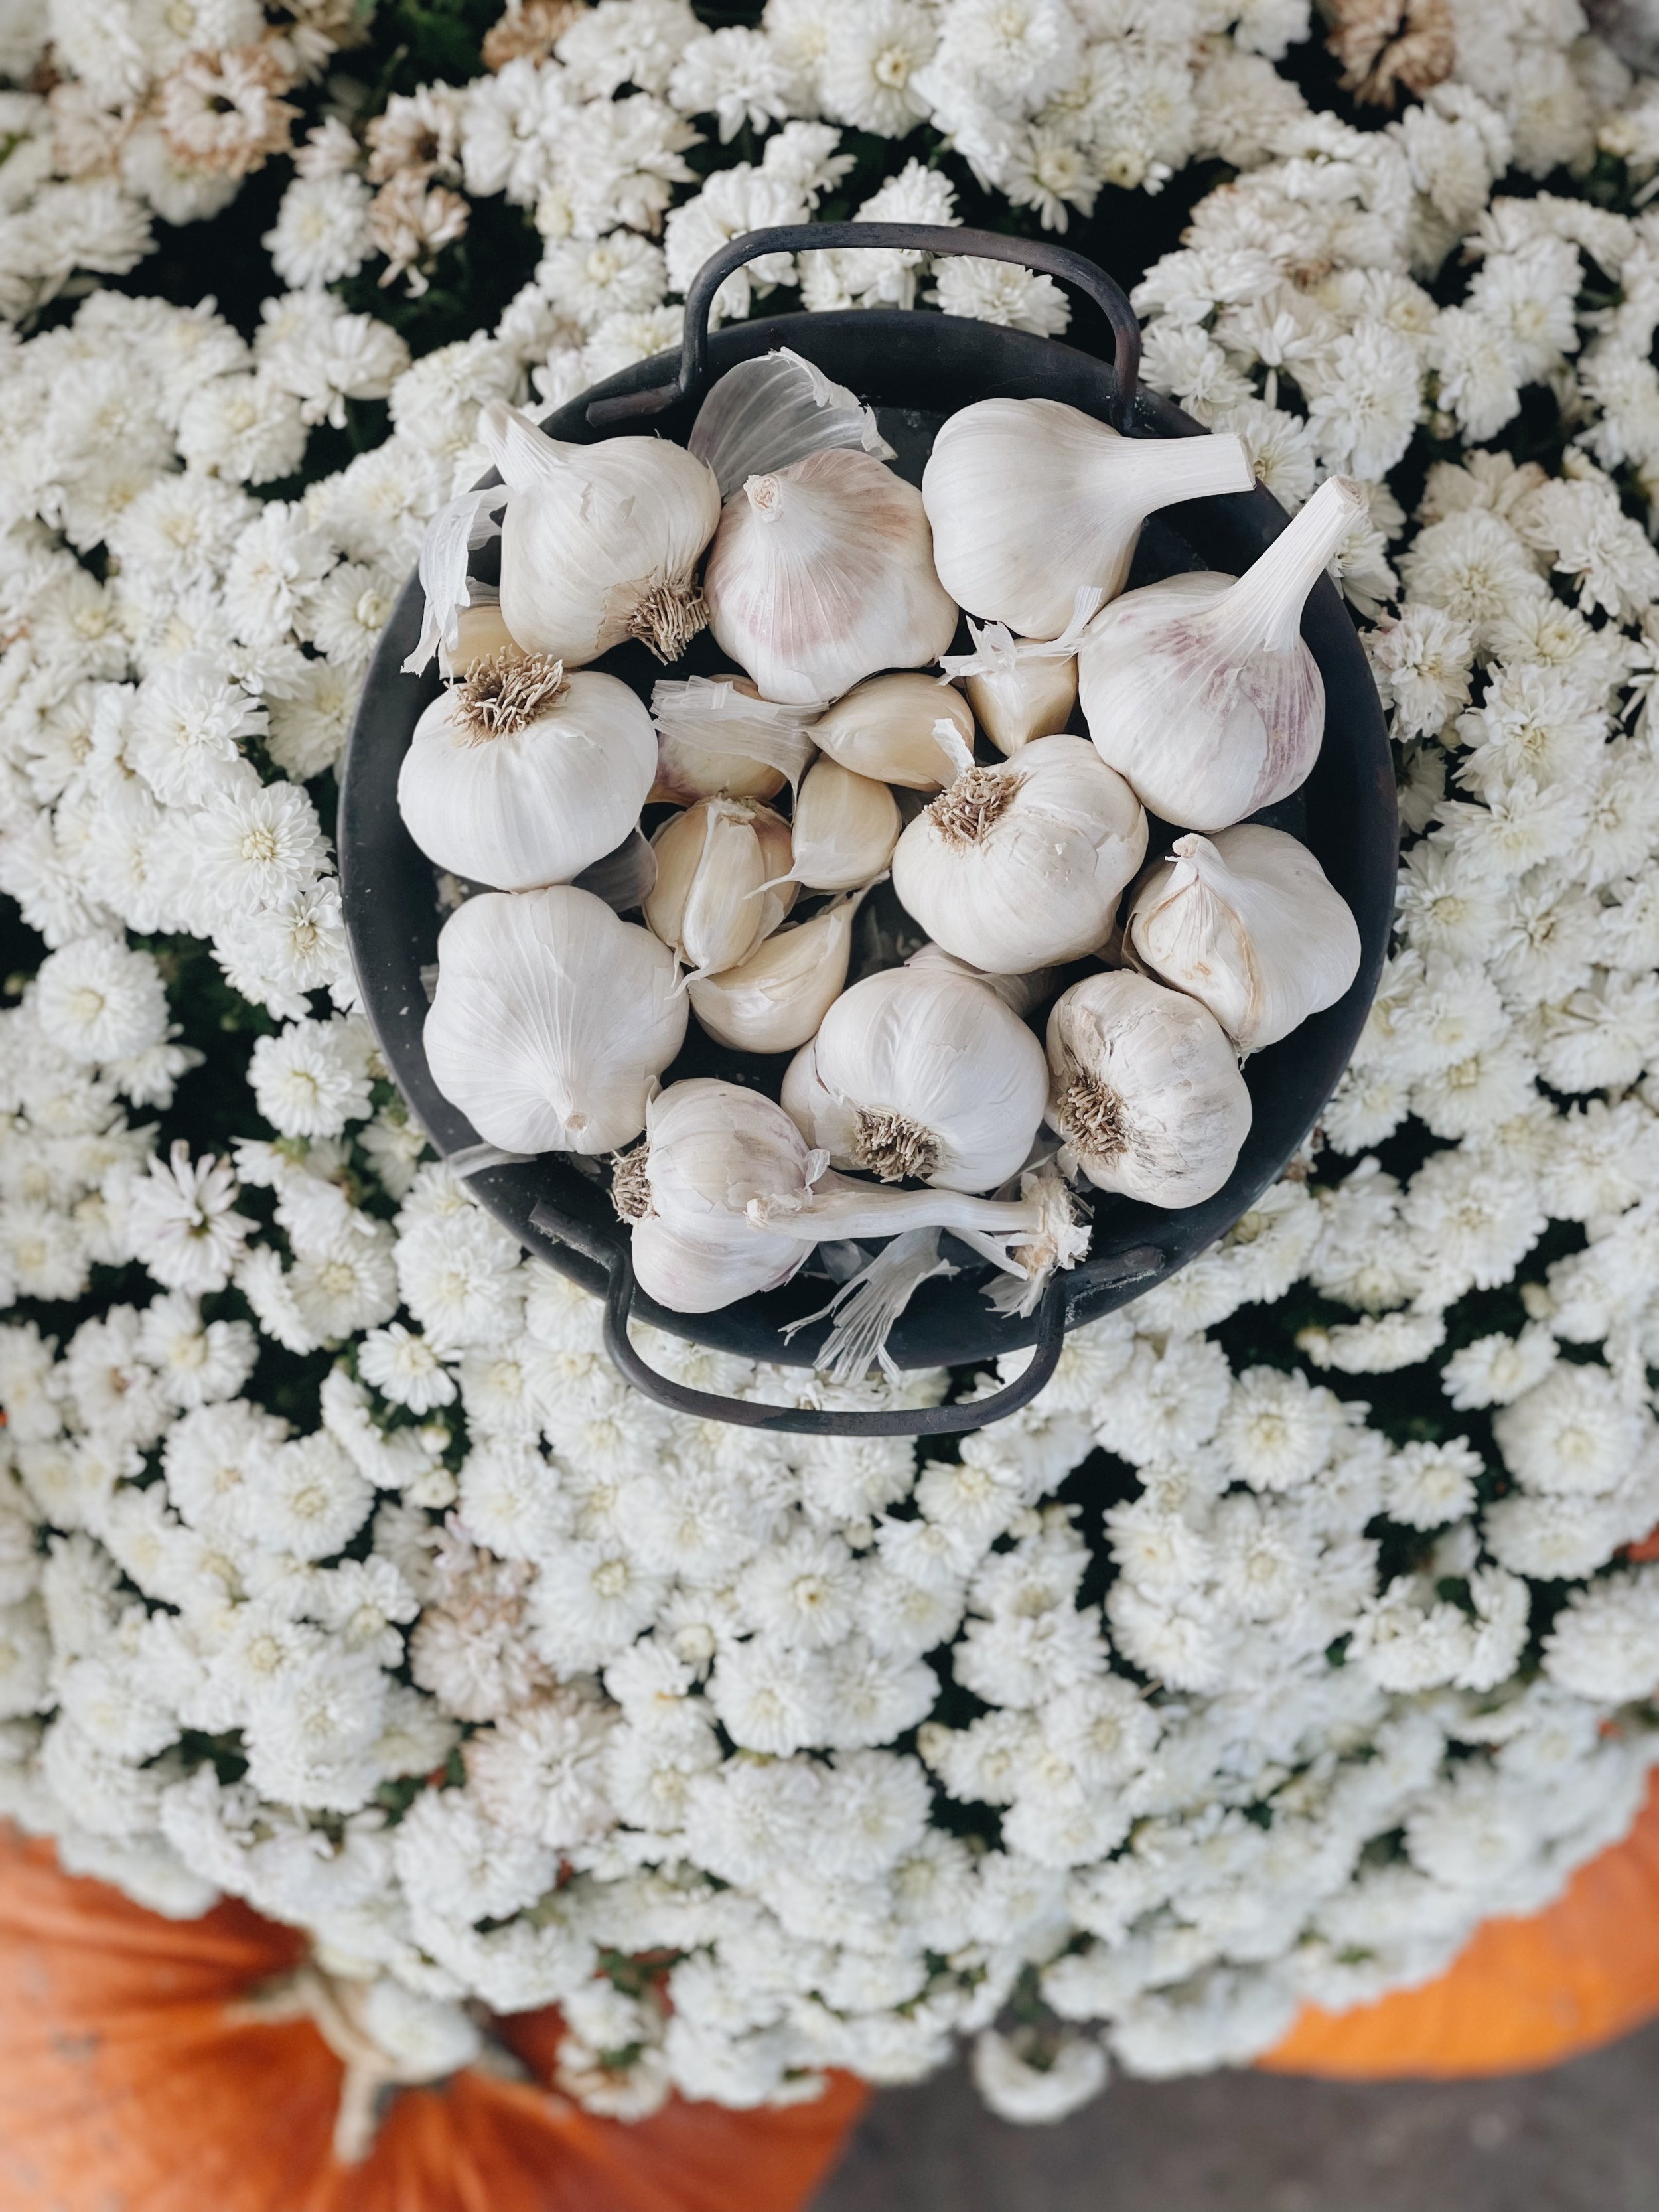
Shake off all excess dirt (don't wash them!), tie a few together in a bundle, and let them hang in a cool, dark, well-ventilated area to cure for 3 - 4 weeks.
If it’s a softneck variety, you can braid and hang them. If hardneck, just bunch them together and hang them. Make sure there is airflow. When done, store in baskets or keep them hung.
READ MORE: How to harvest, cure, and store garlic longterm
Pretty easy and straightforward right? Now go and plant yourself some yummy garlic cloves to enjoy next season!
Love, Annette xx