When to plant bulbs, plus 15 planting tips for tulips and other spring-flowering favorites
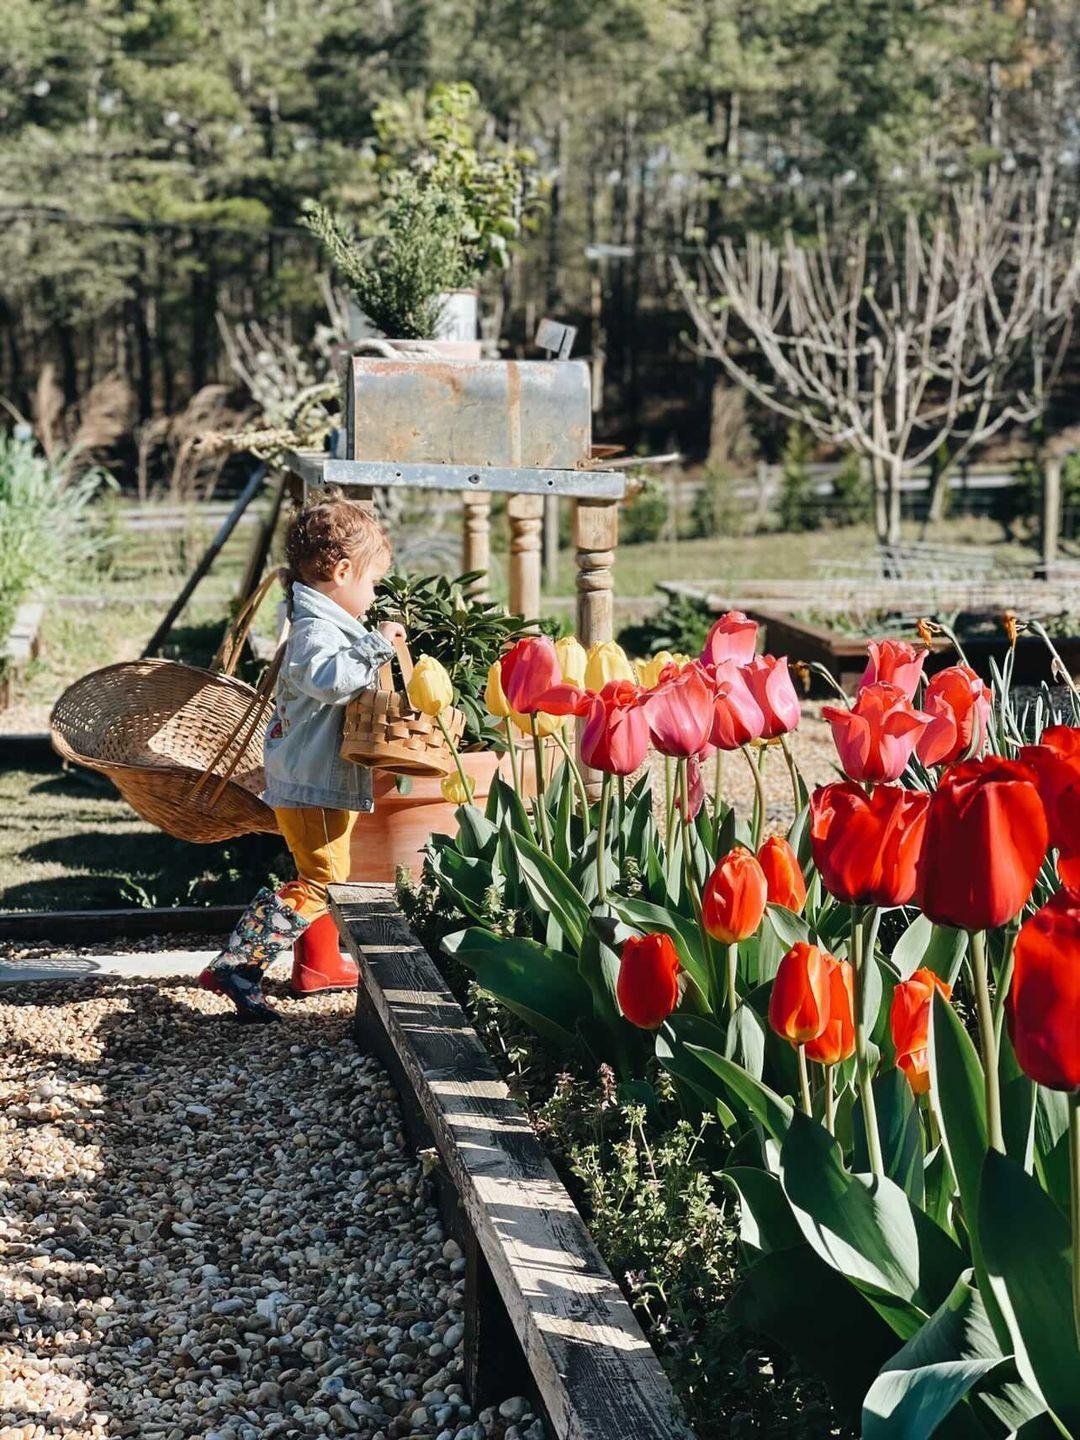
Every year I am waiting in anticipation for those first signs of spring. Trees are sprouting new leaves, the birds starting to chirp a little bit earlier, and my spring-flowering bulbs pushing through the soil, ready to show off their gorgeous blooms!
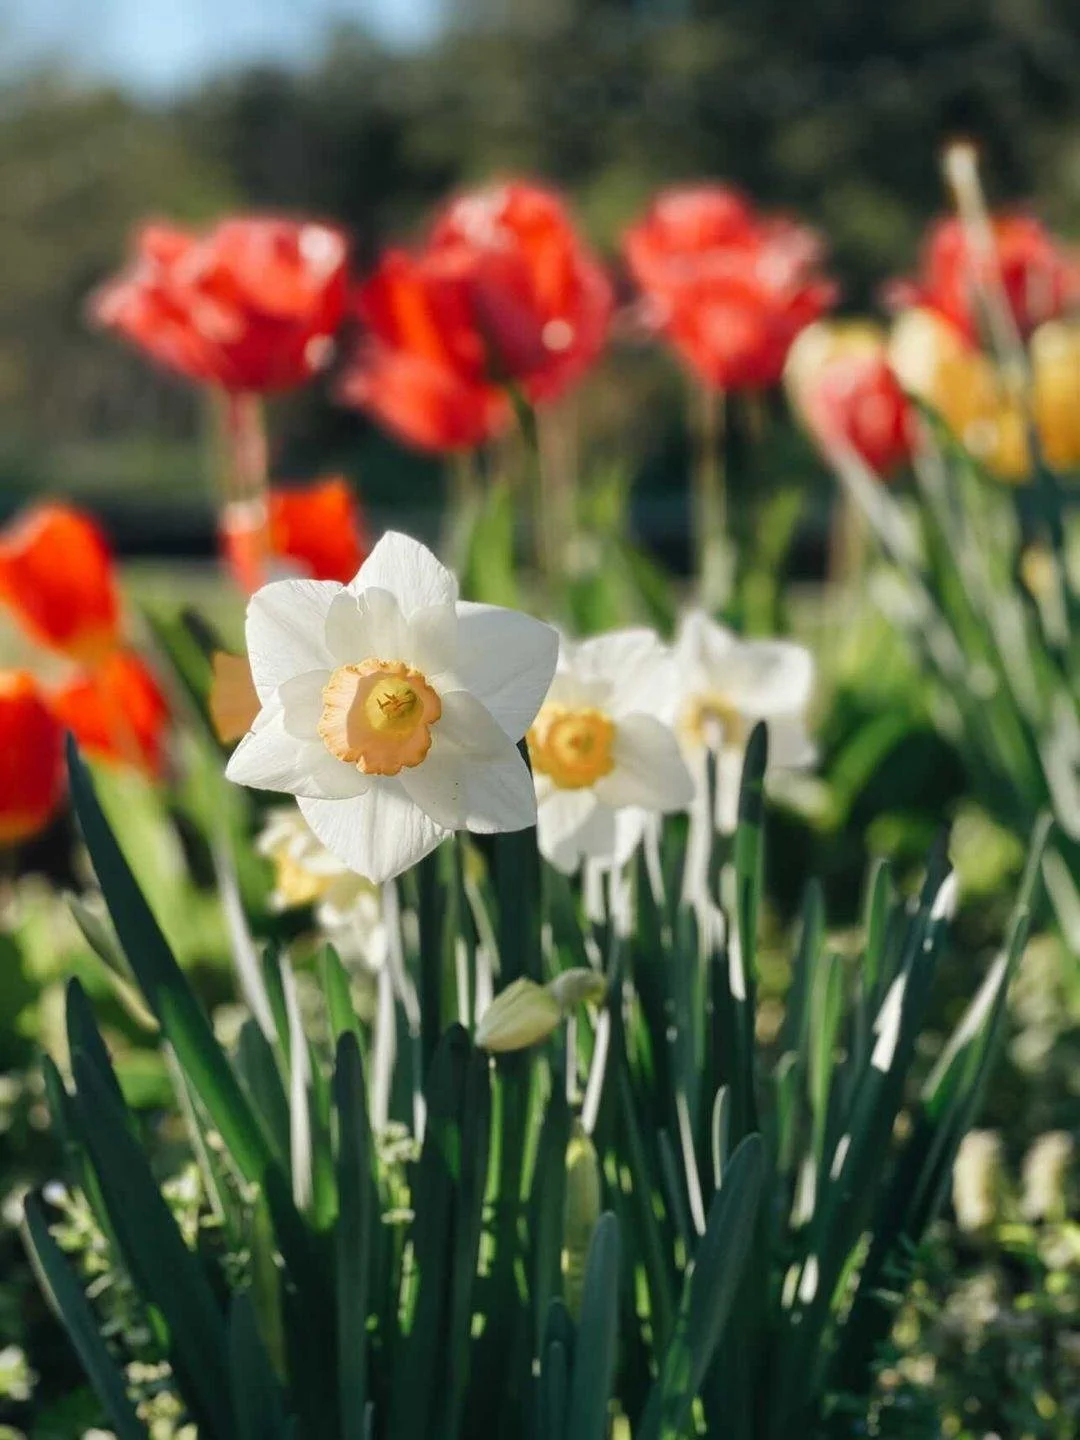
The seas of striking colors from tulips, daffodils, and irises make my heart happy! Color in the garden just brings everything to life and touches a part of the soul. Seeing your labor's fruits, in this case flowers, is very rewarding and reminds us how incredible mother nature is!
Spring-flowering bulbs are some of the easiest flowers to grow, kind of like plant-forget-and tada! Some varieties include tulips, irises, daffodils, hyacinths, grape hyacinths, alliums, crocus, and bluebell.

When to plant bulbs
If you're anything like me and want a dazzling spring spectacle in your garden come spring, you need to get spring-flowering bulbs into the ground in mid-autumn.
Spring-flowering bulbs need to be planted in fall, 6-8 weeks before the ground freezes up. It's also best to plant them only when your zone's average nighttime temperatures are between 40-50 Degrees F. This is an excellent measurement to ensure your soil is cool enough.
Most spring-flowering bulbs need several cold weeks of chilling time (12-15 weeks) to flower to their full potential in spring. Exactly when to plant bulbs will depend on your zone.

Here is a rough guideline on when to plant spring-flowering bulbs:
Zones 4-5: September to October
Zones 6-7: October to early November
Zones 8-9: November to early December
Zone 10: Late December to early January
For warmer Southern climates, zones 8-10, you must pre-chill your bulbs in the fridge's crisp drawer for 6-10 weeks until the ground is cold enough for planting.
Most of the spring-flowering bulbs will start to sprout around 2-3 weeks after their chilling period has been met, and the temperatures are getting warmer. You can expect flowering around a week after sprouting. It all depends on the variety, adequate water, lighting, soil type, and heat.
Also, remember that bulbs are not meant to be out of the ground for very long periods, so it is best to plant bulbs in the same season you have bought them. This way, their nutrition reserves will be kept to an optimal and ensure healthy, beautiful plants.
If you need to store them for a while before planting, keep them in a breathable bag and store them in your fridge's crisp drawer or in a cool, dark place like a garage.

Tips on how to plant tulip and other bulbs
When buying bulbs, choose fat, firm, bigger bulbs. Avoid soft, flabby, and moldy ones.
Plan before you plant! Bulbs can grow in many ways, scattered, in a cluster, or as a beautiful border. Envision what you want to grow where so you can have a few seasons of flowers from one planting.
Plant a combination of early, mid, and late-season bloomers to extend the blooming. Consider layering the different varieties for a unique display.
Plant them in clusters for a stunning display and impact. I like to also do a large triangle. You can also plant them in long rows for maximum wow impact.
Plant your tulips or other spring bulbs in a spot where they won't get full day sun or too much heat. For colder zones, full-day or afternoon sun is ok. For warmer zones, a shady site or morning sun would be better.
Spring-flowering bulbs require well-drained, fertile, and neutral soil (pH level 7.0). Sandy loam soil, a combination of clay, sand, silt, and organic matter, is the best. Add some compost or dried manure, and organic fertilizer for optimal growth conditions.
Prepare your garden bed 7 days before planting to give the compost or fertilizer a chance to dissolve to avoid burning the bulbs. You can also make sure when planting to just add the fertilizer on top, never on the bottom of the bulb to prevent burning.
Plant your bulbs 6-8 inches deep or three times their height, 4-6 inches apart. Place the bulbs with the pointy end upwards. If you are unsure, place them on their side, they will find their way up. Cover with your soil mixture, press firmly, and water well.
Add mulch such as pine bark or dried leaves to protect the bulbs against pests, weeds, soil erosion, frost, and to keep the soil moist.
Bulbs don't like overly wet soil as this can lead to fungus, disease, and rot. You only need to water weekly if there is no rain or when the ground is cracked and dry. Do this until the ground freezes up.
Your bulbs will start to sprout around 2-3 weeks after their required chilling time and bloom 1 week after sprouting.
When the leaves emerge in spring, you can feed your bulbs bulb feed. Add compost annually. Usually only fertilize once in the fall.
When your flowers have started to wilt and are finished blooming, cut the flower stem back and keep the foliage! Keep the foliage until it turns yellow and wilts to the ground. The leaves are gathering and storing solar energy for next season's growth.
If you live in a warmer region with milder winters, you can dig up the bulbs and store them until pre-chilling time for the next season. Store them in the refrigerator, away from any fruit, in ventilated bags (brown paper bag, mesh bag, etc.) with wood shavings.
In colder regions, they can stay in the ground. Many will multiply and return year after year. Keep on watering them to support the root system and keep them in good condition.

There you have it friend, planting and growing spring-flowering bulbs is not complicated or difficult at all! With minimum effort, you too can have gorgeous blooms when spring arrives!
And remember, a little trial and error goes a long way! Don’t be afraid to be experimental in your garden, you never know what magic you may be creating!
Love, Annette xx
Images: Jessica Elle Photography
PIN FOR LATER
