How To Grow and Make Your Own Luffa Sponges
I’ve been growing luffa for three years now, and let me tell you, friend—they are such a fun plant to have in the garden. They’re beautiful, productive, and endlessly useful!
The best part? You can enjoy them both as a tender vegetable in the kitchen and as a completely biodegradable sponge for your home or personal care.
I am always trying to find ways to switch to natural alternatives, and a luffa sponge is the perfect way to reduce the need for synthetic sponges or pouffes that are not eco-friendly.
Keep reading to learn how to grow luffa and how to dry them to make your own natural luffa sponge!
Contents:

What Is Luffa?
Luffa (sometimes spelled loofah) is a vegetable member of the gourd family, a cousin to cucumbers and squash. When harvested young, luffa gourds are tender and edible, often used in stir-fries, soups, and curries.
But when left on the vine to fully mature and dry, they transform into the fibrous sponges you might recognize from natural bath or cleaning products.
It’s one of those magical plants that gives you food, utility, and beauty all in one.
Why Grow Your Own Luffa?
Zero waste: Unlike plastic sponges, luffa sponges are 100% biodegradable. When you’re done, just compost them.
Dual purpose: You get both a vegetable and a cleaning tool from the same plant.
Satisfying gift: I love them as gifts for loved ones! A homegrown luffa sponge, tied up with twine or rope, makes a thoughtful and eco-friendly gift.
Fun to grow: Watching them climb, flower, and develop into big, ribbed gourds is surprisingly rewarding.


How to Grow Luffa
Growing luffa takes a little patience and space, but it’s worth it.
Start early. Luffa needs a long growing season—up to 150 days. I always start mine indoors in very early spring, then transplant once the soil is warm.
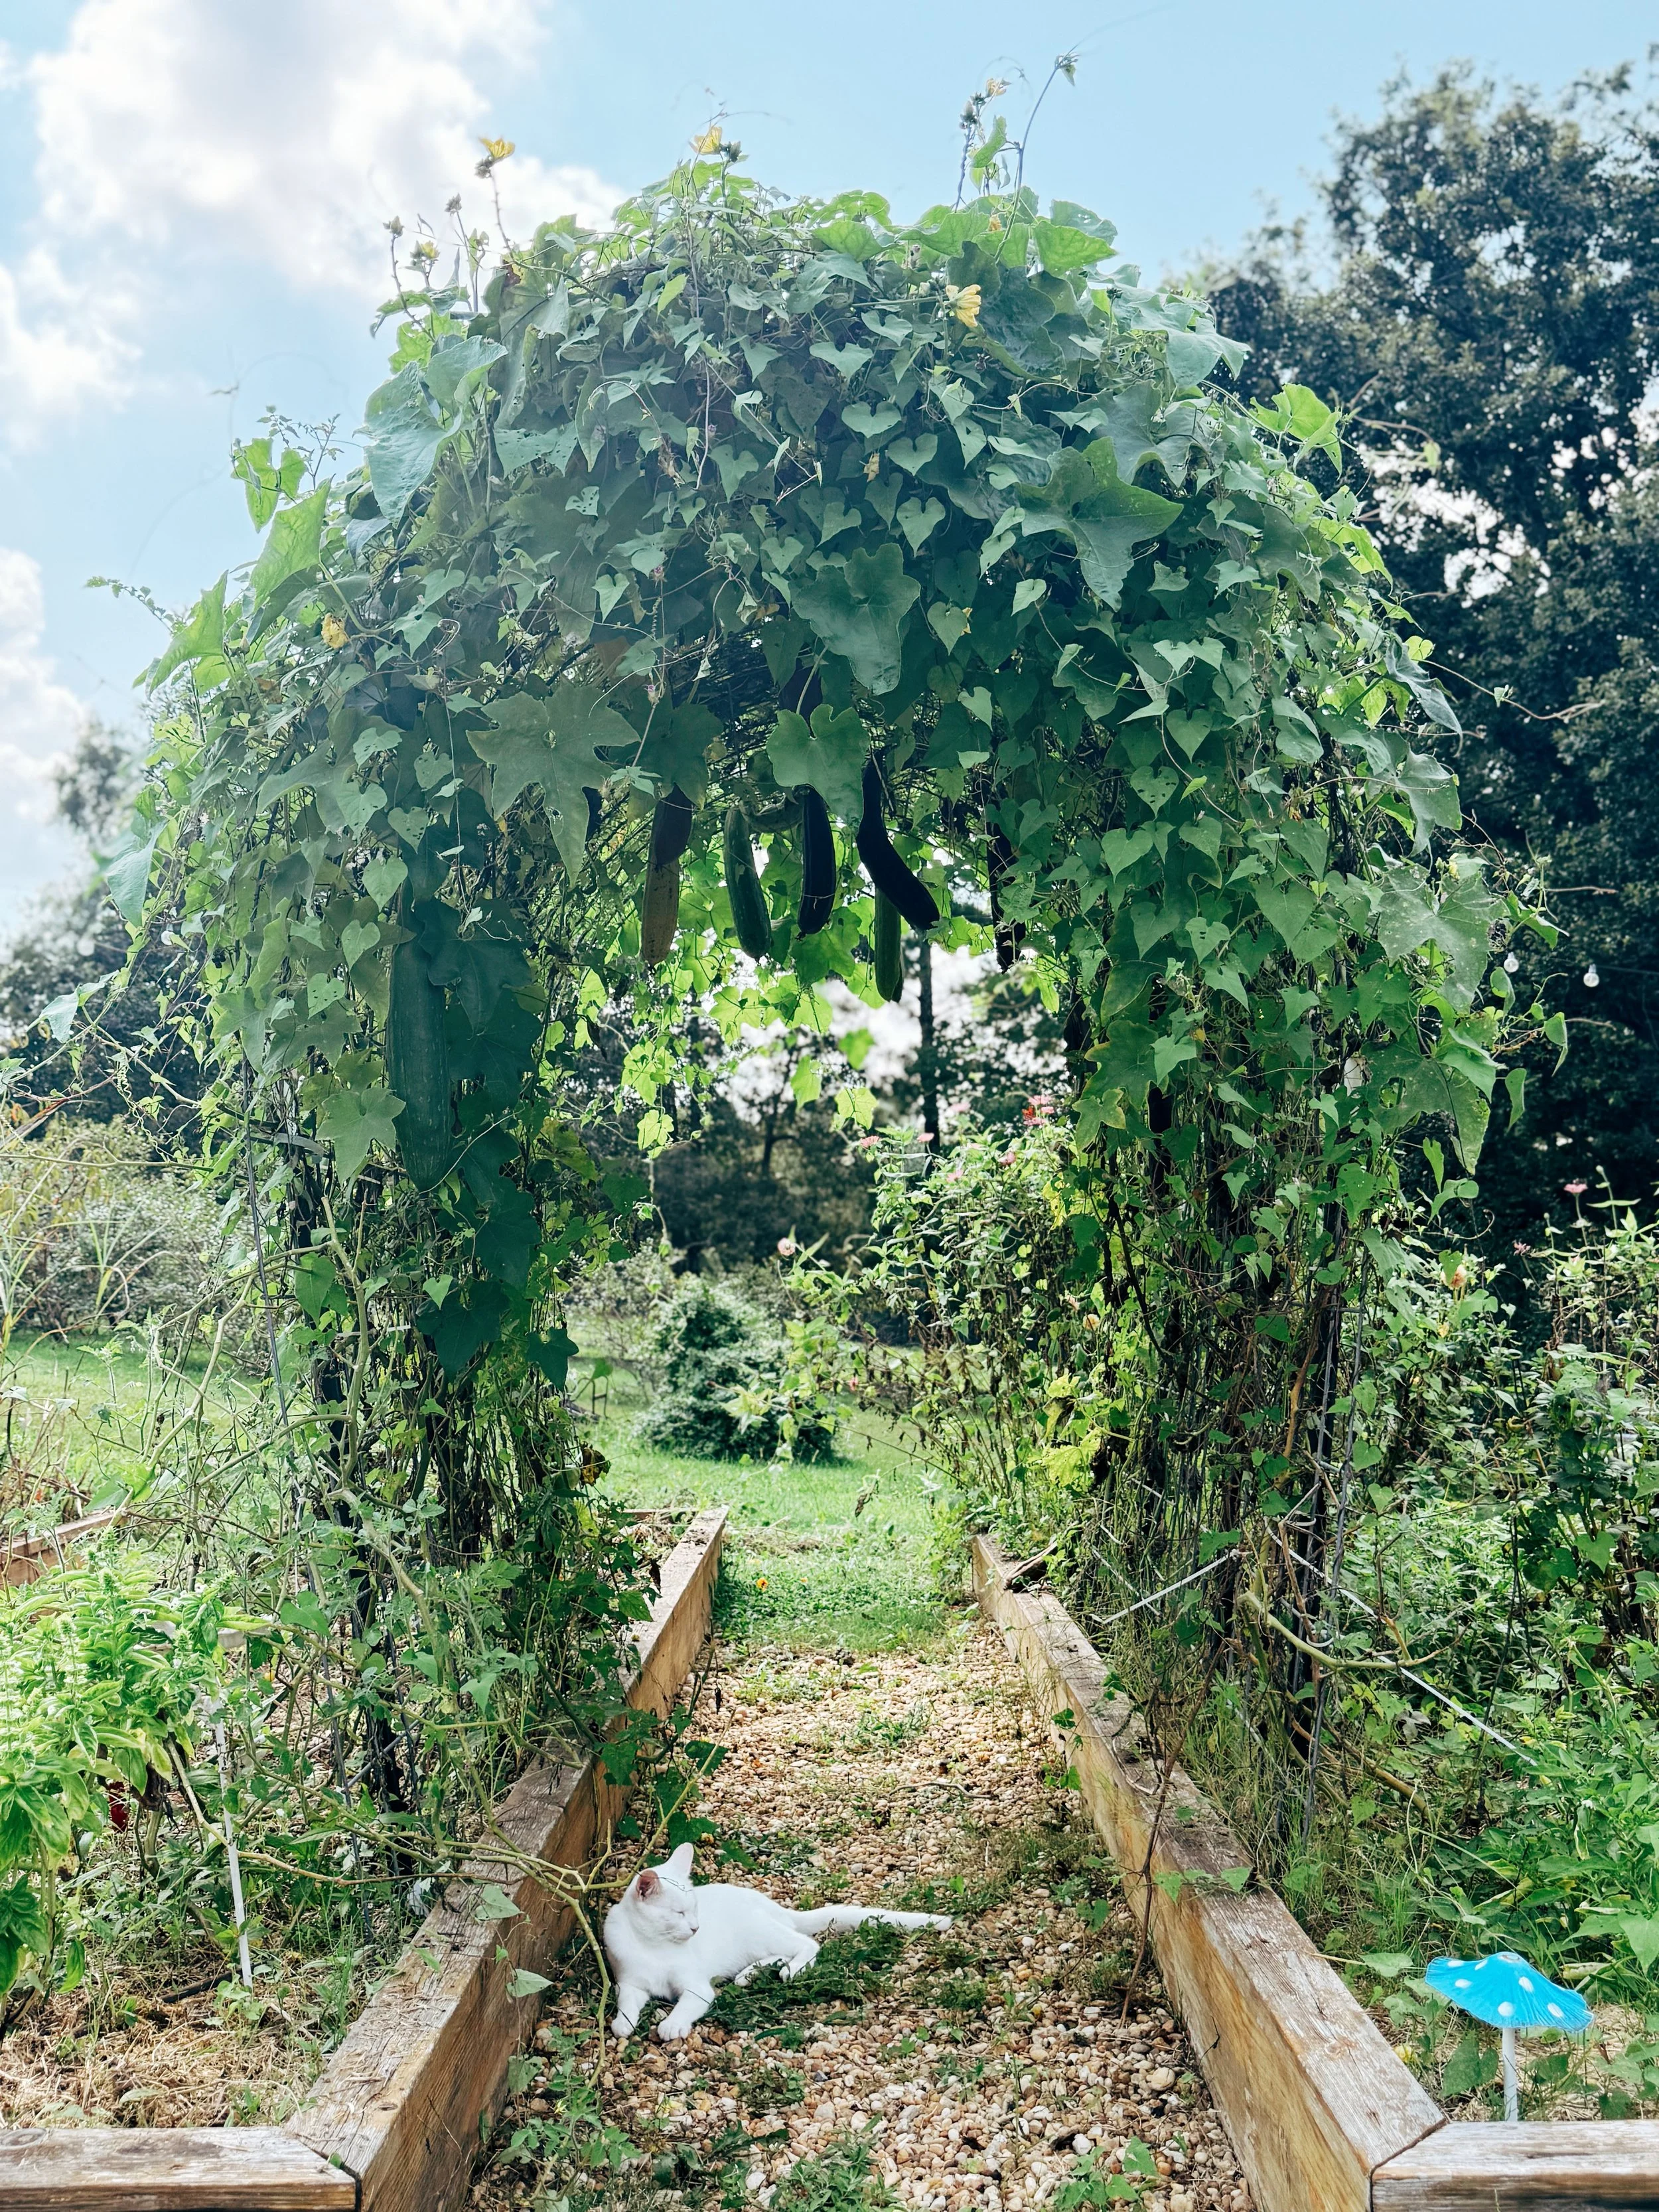
Give them room to climb. These vines love to spread. Growing vertically is the way to go—use sturdy trellises, arbors, or garden tunnels. Not only does this save space, but it also keeps the gourds straight and clean.
Care along the way. They love sun, water, and fertile soil. Think of them like cucumbers: keep them well-watered, but don’t let the soil stay soggy.
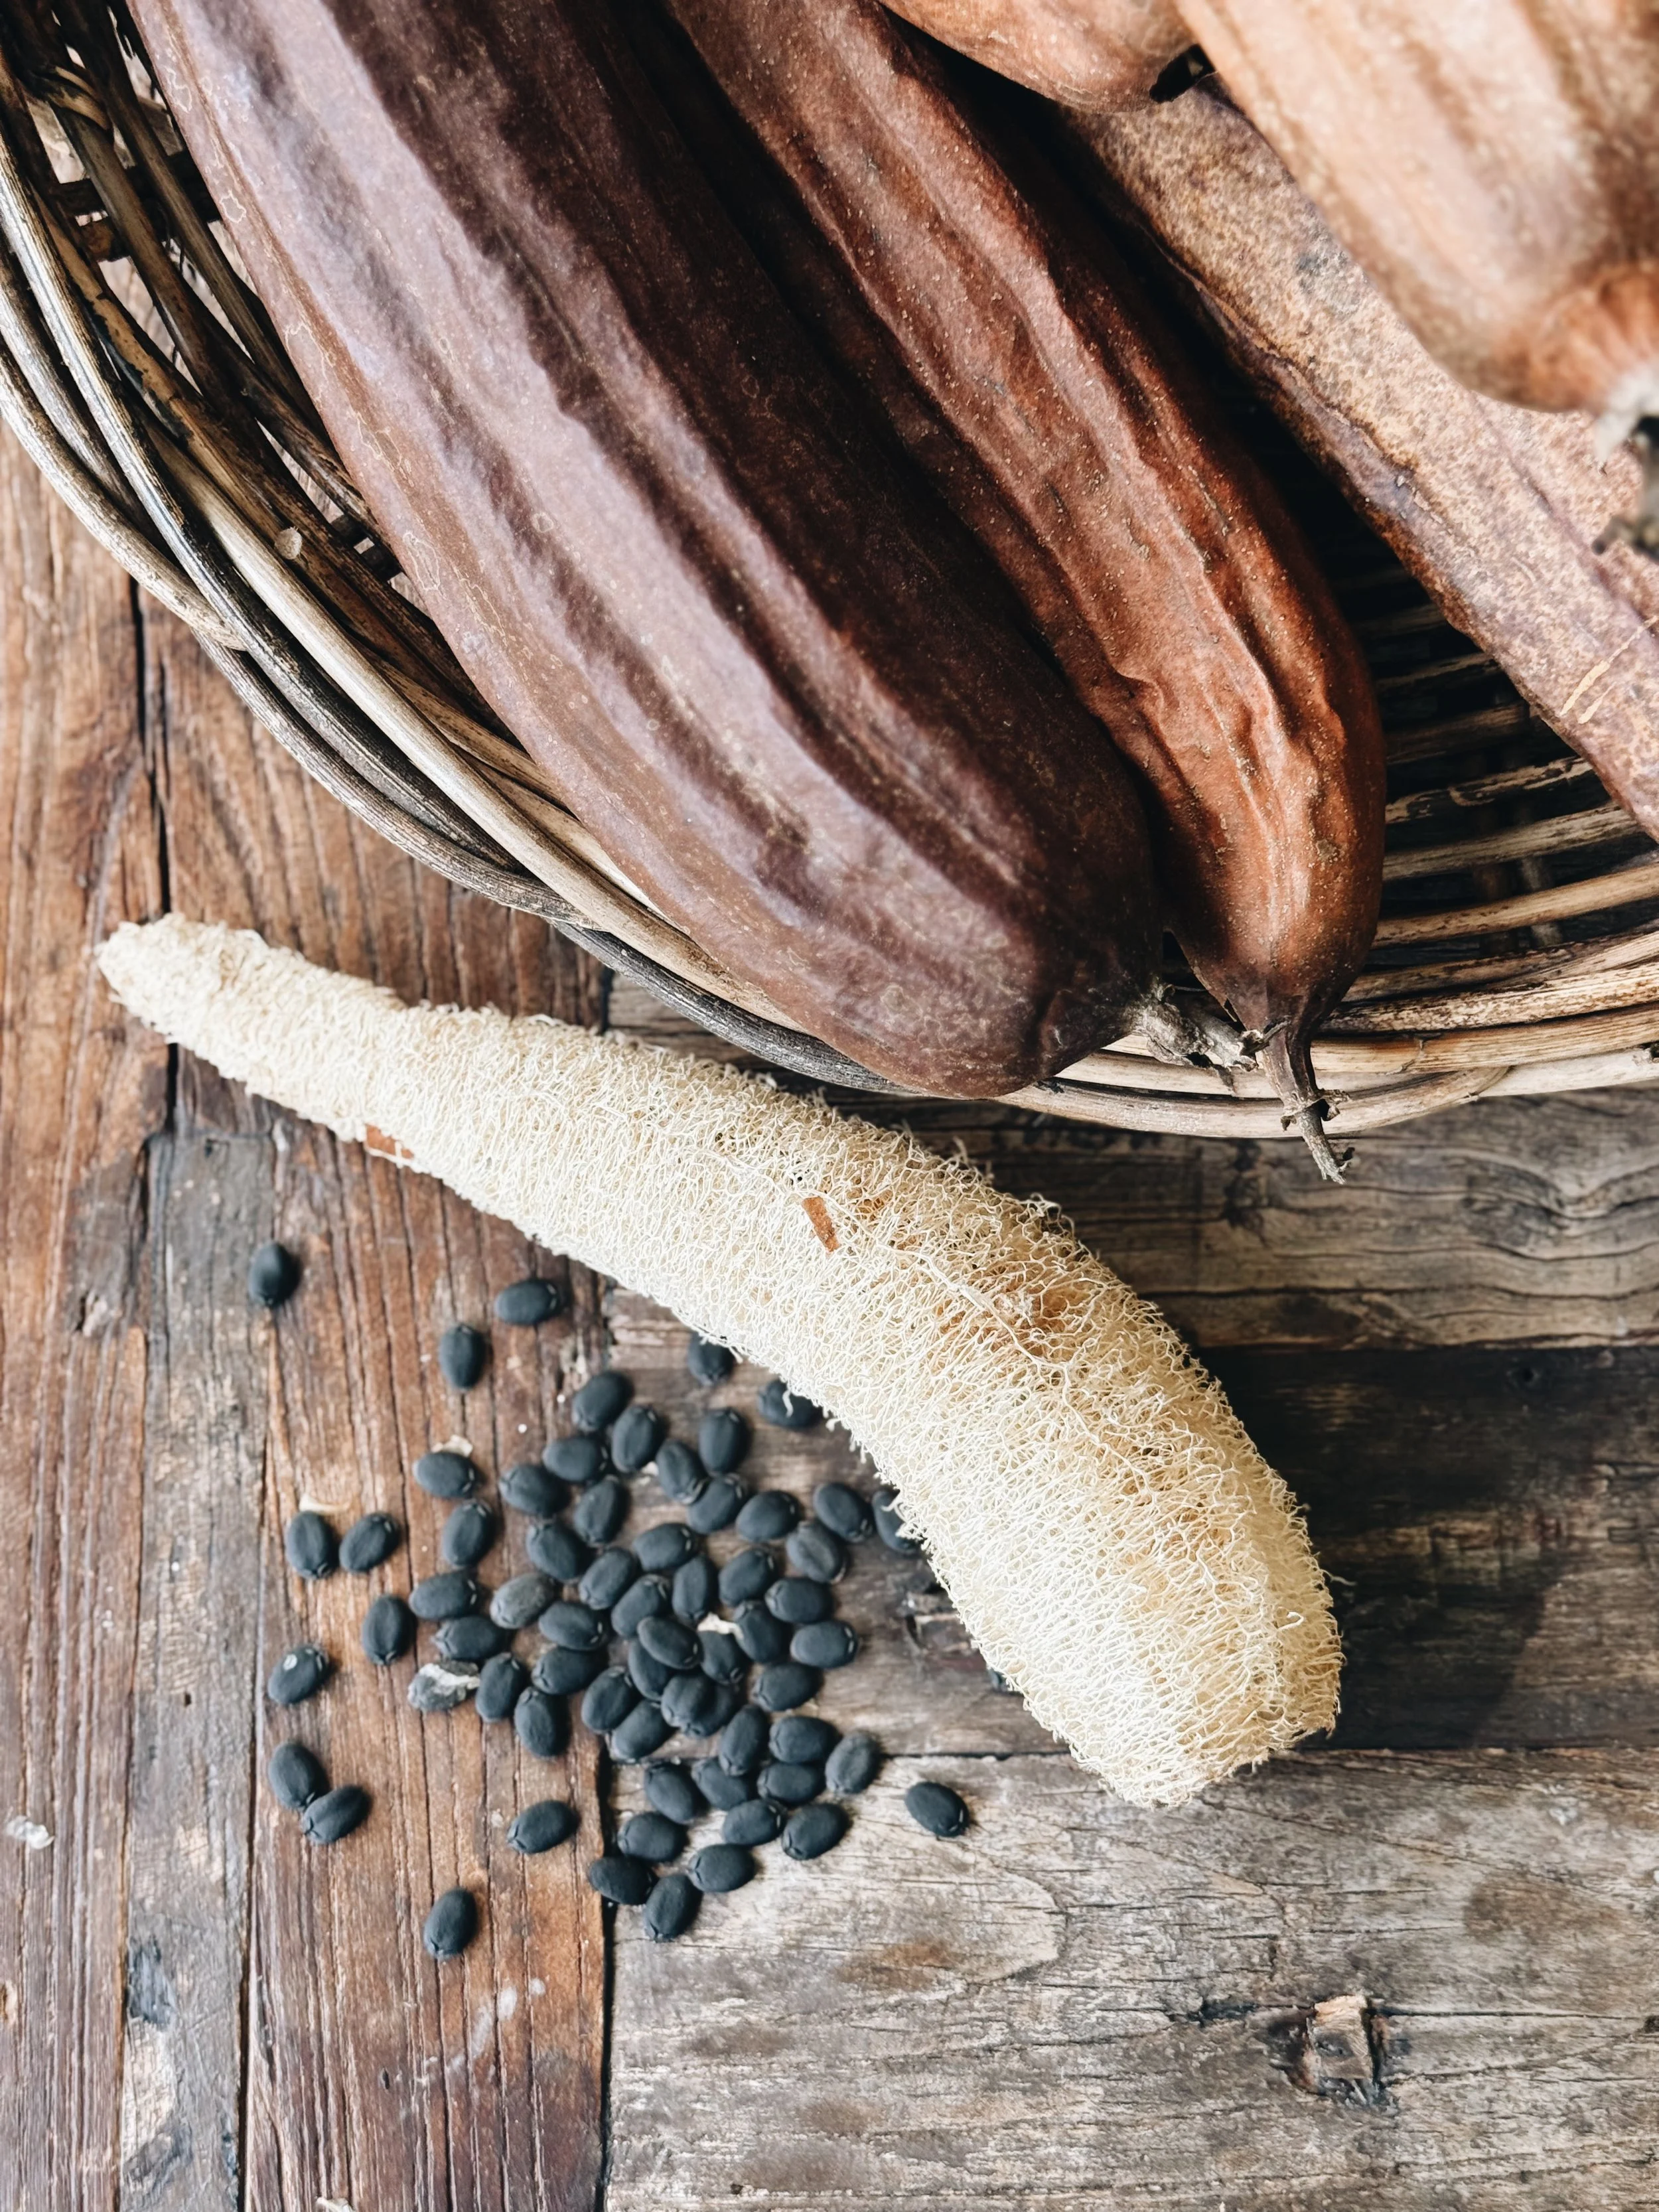
Harvesting. For sponges, wait until the gourds turn brown, light, and crunchy on the vine. At this stage, the outer skin peels off easily, and inside you’ll find the fibrous skeleton that makes the perfect sponge.
Luffa Growing to Harvest Timeline
Here’s the timeline you can expect from growing to harvesting and using your luffa:
Early Spring (March–April)
Start seeds indoors (they need warmth and light to germinate).
Harden off seedlings once frost danger has passed.
Late Spring (May–June)
Transplant outdoors into warm soil.
Provide strong supports—trellises, tunnels, or fences.
Keep soil moist and fertile.
Summer (June–August)
Vines grow vigorously and begin flowering.
Bees and pollinators help set fruit.
Gourds swell and can reach impressive sizes.
Late Summer–Early Fall (August–September)
Harvest young gourds if you want to cook with them.
Leave others on the vine for sponges—they’ll begin to yellow and harden.
Fall (September–October)
Mature gourds dry on the vine, turning brown and light.
When they feel crunchy and hollow with seeds rattling inside, they’re ready to peel.
Winter (November onward)
Store dried, cleaned sponges in a cool, dry place.
Save seeds for next season.
Enjoy your sponges in the kitchen, shower, or as handmade gifts.

How to Dry Luffa for Sponges
There are two main approaches:
The easy way (my favorite): Let them fully dry on the vine until they’re brown and light. Crack the skin, peel it away, shake out the seeds, and you’re done. This method gives you clean, strong sponges with little fuss.
When still green (a bit tricky): If you’re impatient or out of time, you can harvest them while still green. Peel off the skin, squeeze out the pulp and seeds, then rinse well. Hang them to air dry or place them on trays. Just be aware: they can mold if they don’t dry fast enough.
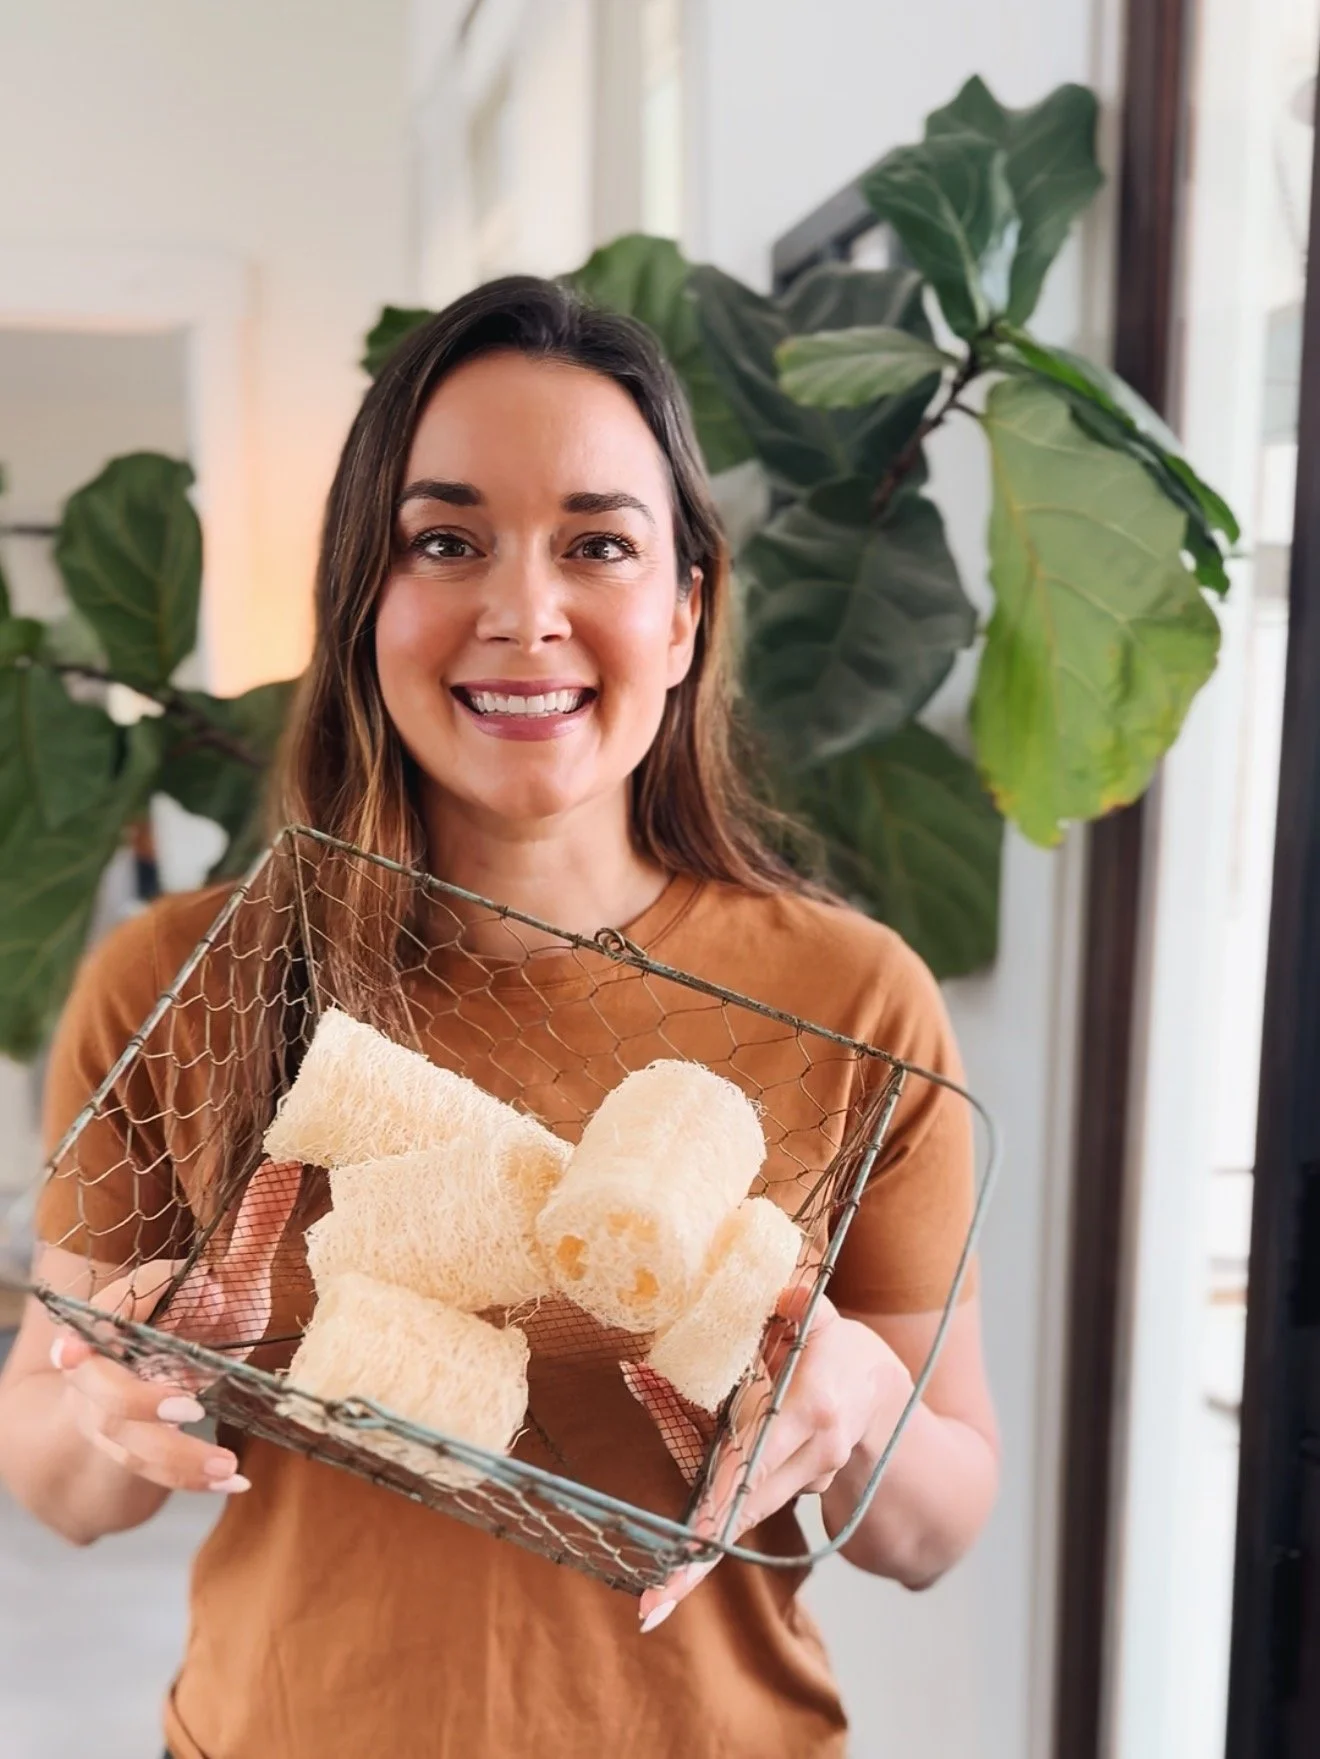
Once dry, you can cut them into the sizes you want—small rounds for facial use, longer sections for the shower, or sturdy chunks for scrubbing dishes.
How to Cook and Eat Luffa
If you pick luffa young—before the skin hardens—it’s tender and delicious. It is almost like zucchini but with a lighter texture.
Stir-fries: Slice thin and toss with garlic, soy sauce, and a little sesame oil.
Soups: Luffa absorbs flavors beautifully and adds a silky texture to broth.
Curries: Its mild flavor pairs well with bold spices.
My tip: harvest when the luffa is about the size of a cucumber and still glossy green. Once it gets too big, the flesh becomes fibrous and loses its appeal as food.

Common Problems & Fixes
Even with care, luffa can be a bit fussy. Here are some issues you can run into—and how to handle them:
Slow germination: Luffa seeds are tough. Soak them overnight or lightly nick the seed coat with a file before planting. Warm soil (at least 70°F / 21°C) is key.
Poor pollination: Luffa produces separate male and female flowers. If the fruit isn’t setting, you may need to hand-pollinate by transferring pollen from a male flower to a female with a small brush or even just by hand. More on this below.
Powdery mildew: These vines are related to squash, so mildew can show up. Good airflow, watering at the base (not the leaves), and removing infected leaves help.
Fruit rotting or molding when drying green: If you can, leave them on the vine until they dry. If you must harvest green, peel and rinse thoroughly, then dry quickly in a warm, airy spot.
Not enough time to mature: If your growing season is short, start seeds as early as possible indoors and consider using row covers or tunnels to extend warmth in the fall.
TIP! Here’s how you can tell male and female luffa flowers apart:
Male flowers
Grow on thin, straight stems.
Appear in clusters (you’ll often see several together).
When you look closely inside, you’ll see stamens covered in pollen.
They usually appear first on the vine, sometimes weeks before the females show up.
Female flowers
Grow singly, not in clusters.
Have a tiny miniature gourd (an ovary) sitting directly behind the blossom. It looks like a little green baby luffa waiting to grow.
Inside, they have a stigma (the part that receives pollen).
How to Store & Use Luffa Sponges
Once your luffa is peeled, cleaned, and dried, here’s how to make the most of it:
Cut to size: Slice into thin discs for facial scrubs, medium pieces for dishwashing, or leave long sections for shower sponges.
Storage: Keep sponges dry and airy. A basket with holes for ventilation in a cool spot works well. Avoid sealed containers where moisture can build up.
Sanitizing: To refresh your sponge, you can boil it for a few minutes, run it through the dishwasher, or soak it in a vinegar-water solution. Let it dry fully before reusing.
Lifespan: A luffa sponge can last several weeks to a few months, depending on use. Replace it when it starts to soften, darken, or smell.
End of life: When it’s worn out, just toss it in the compost—it will break down naturally.
Every year, I get excited to see the first yellow blossoms open and watch the vines take off. By late summer, the gourds are dangling overhead like lanterns.
When harvest time comes, it feels like unwrapping a gift—cracking open those crunchy shells to reveal sponges inside never gets old!
And the best part? Handing a friend a homegrown luffa sponge and saying, “I grew this.”
Whether you’re looking to add a new edible to your garden or cut down on plastic waste, luffa is a plant that keeps on giving.
Here are some more ways I try to switch to natural alternatives:
How to make a DIY essential oil mosquito repellent
5 Natural homemade cleaning products and how to use them
14 Clever uses for citrus in your home
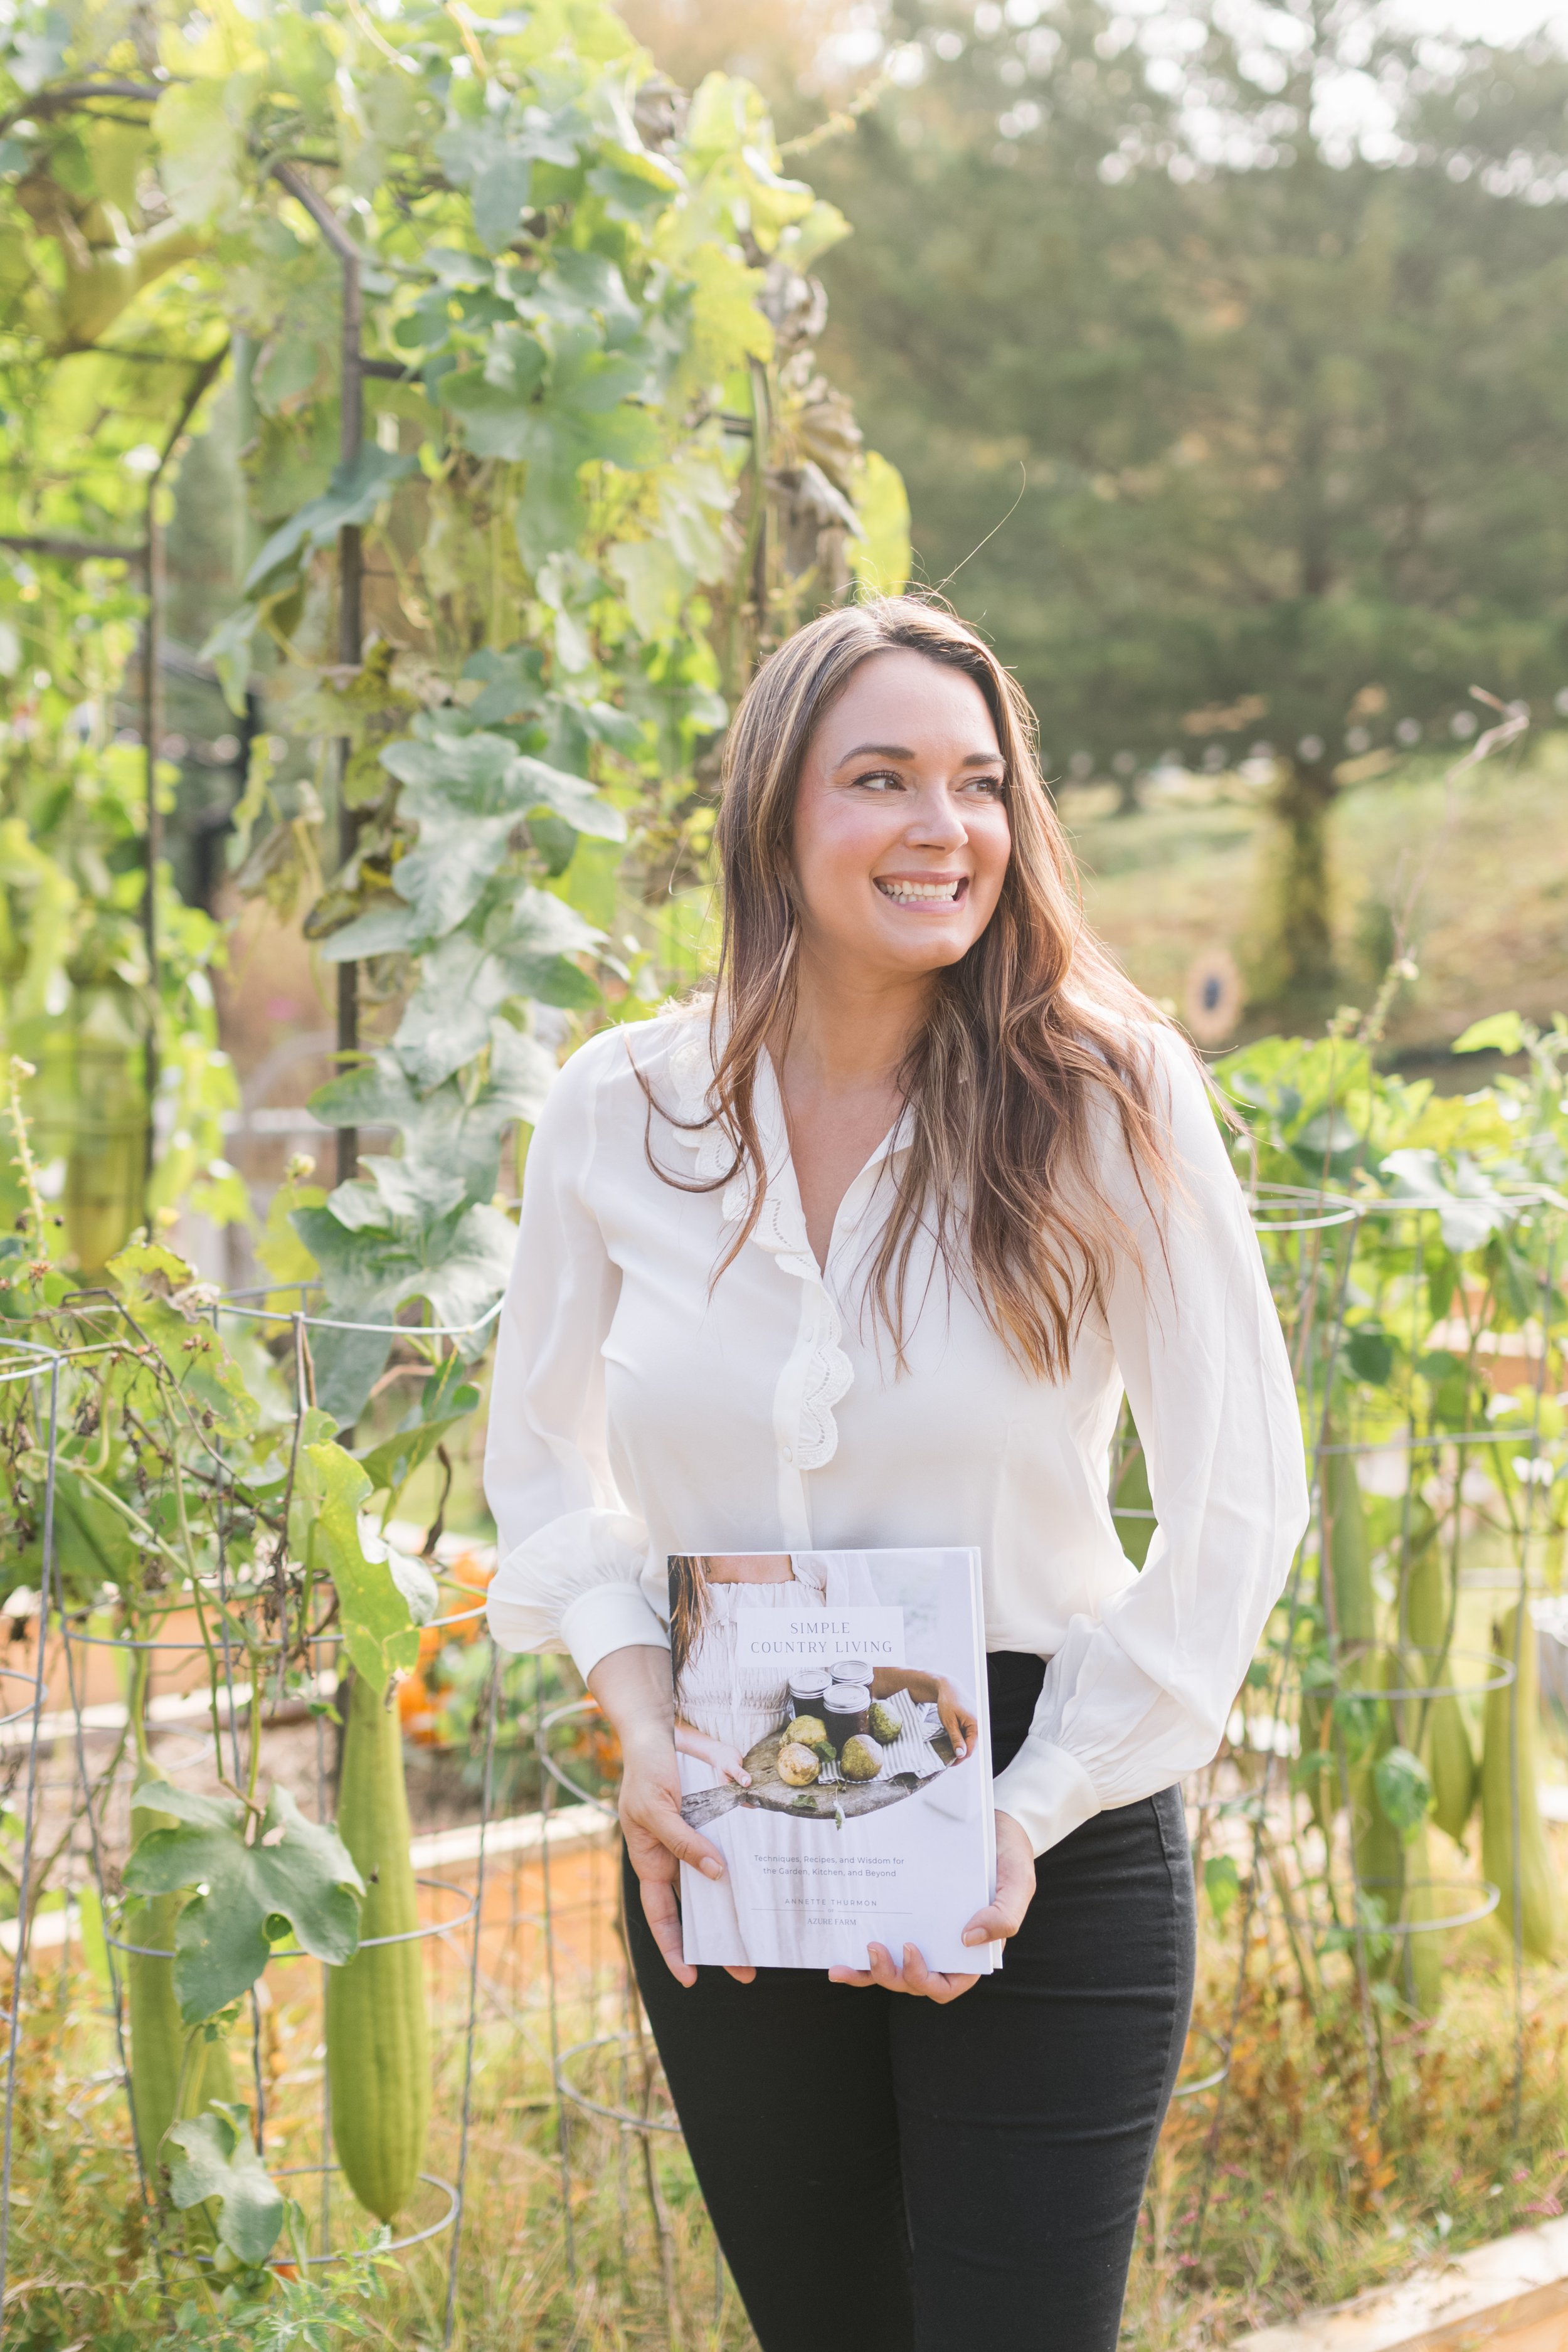
Love, Annette xx
simple country living
Friend, these are just some of the ways I try to turn our home into a more natural, healthy living environment.
If you want to connect with nature on a deeper level, my book, Simple Country Living, is for you! You’ll find a sampler covering homesteading techniques that can be put to work no matter where you live. Recipes, tips, tricks, and family activities will help you reduce waste, save money, and harness new skills.
Create family traditions around nature, including strawberry and apple picking, natural egg dye, salt dough ornament making, and decorating your home with natural elements, plus some recipes too! Make DIY cleaning sprays, reduce food waste, learn self-sufficient laundry and bathroom tips, and share the bounty with nature-inspired gifts and gatherings.